
English
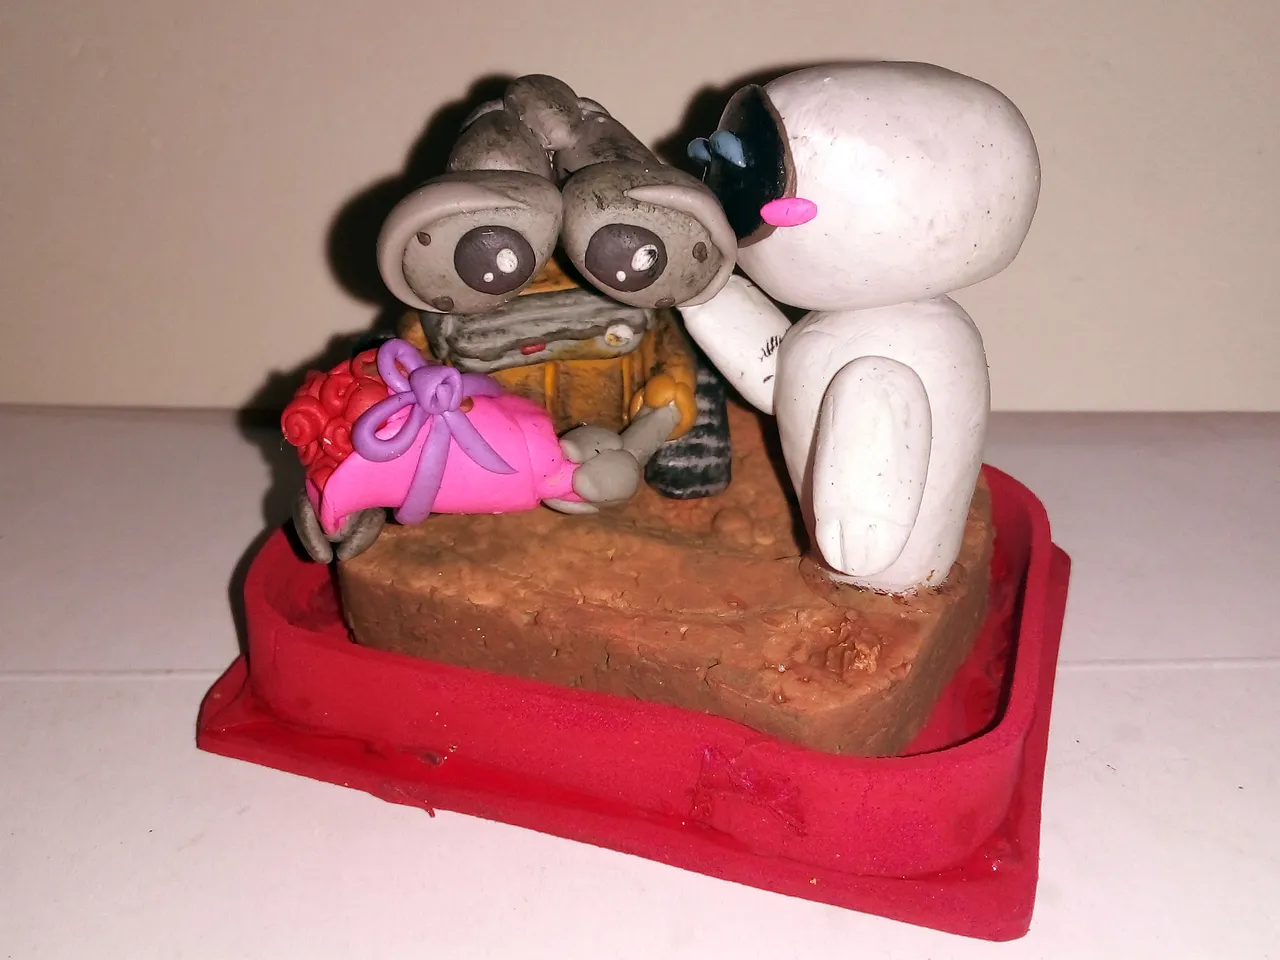
Greetings to all, fellow creatives. A few days ago I shared with you a Wall-E and Eve figurine I made for the community's Love and Passion contest.
You can see that post by following this link:
@gaboamc2393/love-and-passion-contest-wall
Well, after making that figurine I thought about how to make a little box to keep it, so it wouldn't get damaged and, at the same time, it would be a useful idea so you could also make it and give it as a gift or something else you do. That's why I would like to share with you this little gift box. I hope you like it.
Español
Saludos a todos, compañeros creativos. Hace unos días compartí con ustedes una figurita de Wall-E y Eva que hice para el concurso de Amor y Pasión de la comunidad.
Puedes ver esa publicación siguiendo este enlace:
@gaboamc2393/love-and-passion-contest-wall
Pues bien, después de hacer esa figurita pensé en cómo hacer una cajita para guardarla, para que no se dañara y, que a su vez fuese una idea útil para que ustedes también pudieran hacerla y regalarl algun regalo u otra cosa que hagan. Por eso me gustaría compartir con ustedes esta cajita de regalo. Espero les guste.
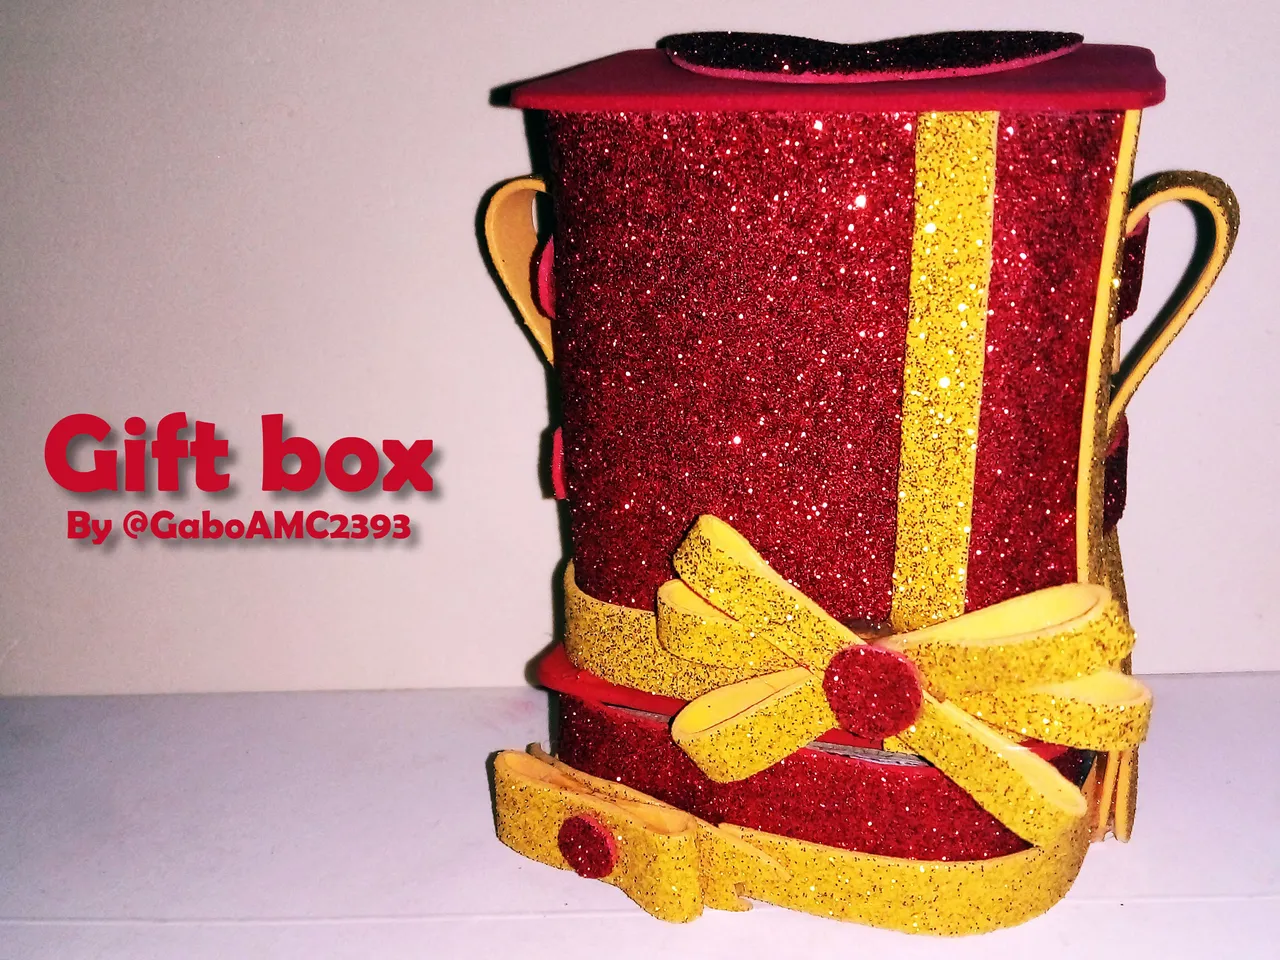
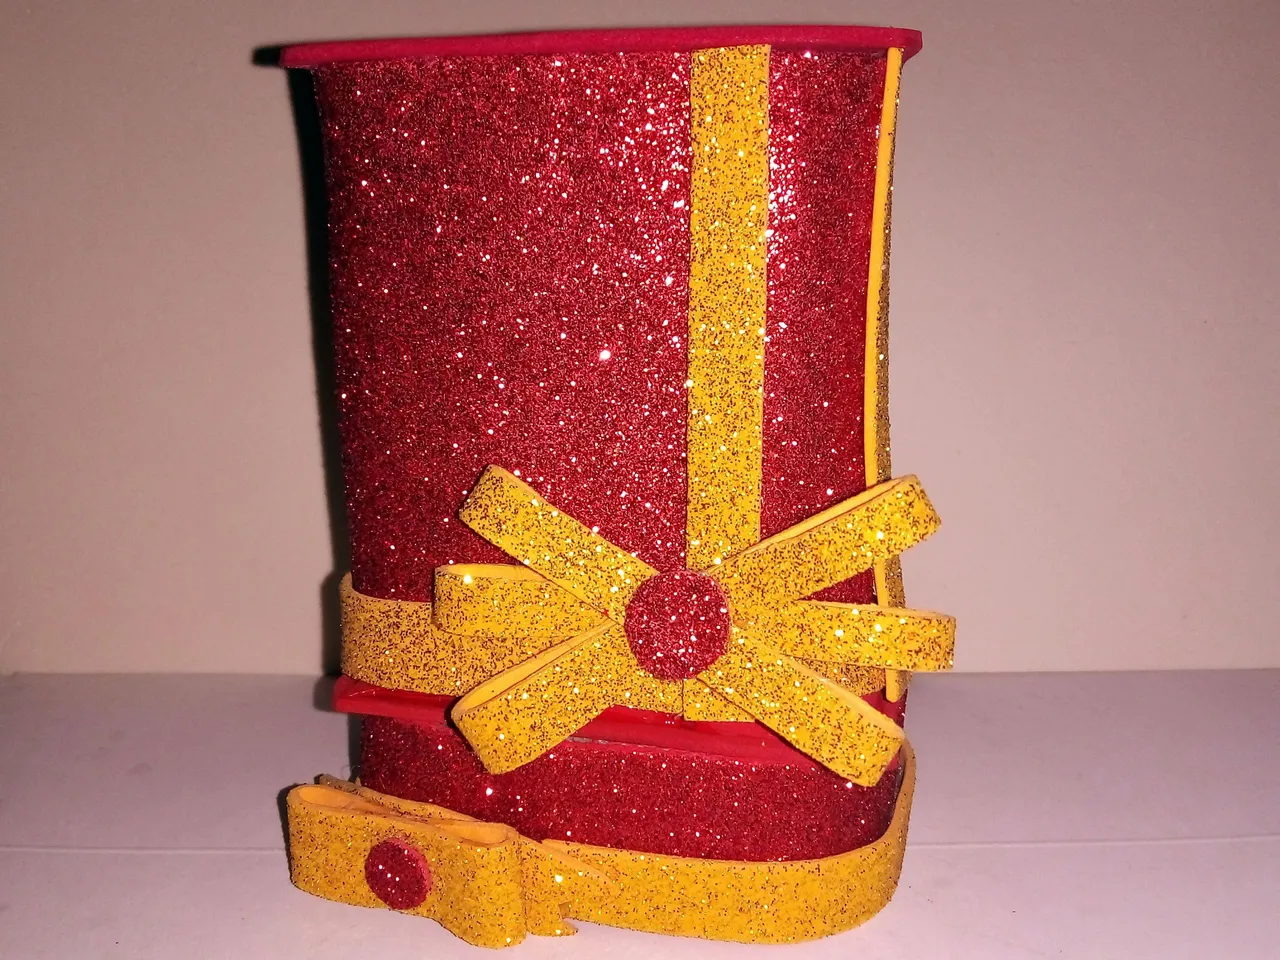
As you can see in the picture above, this is a little tall box and it certainly has two compartments, one for the figurine I mentioned and another for anything else you want to include, just in case there is something else to give as a gift, like candy or something like that.
The materials I used were the following:
*Foami
*Silicone
*Cardboard and cardboard
*Wooden sticks
Como pueden ver en la fotografía de arriba, esta es una cajita un poco alta y es que ciertamente tiene dos compartimientos, uno para la figurita que mencioné y otra para cualquier otra cosa que quieran incluir, vamos por si hay algo más que regalar, como caramelos o algo así,.
Los materiales que utilicé fueron los siguientes:
*Foami
*Silicón
*Cartón y cartulina
*Palillos de madera
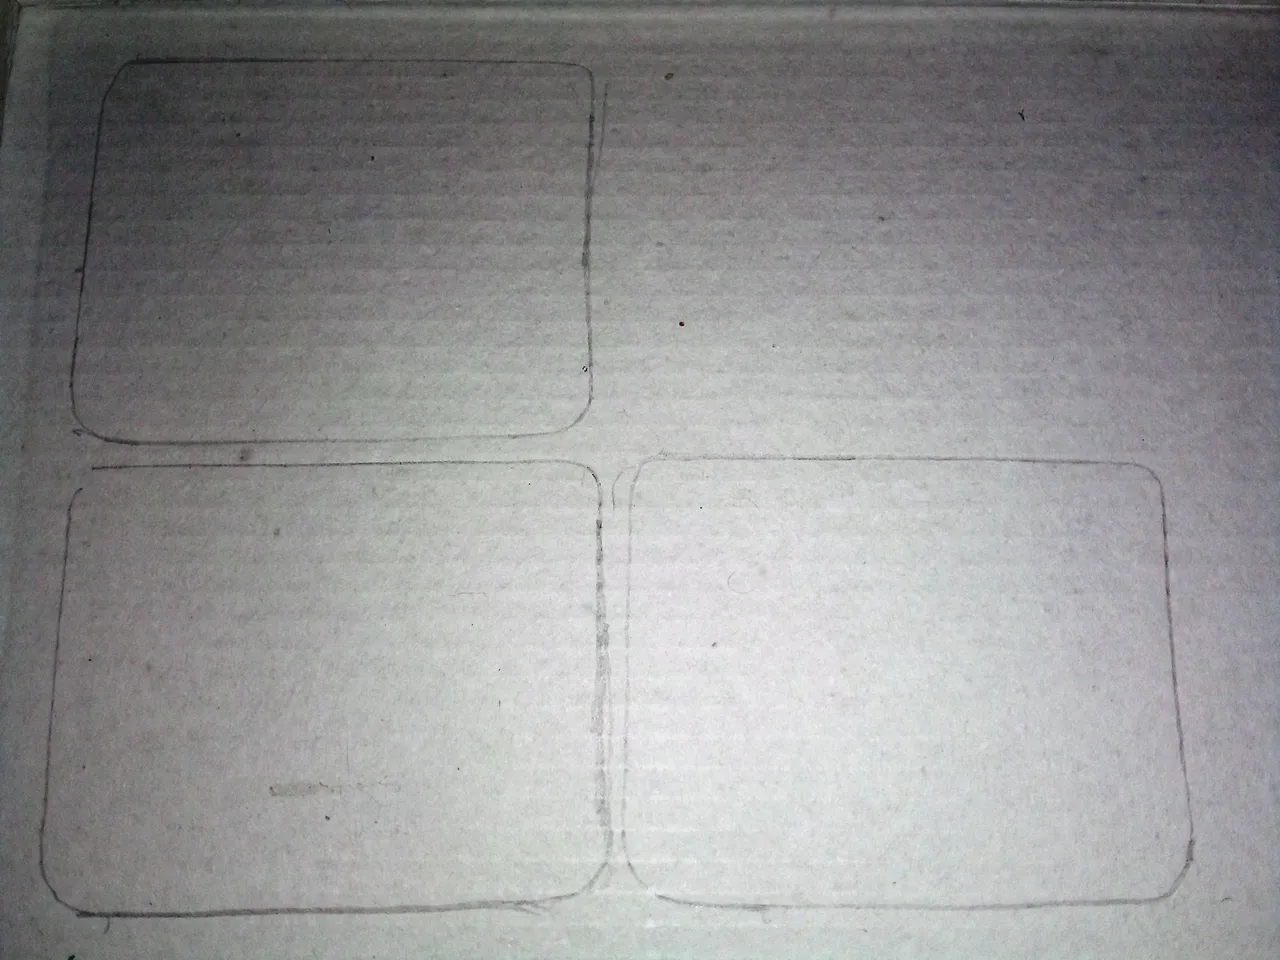
The first thing I did was to make some patterns to cut what would be the base and the roof of the box. I made the patterns on cardboard and then cut them out.
Lo primero que hice fue hacer unos patrones para cortar lo que sería la base y el techo de la cajita. Hice los patrones sobre cartón y luego los corté.
 |  |
|---|
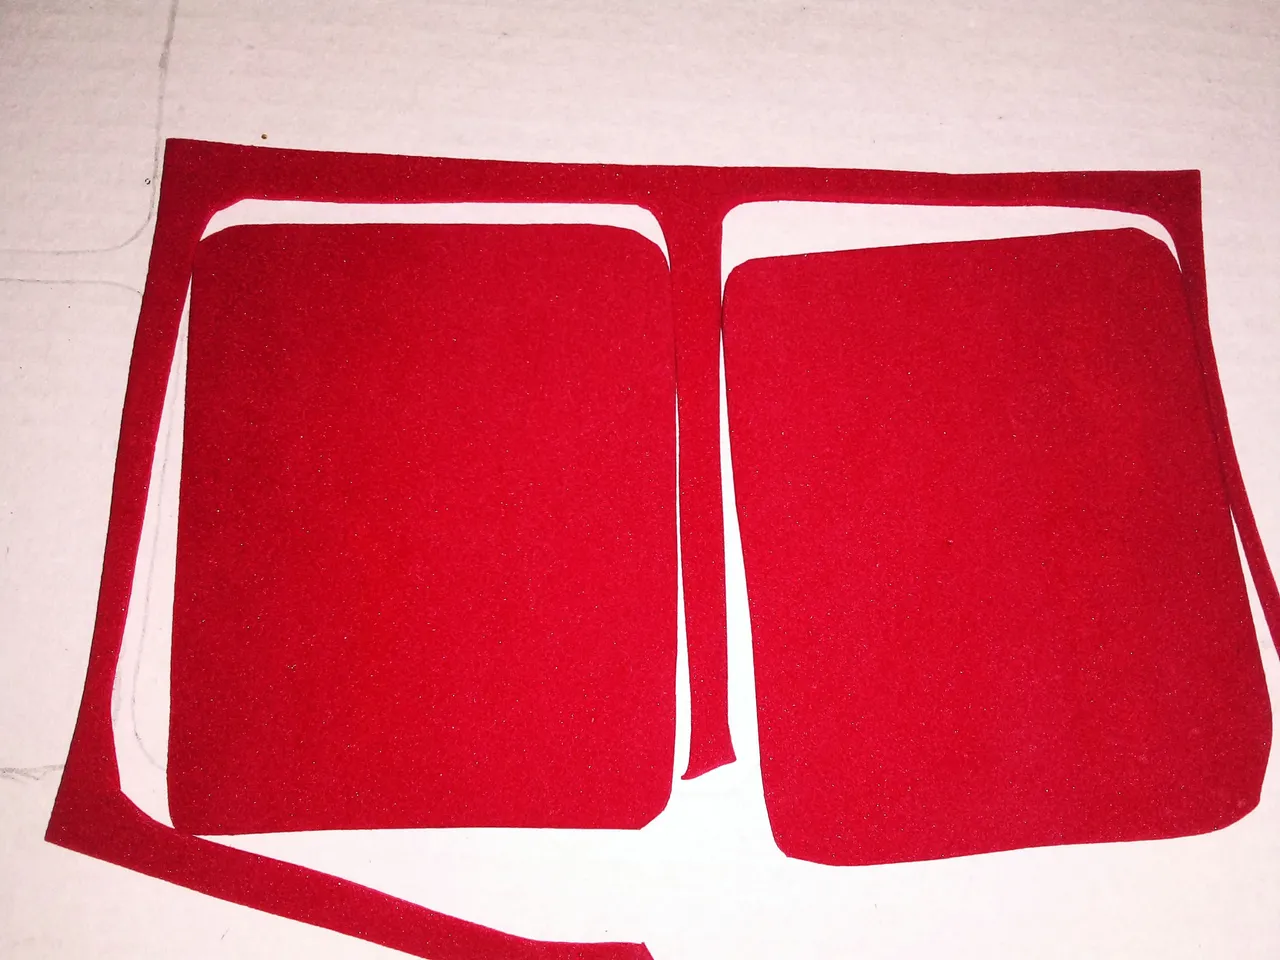
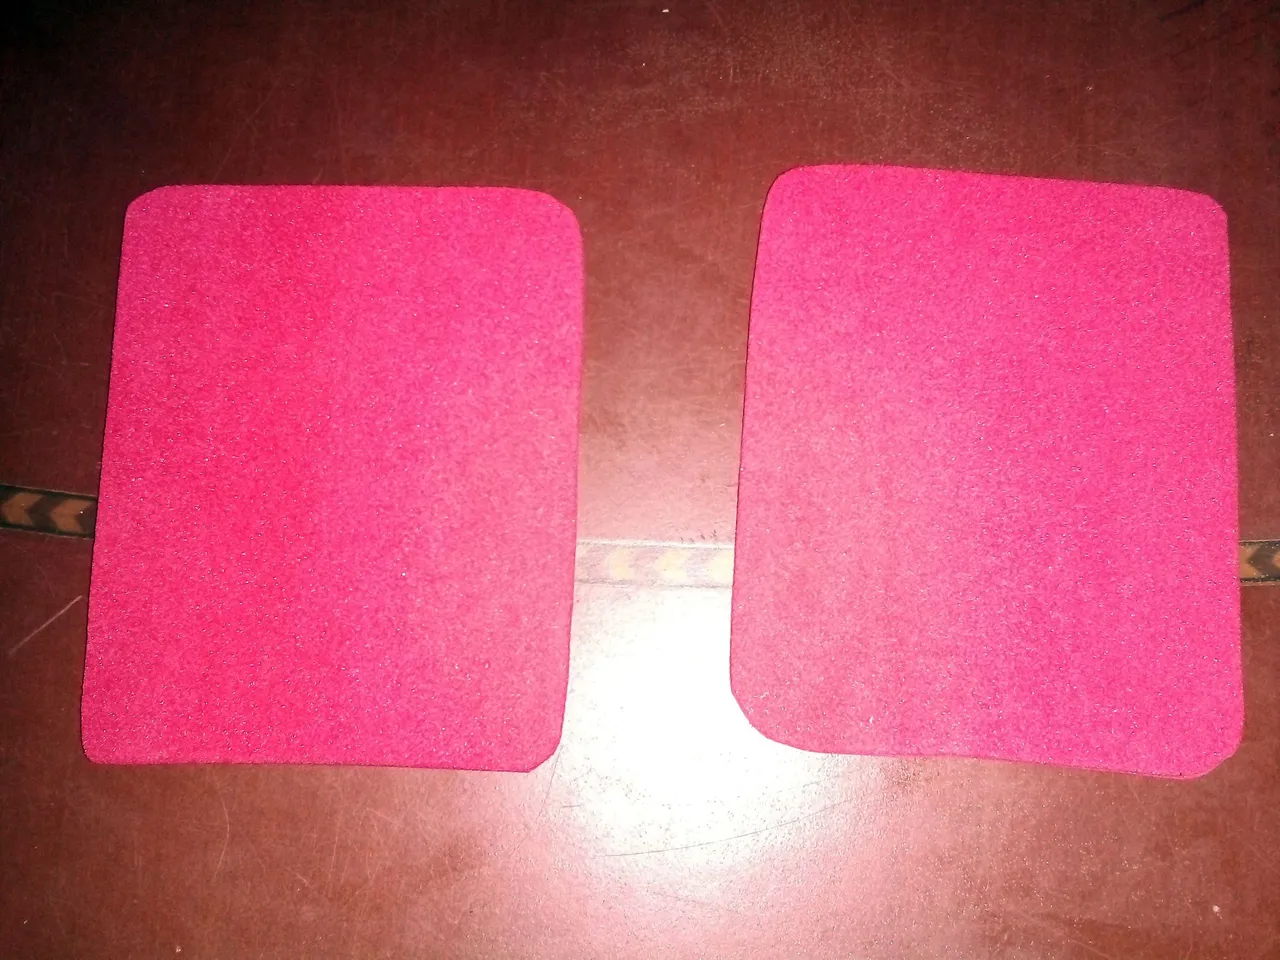
The next thing I did was to trace the same pattern on foarmi, then cut it with a scissors. For this base I used regular red foami, without frosting.
Lo siguiente que hice fue trazar el mismo patron sobre foarmi, luego lo corté con una tijera. Para esta base usé foami rojo normal, sin escarcha.
 |  |
|---|
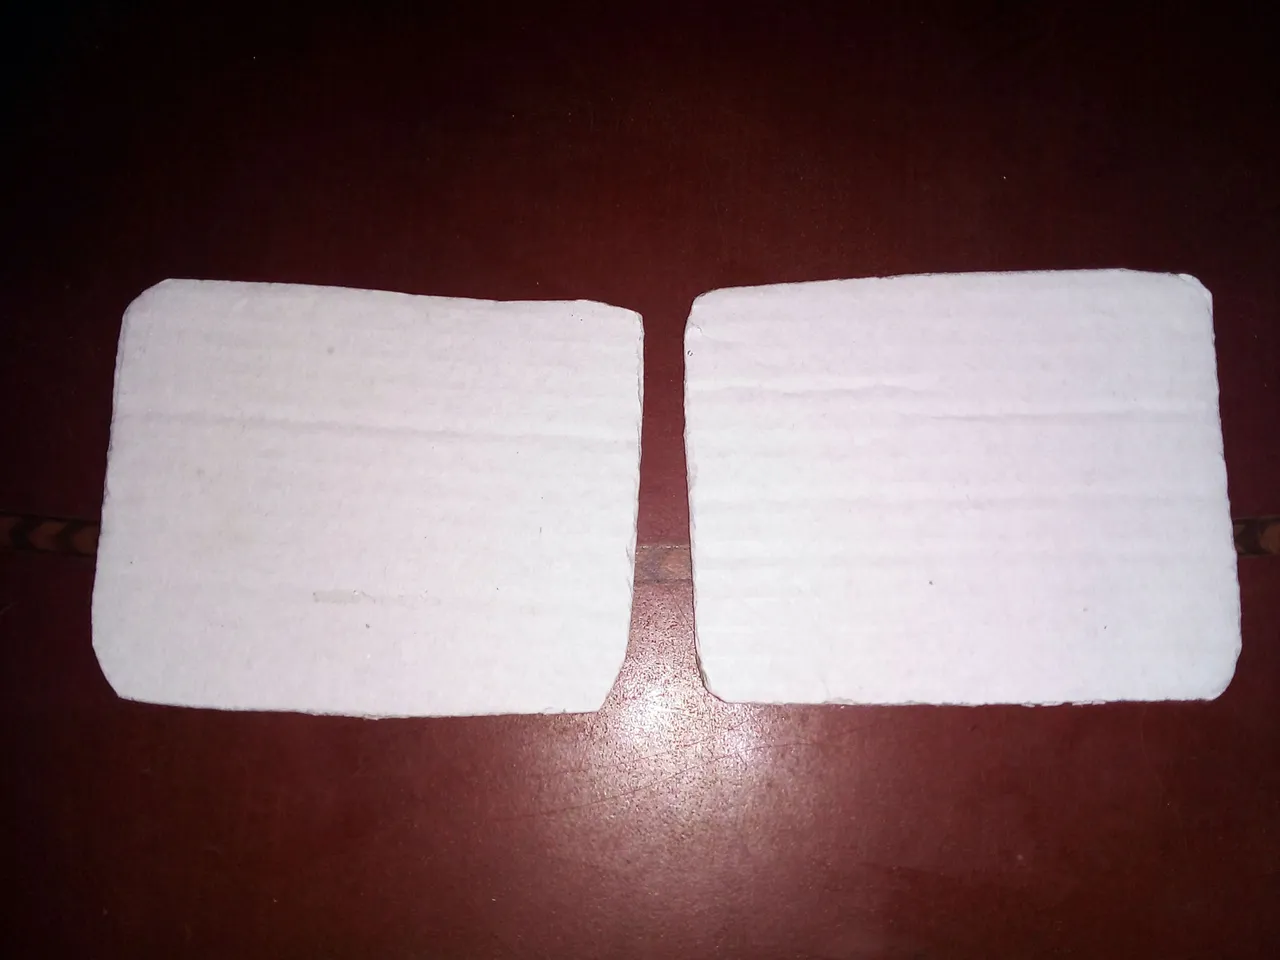
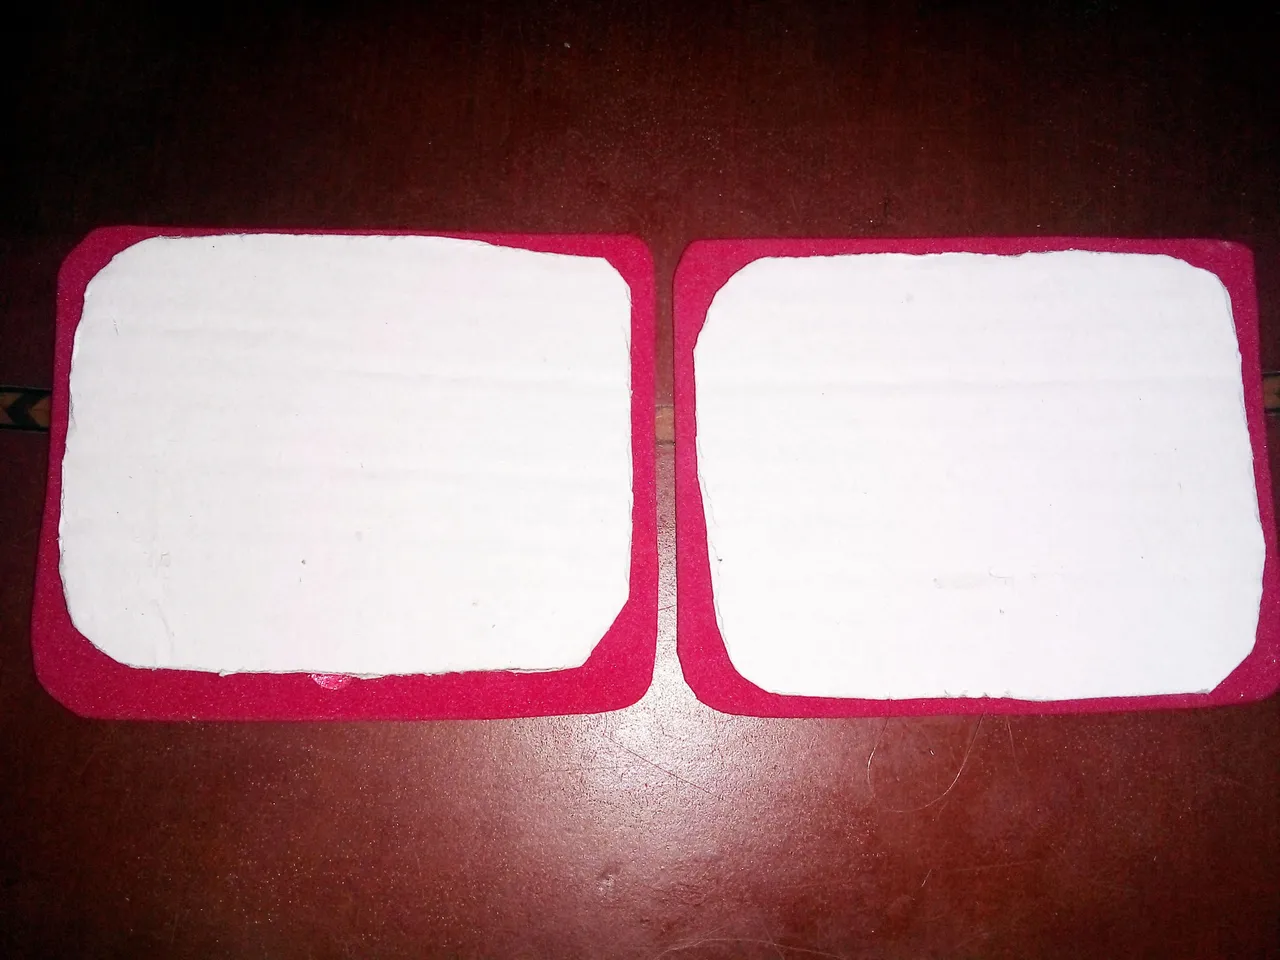
With the foami and cardboard squares cut, I proceeded to join them together. I took the cardboard squares and with silicone I glued them under the foami squares, as shown in the image below:
Con los cuadritos cortados de foami y cartón, procedí a unirlos. Tomé los cuadritos de cartón y con silicón los pegué debajo de los cuadritos de foami, tal como se observa en la imagen a cotninuación:
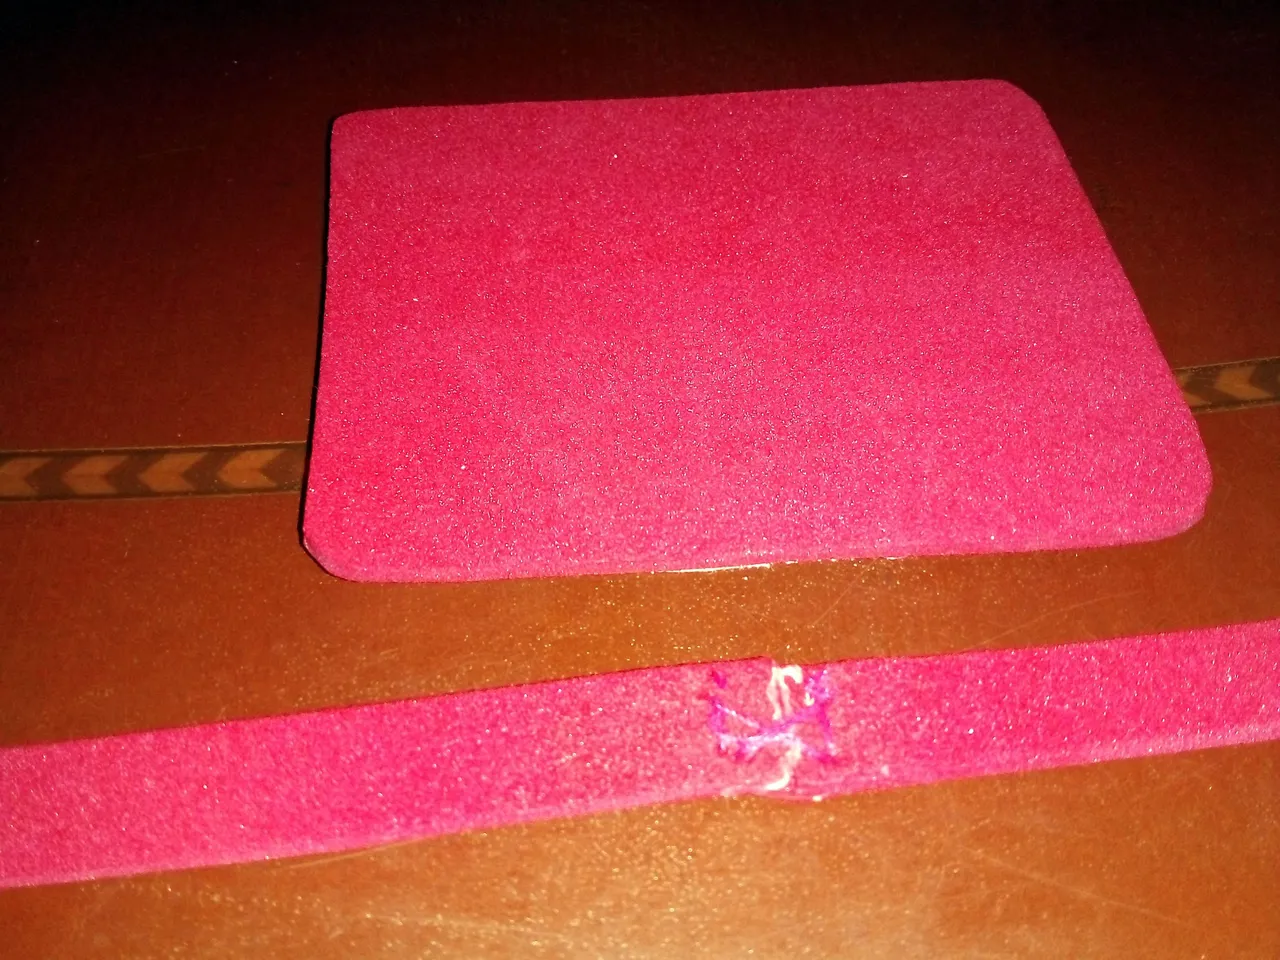
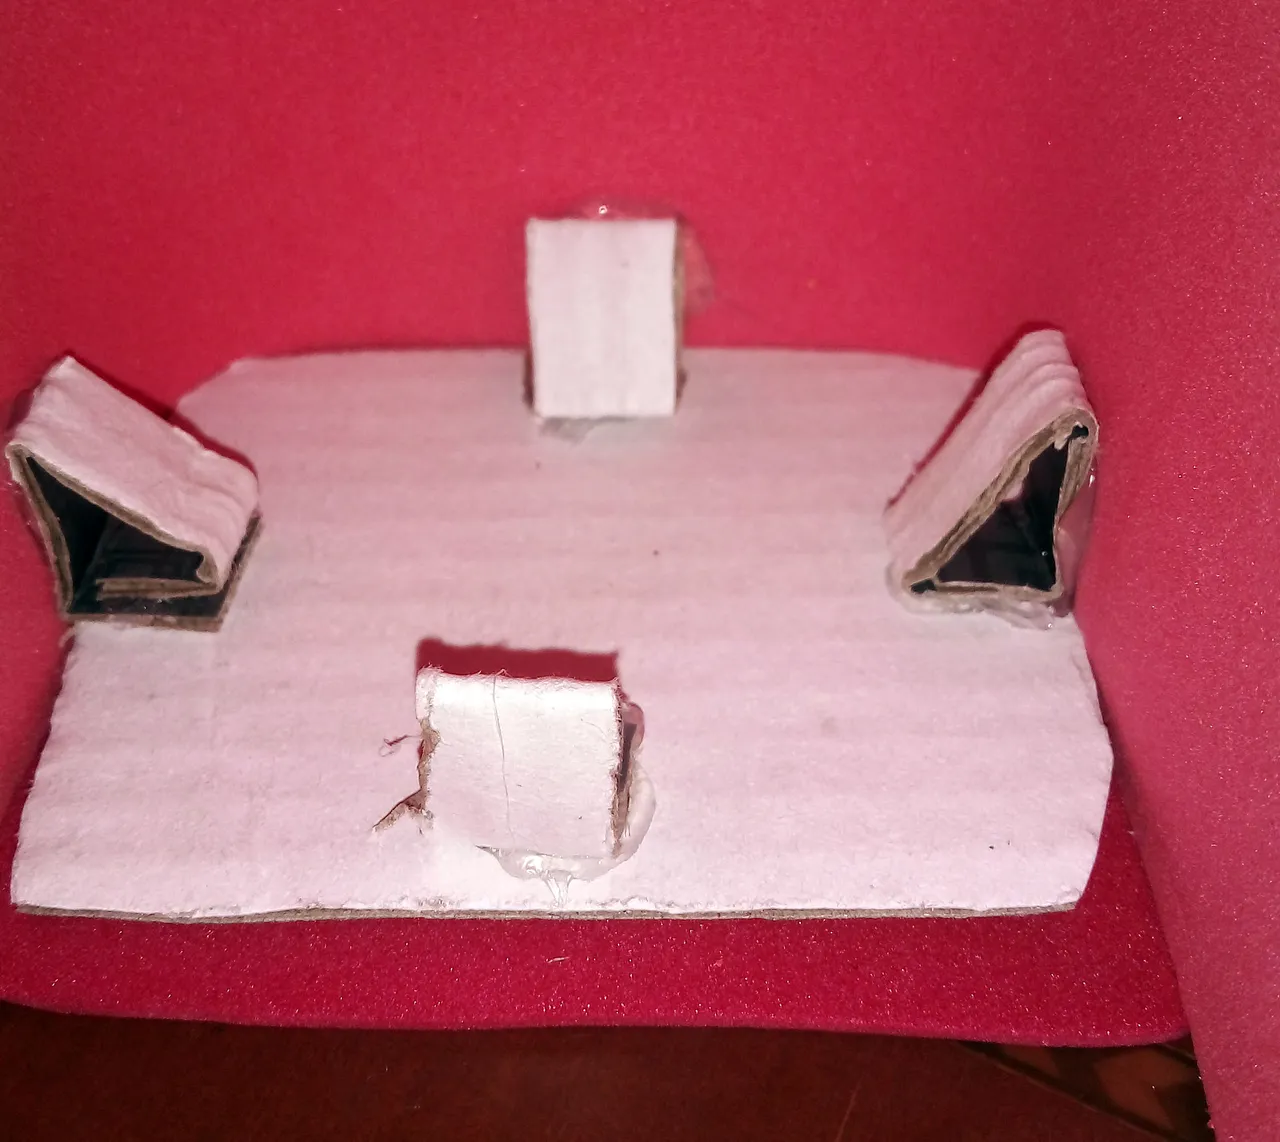
The next step was to place a sort of border with a thin sheet of foami. I cut a long strip and glued it with silicone very close to the edge of the frame, but without completely reaching the edge.
Lo siguiente fue colocarle una suerte de borde con una lámina delgada de foami. Corté una tira larga y la pegué con silicón muy cerca del corde del cuadro, pero sin llegar completamente al borde.
 |  |
|---|
With the other square I am going to make the upper part of the box. For this I cut a long and tall sheet of foami, this time red foami with frosting.
On the other foami base, with the little piece of cardboard underneath, I placed some cardboard supports to glue the long sheet of frosted foami.
Con el otro cuadrito voy a hacer la parte superior de la cajita. Para ello corté una lámina larga y alta de foami, esta vez foami rojo con escarcha.
En la otra base de foami, con el trocito de cartón debajo, le coloqué unos soporte de cartón para pegar la larga lámina de foami escarchado.
 |  |
|---|
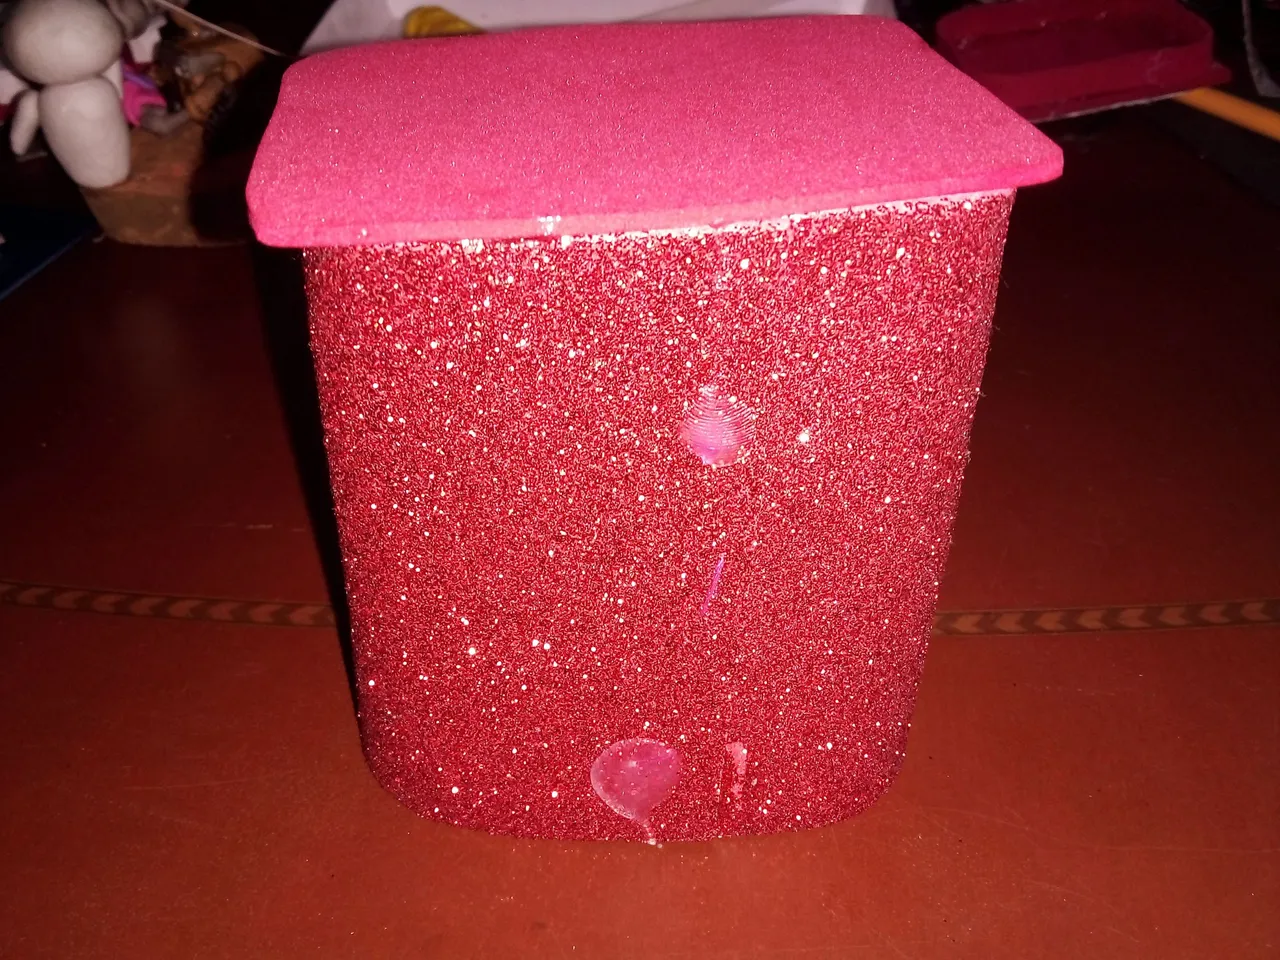
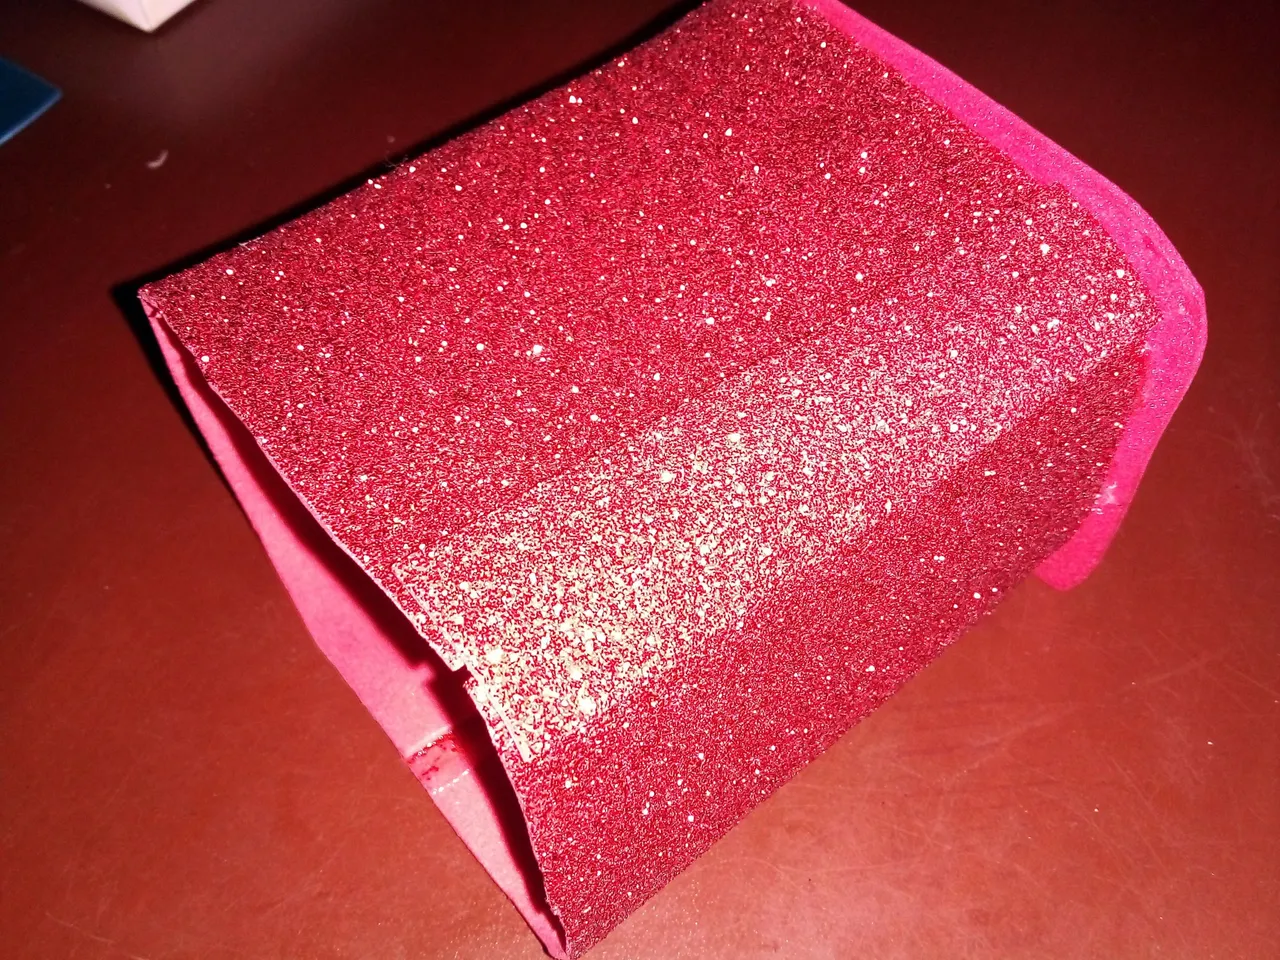
Below you can see how the top of the box looks once glued on the other base.
A continuación pueden ver cómo quedó la parte superior de la cajita una vez pegada sobre la otra base.
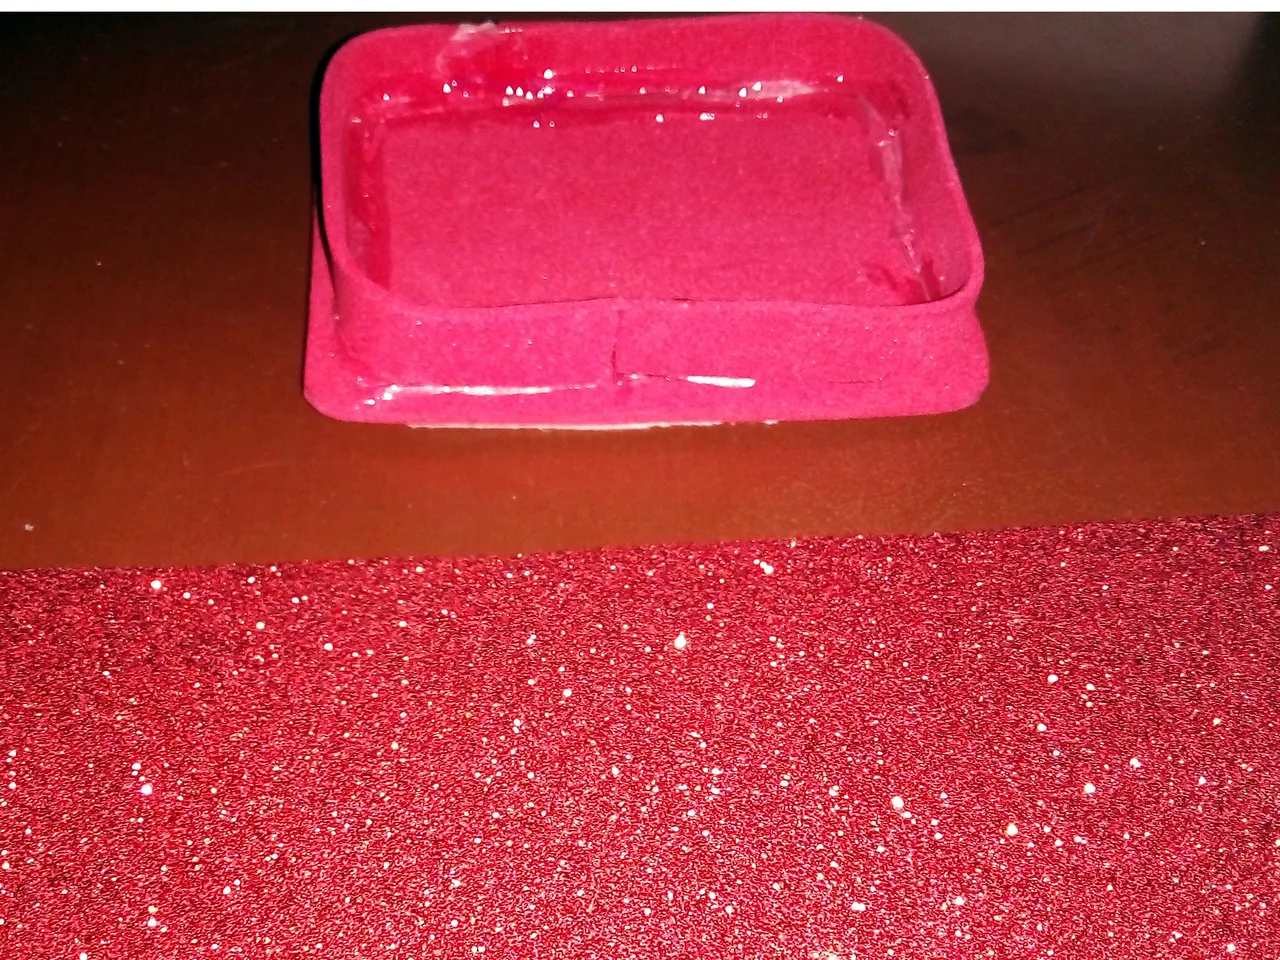
After making it, I measured it on the first base to which I glued a thin strip of foami near the edge. I realized I had made it a bit narrow so I cut it and added another piece of foami on top to cover the cut.
Después de hacerla, la medí sobre la primera base a la que le pegué una delgada tira de foami, cerca del borde. Me di cuenta que lo había hecho un poco estrecho así que lo corté y le añadí otro trozo de foami por encima para cubrir el corte.
 |  |
|---|
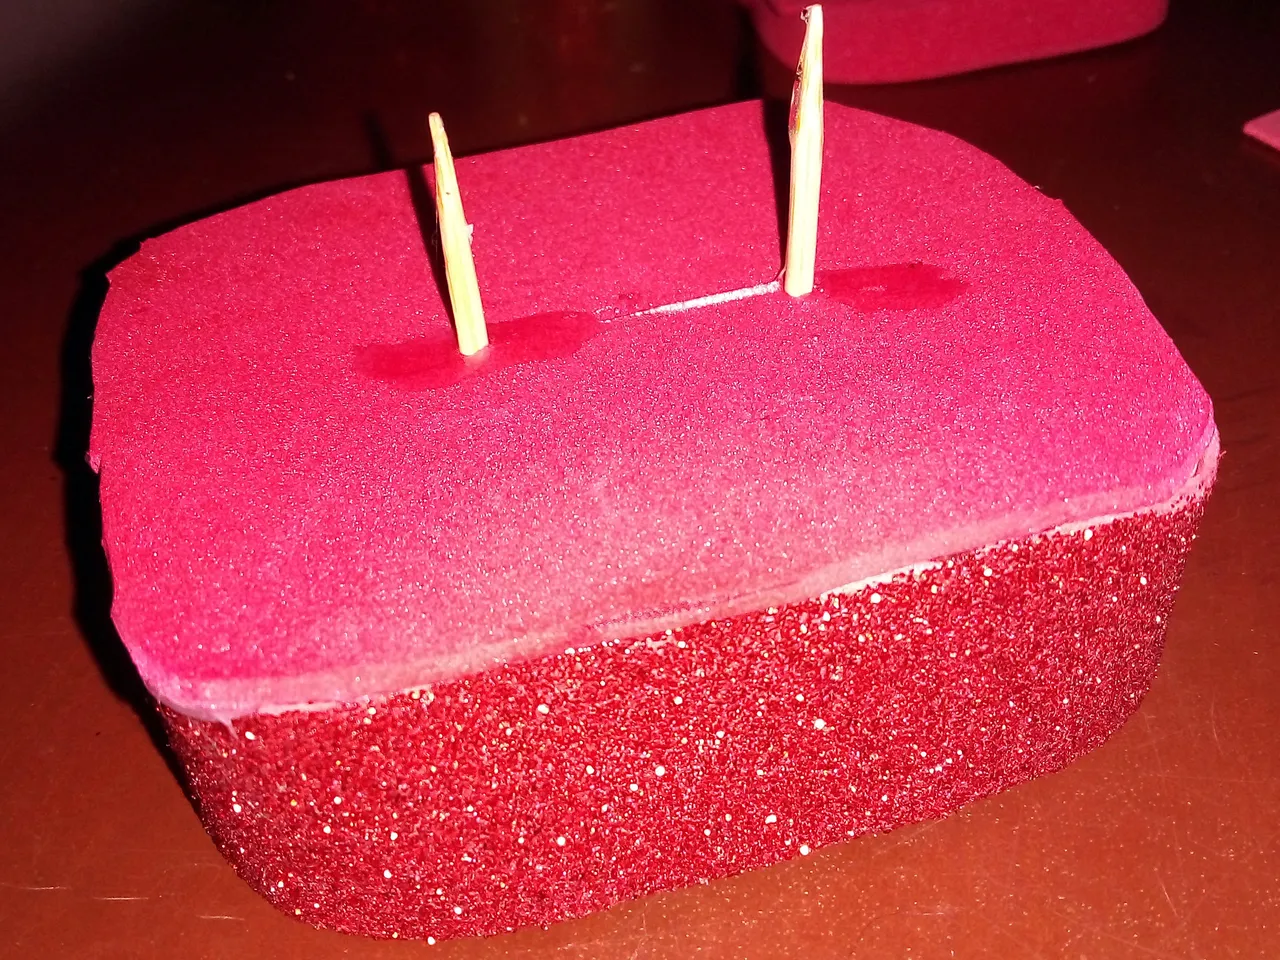
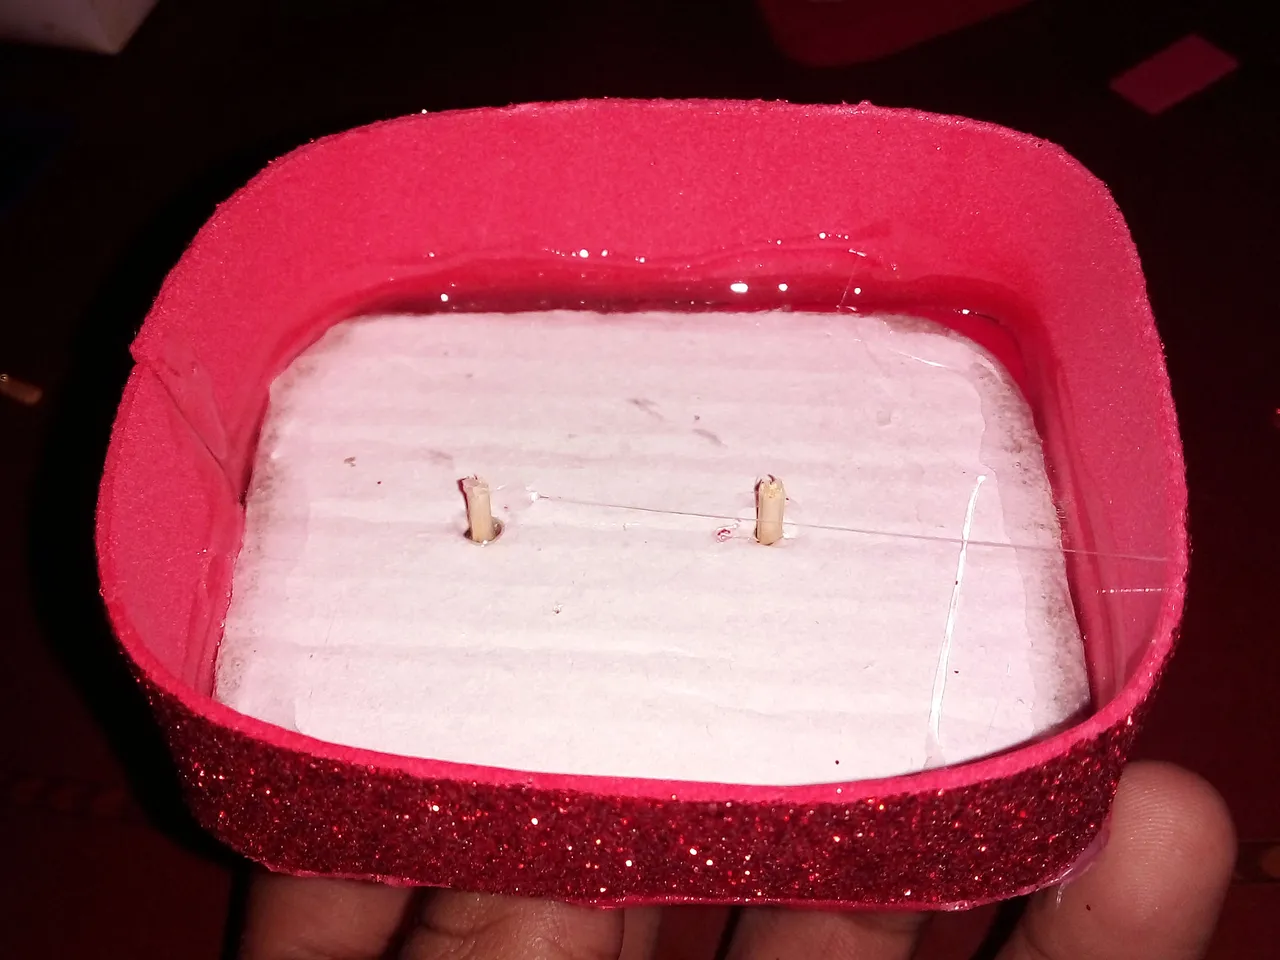
Like the previous bases, I made another one but much higher for the previous one, it is to place the other compartment that I mentioned. I placed two sticks to hold it while I paint it.
Al igual que las bases anteriores, hice otra pero mucho más alta para la anterior, es para colocar el otro compartimiento que les mencioné. Le coloqué dos palillos para sostenerlo mientras lo pinto.
 |  |
|---|
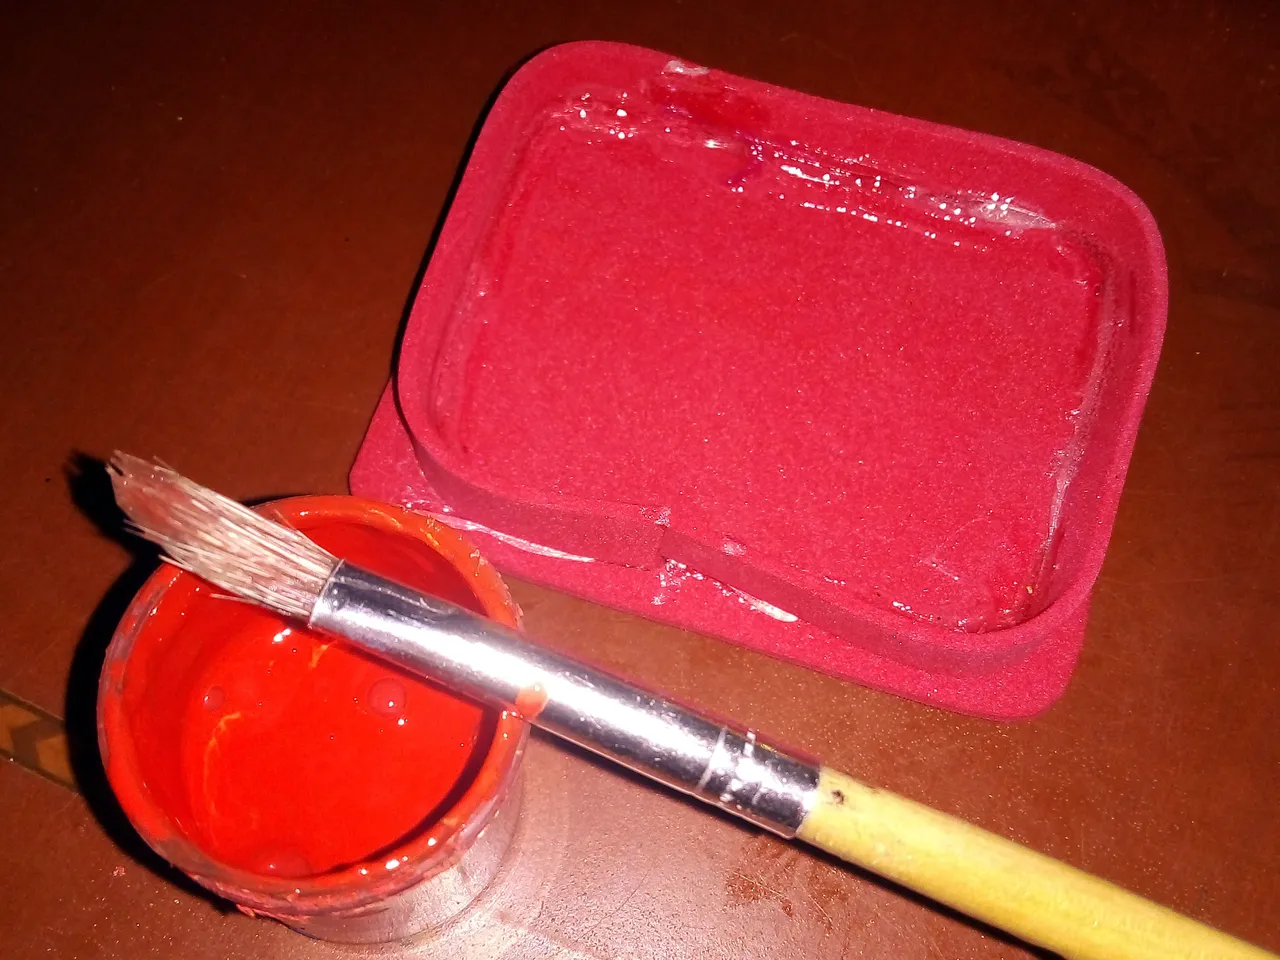
Both this and the other bases were painted with red paint on the inside.
Tanto esta como las otras bases las pinté con pintura roja por dentro.
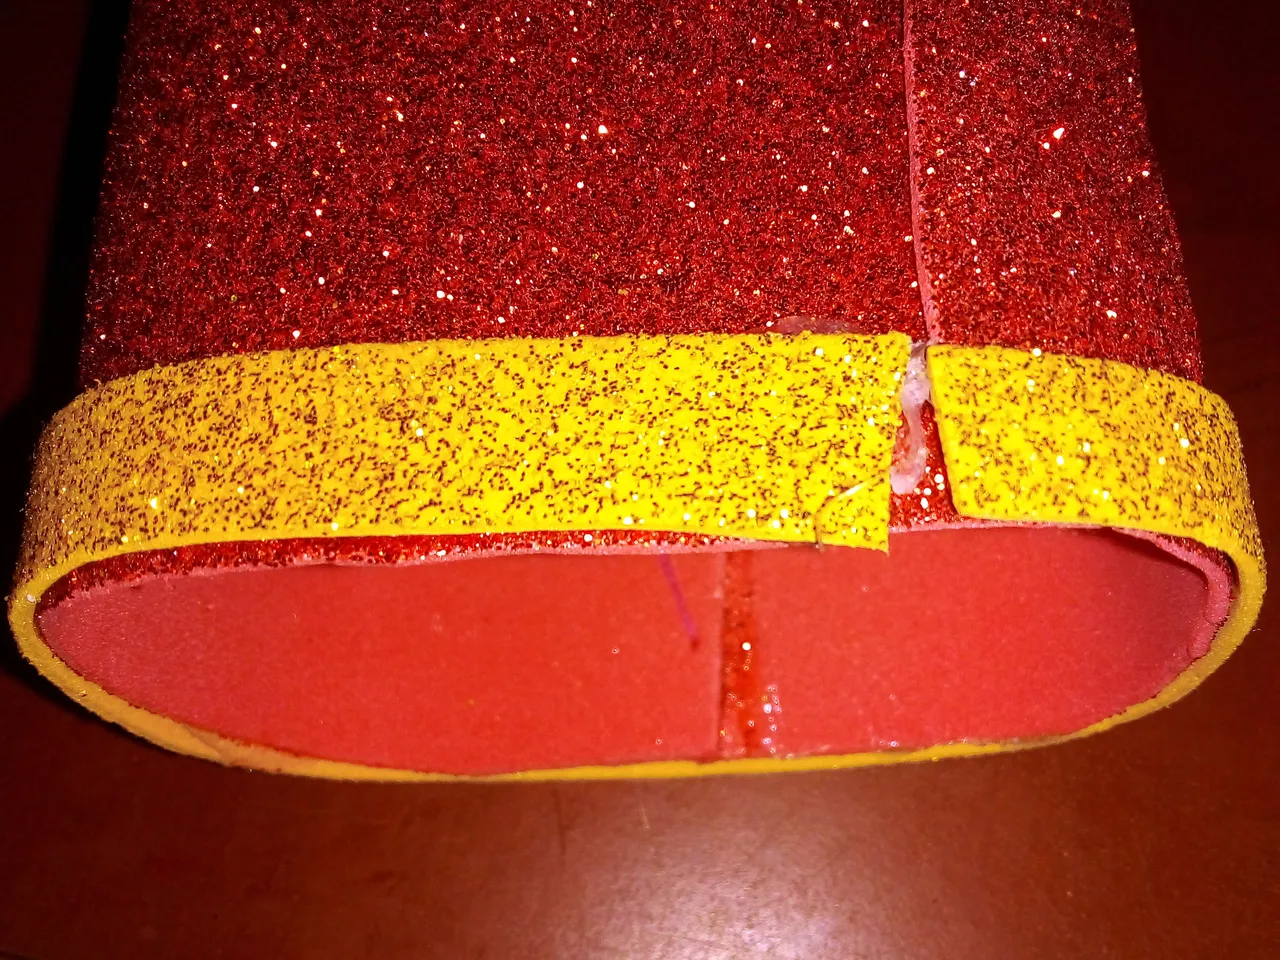
Well, going back to the top cover of the box, I cut a strip of yellow foami with frosting and glued it around the bottom of this cover.
I also cut a series of strips to make a bow to decorate.
Bien, volviendo a la cubierta superior de la cajita, le corté una tira de foami amarillo con escarcha y la pegué alrededor de la parte inferior de esta cubierta.
También corté una serie de tiras para hacer una especir de lazo para decorar.
 |  |
|---|
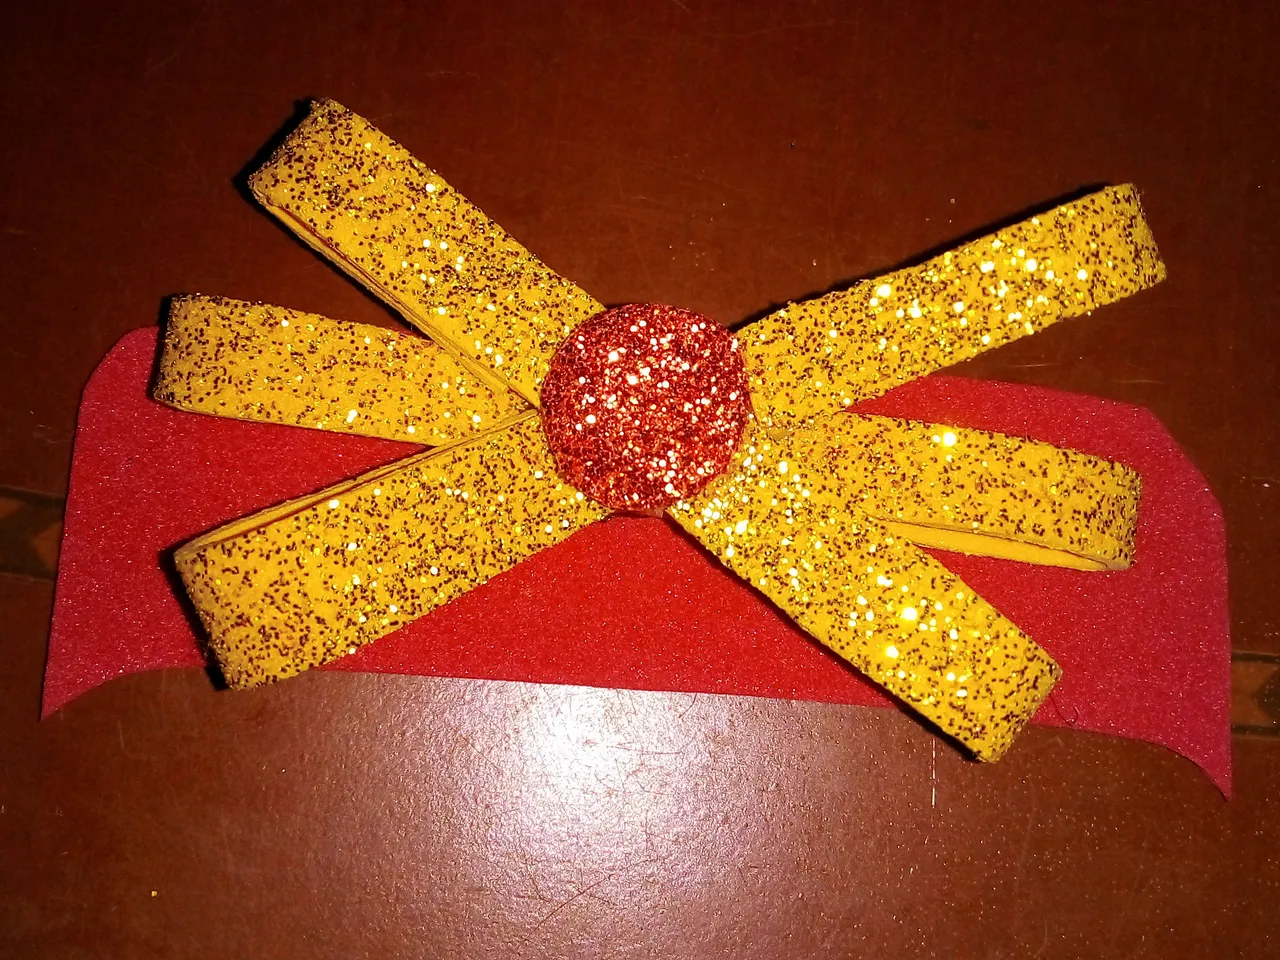
I joined the ends of each strip of yellow foami to the center and glued them together with the cilicone. I also placed a red circle in the middle. Below you can see how the ribbon is glued in place.
Uní las puntas de cada tira de foami amarillo hacia el centro y los pegué con cilicón. También coloqué un círculo rojo en medio. A continuación pueden ver cómo quedó el lazo pegado en su lugar.
 |  |
|---|
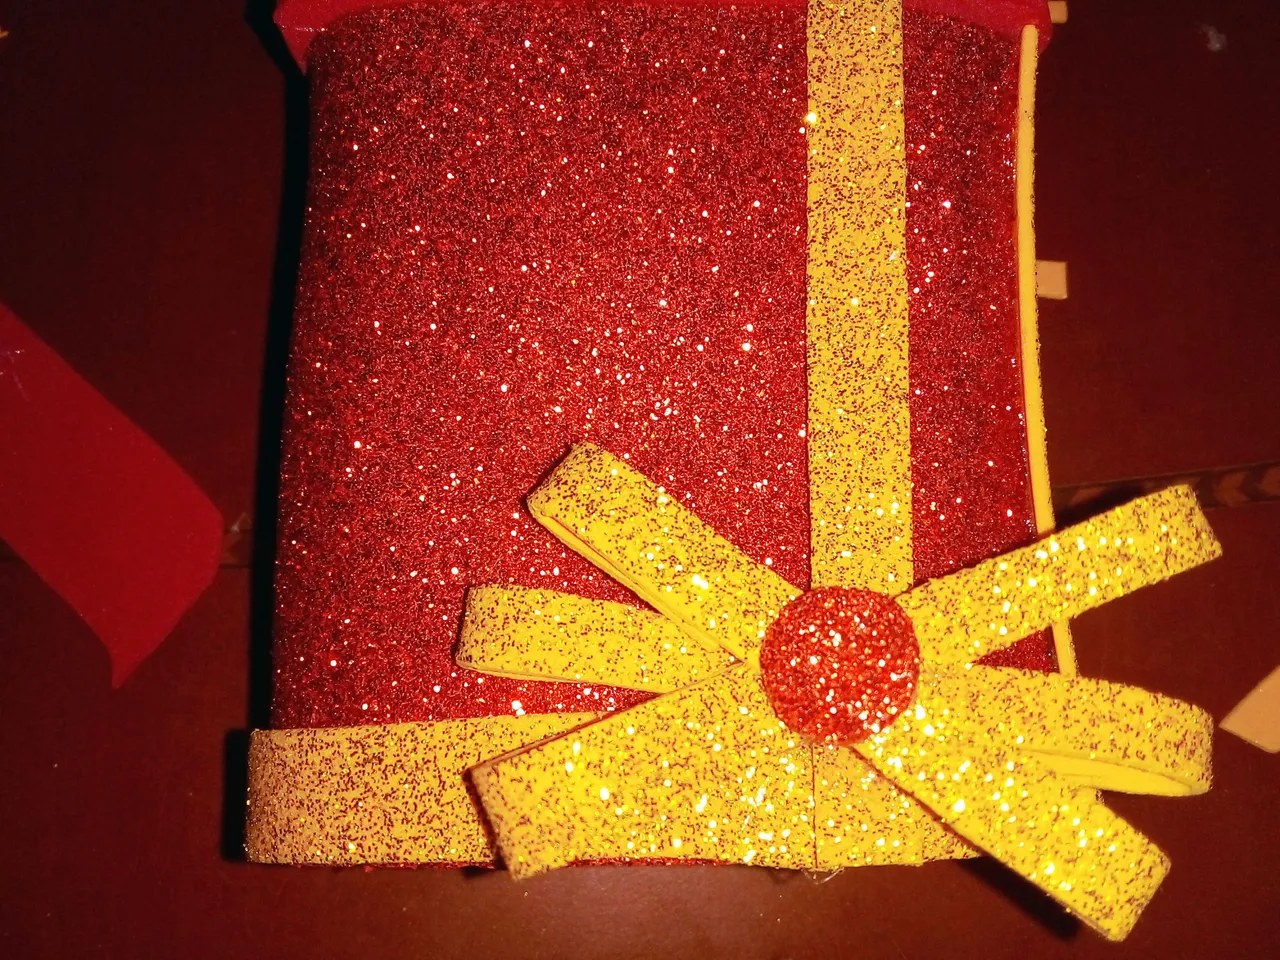
I also glued another loop to the bottom of the other compartment I made:
También pegué otro lazo en la parte inferior del otro compartimiento que hice:
 |  |  |
|---|
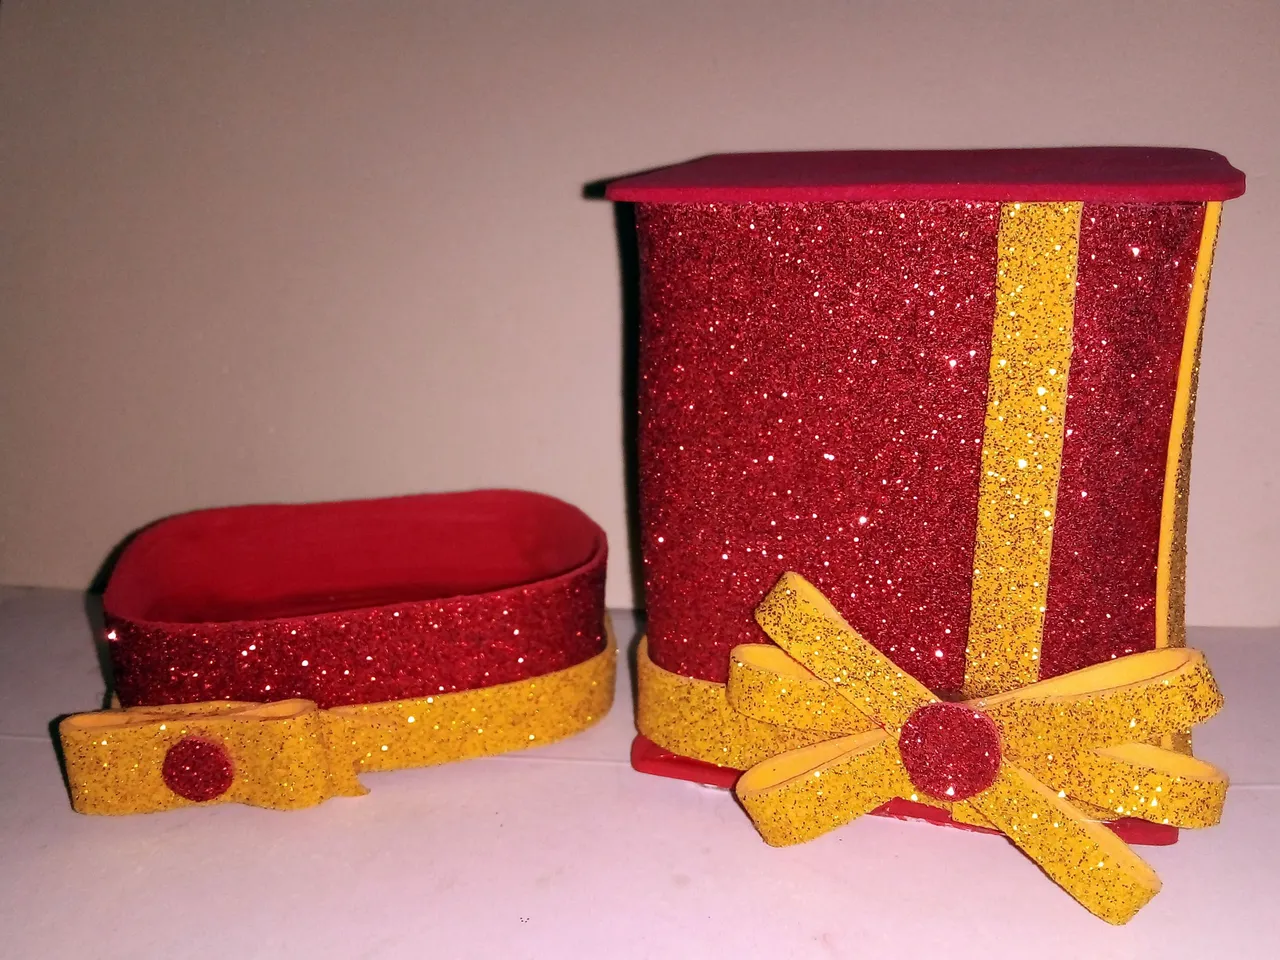
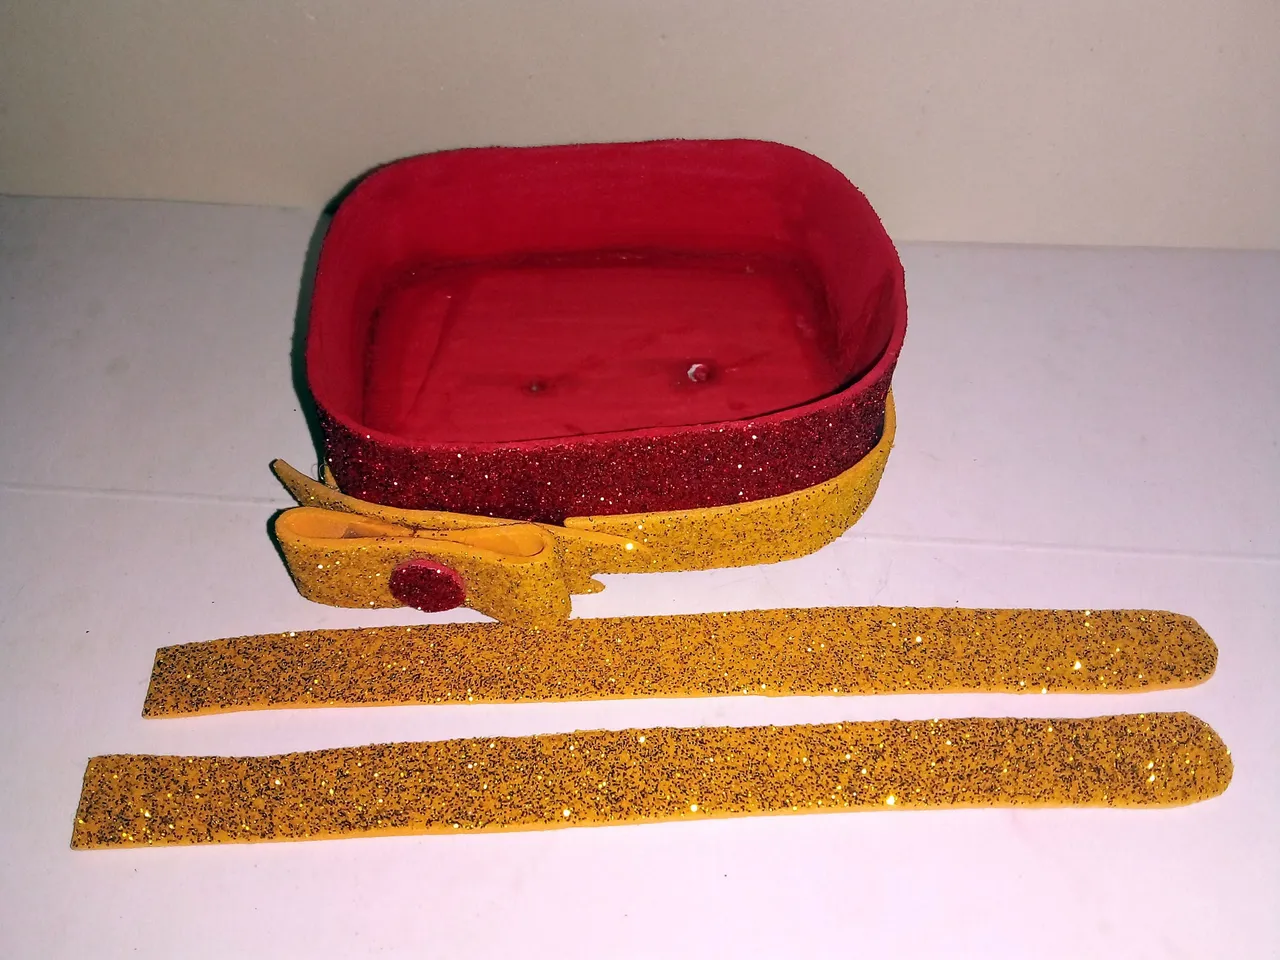
Below you can see the complete box with its base and next to it the interior compartment that it will have:
A continuación pueden ver la caja completa con su base y al lado el compartimiento interior que esta tendrá:
I opened the box and placed Wall-E with Eva in it, then closed it again, as shown below:
Abrí la caja y allí coloqué a Wall-E con Eva, luego la volví a cerrar, tal como se ve a continuación:
 |  |
|---|
Then I placed the other compartment I made underneath. However, there is still a way to hold it all together.
Luego coloqué debajo el otro compartimiento que hice. Sin embargo falta una manera de sujetarlo todo.
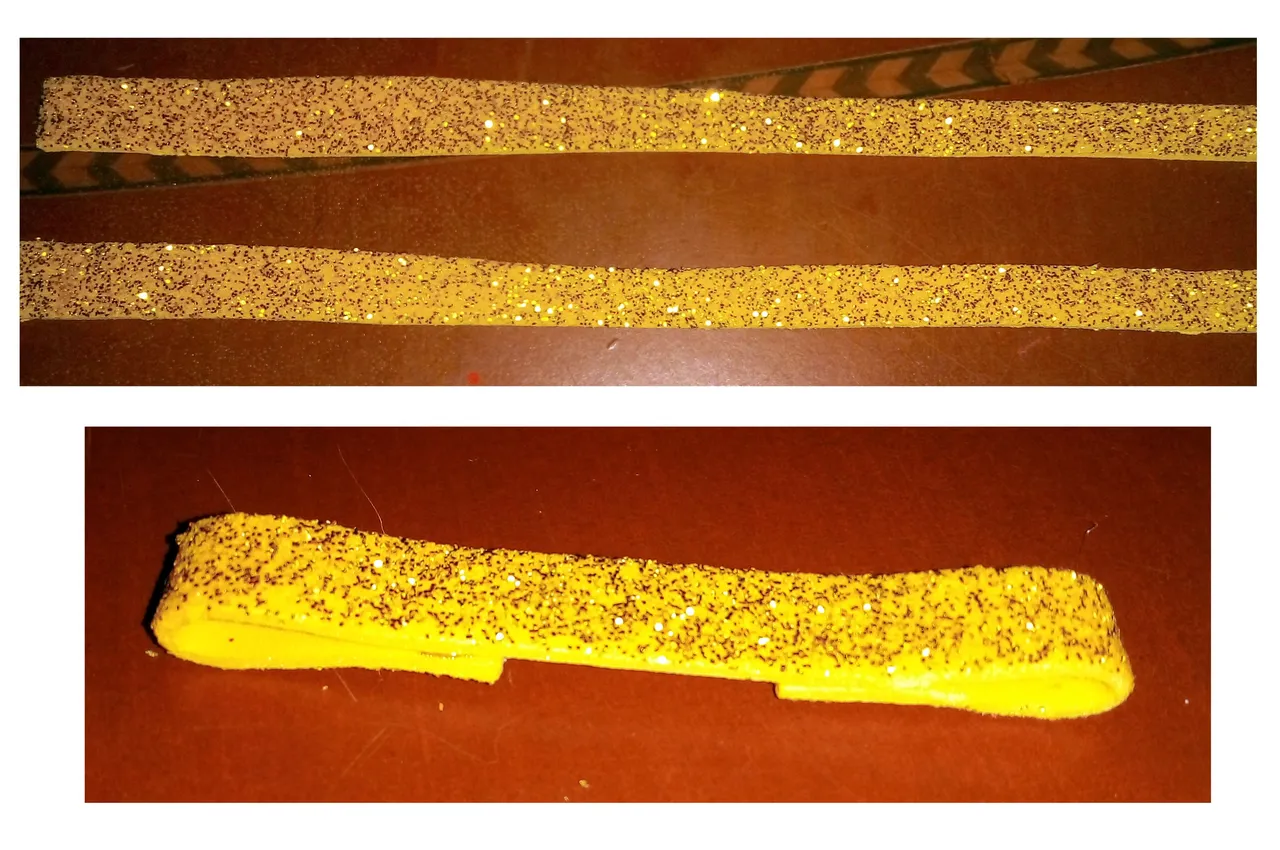
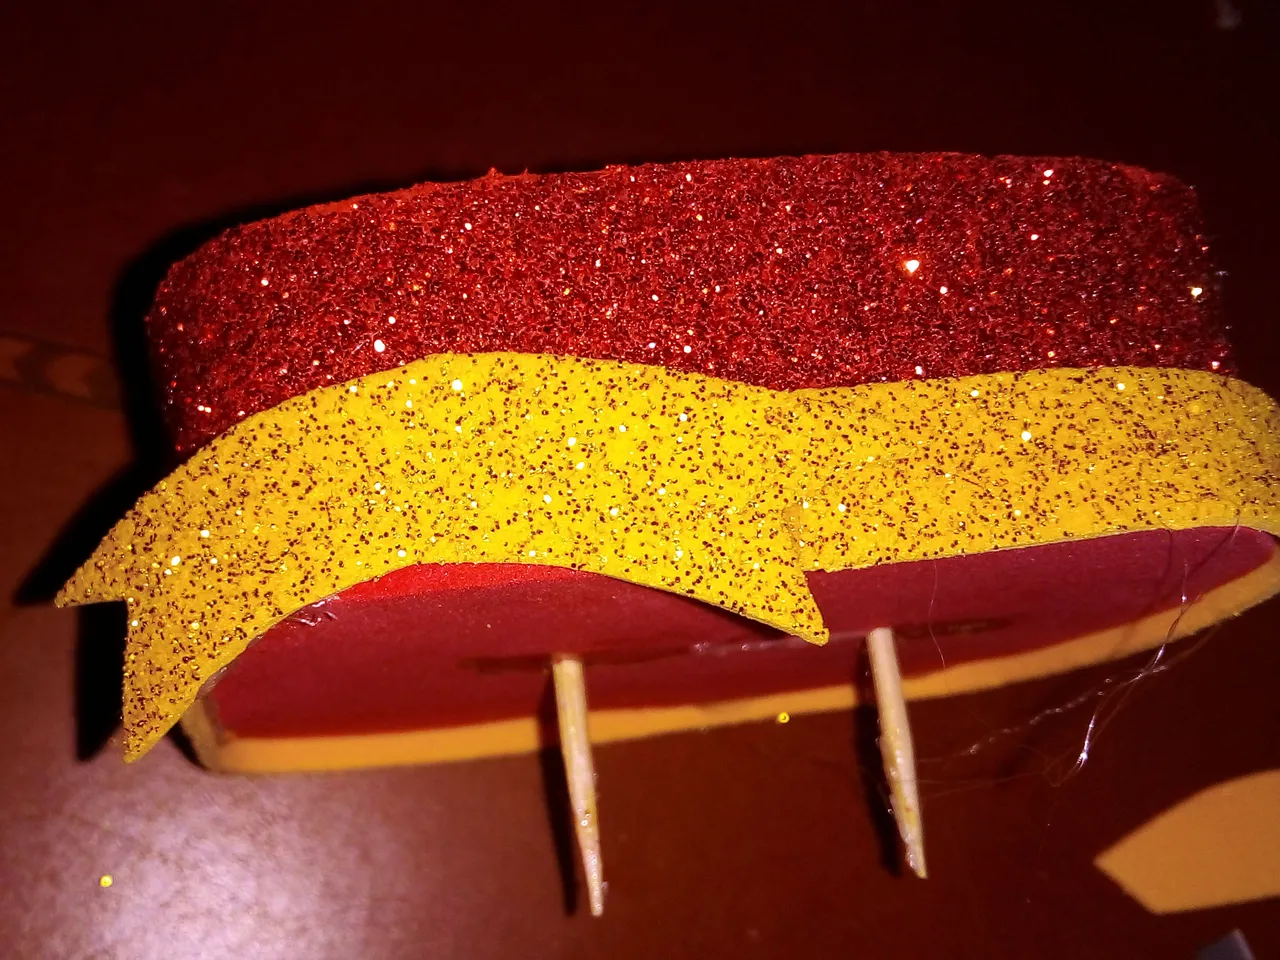
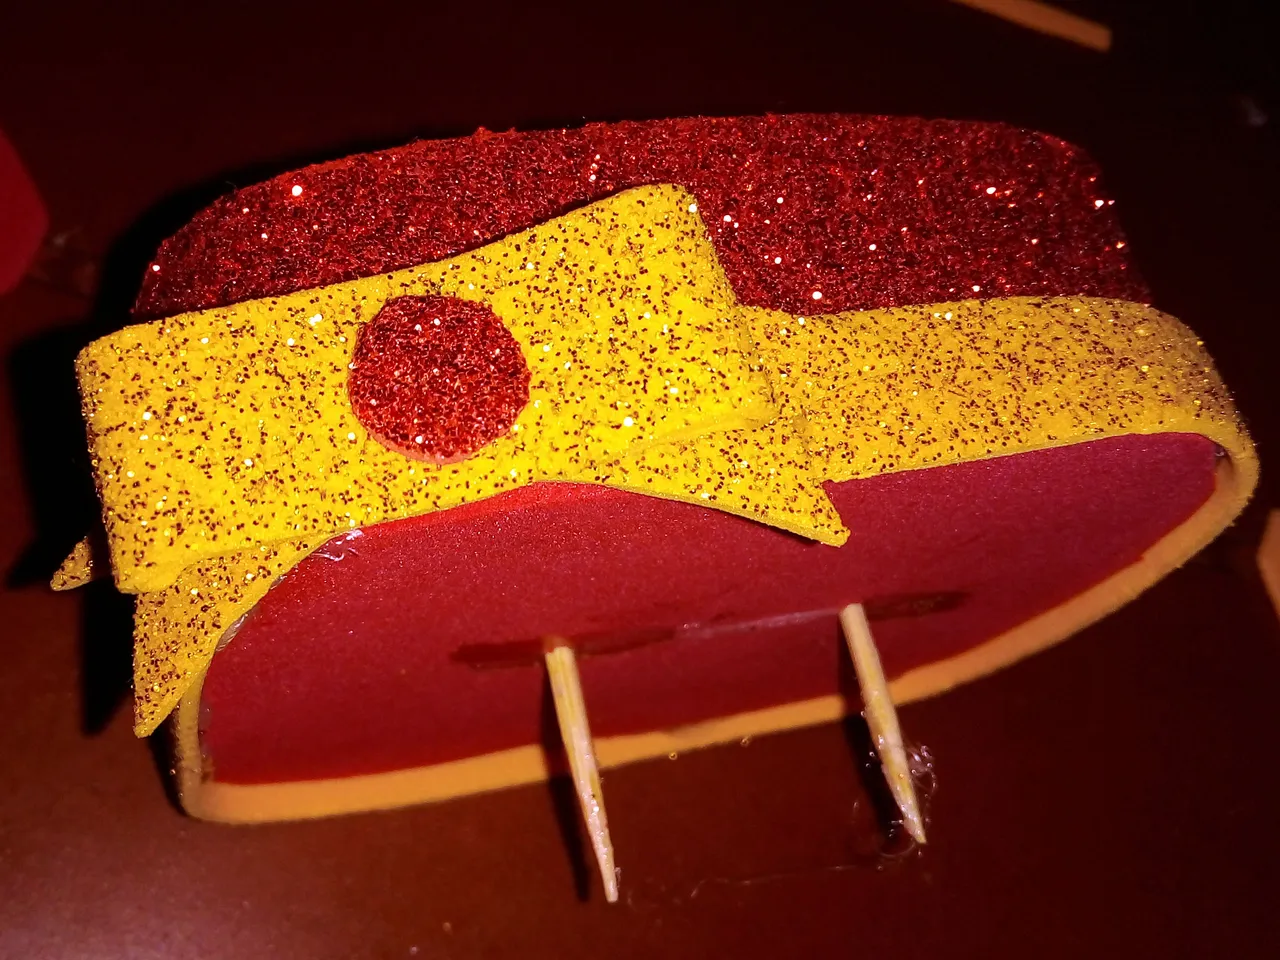
In the bottom compartment I glued two strips of yellow foami with frosting and attached them with wooden sticks and silicone:
En el compartimiento de abajo pegué dos tiras de foami amarillo con escarcha y las sujeté con palillos de madera y silicón:
 |  |
|---|
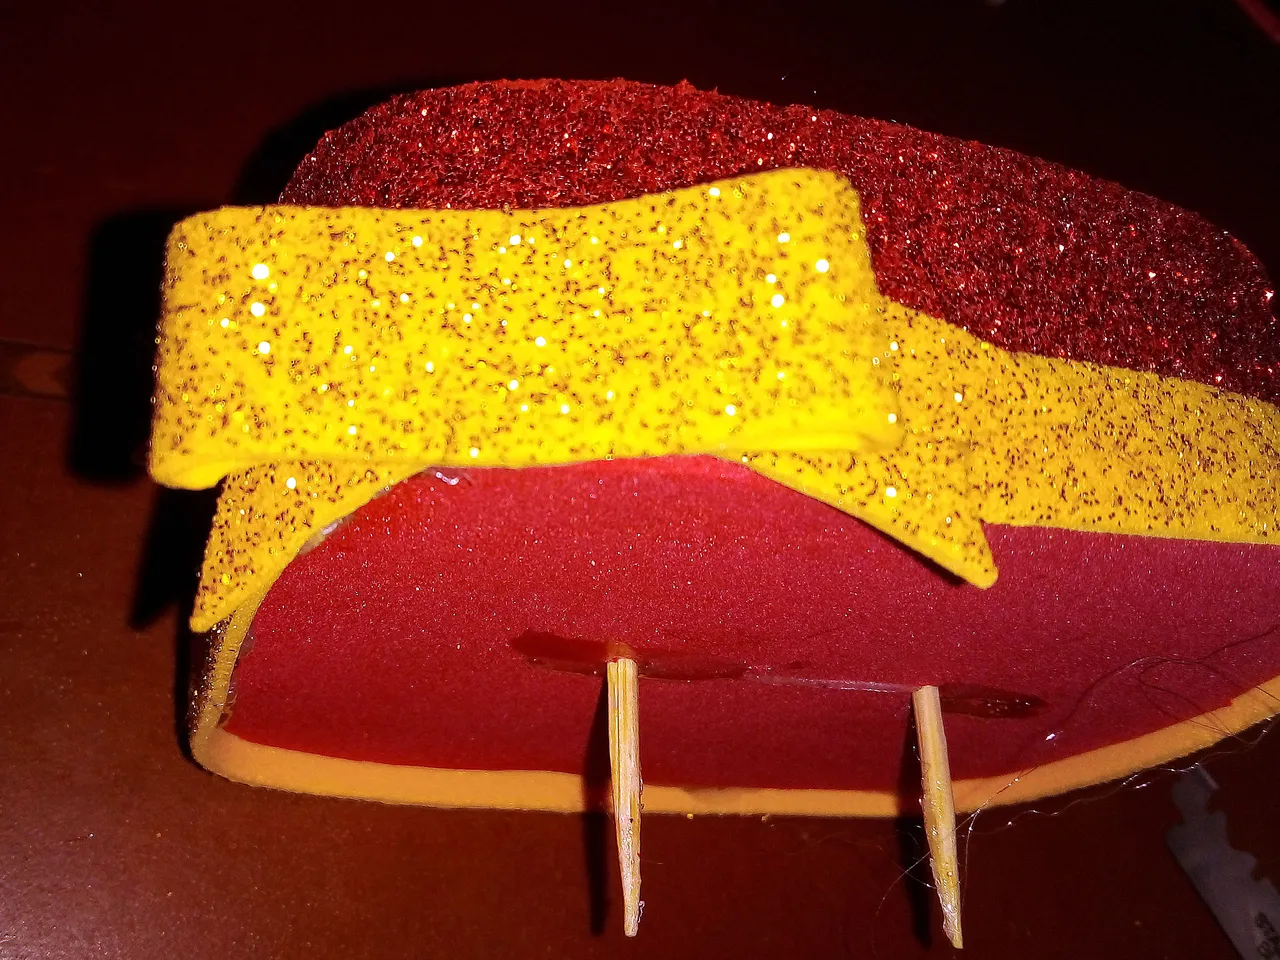
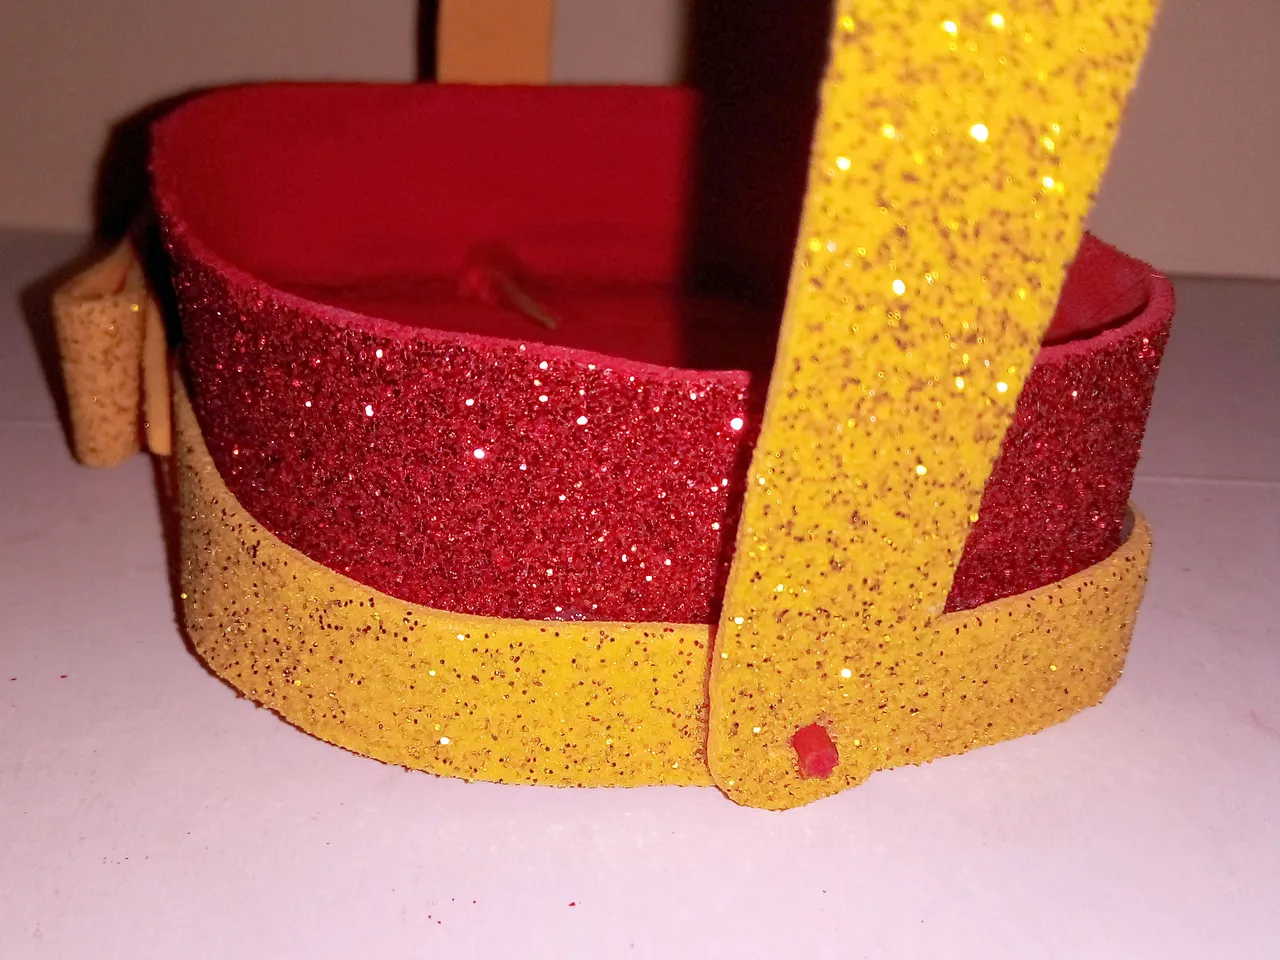
Then I placed two foami loops to hold the yellow strips that would hold the lower compartment of the main box.
Después coloqué dos trabillas de foami para sujetar las tiras amarillas que sujetaran el compartimiento inferior de la cajita principal.
Below I show you how I attached the yellow strips to the loops of the main box, as if it were a strap.
A continuación les muestro como sujeté las tiras amarillas en las trabillas de la caja principal, como si fuese una correa.
 |  |
|---|
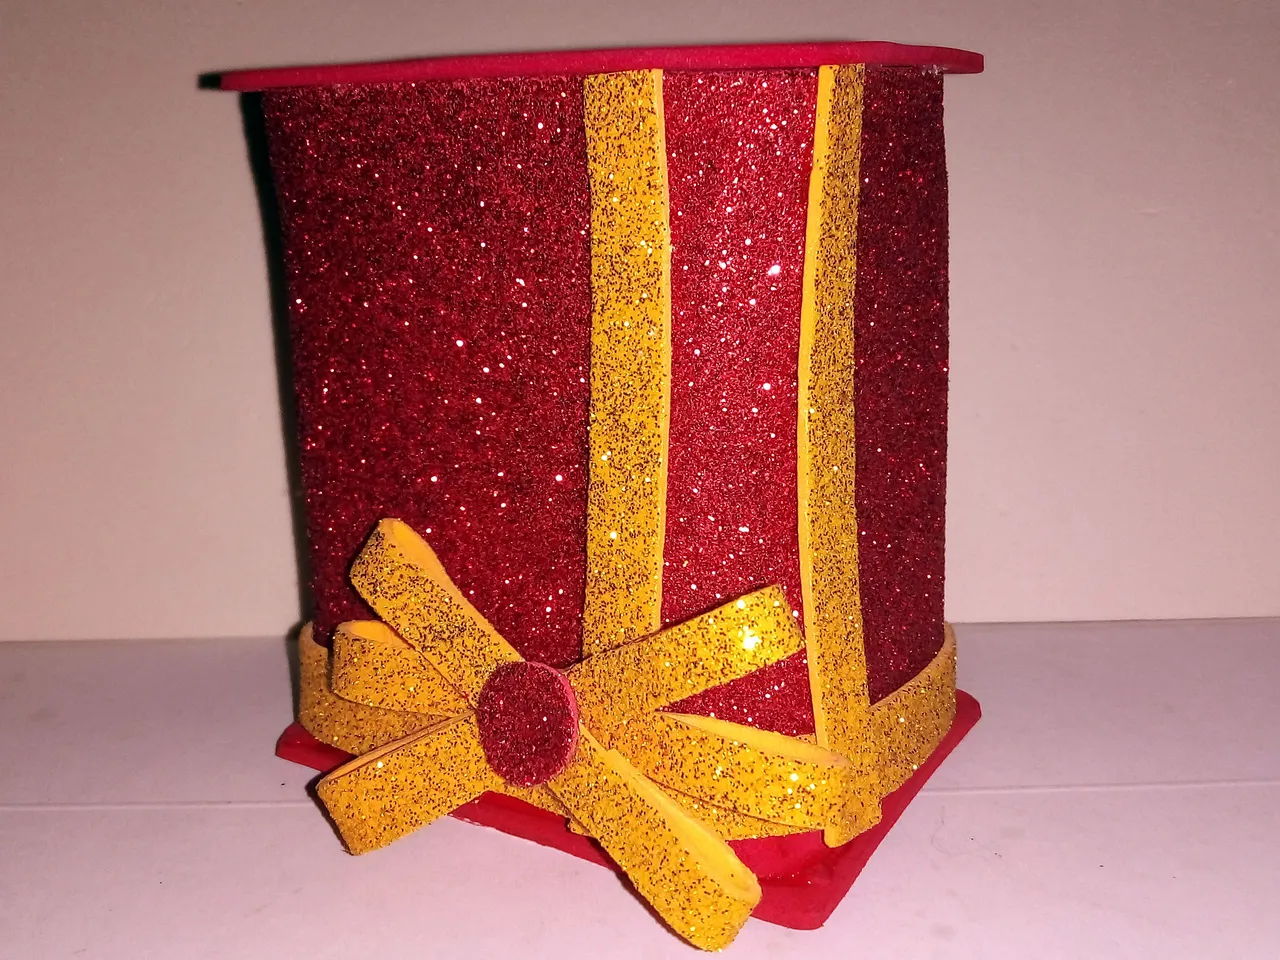
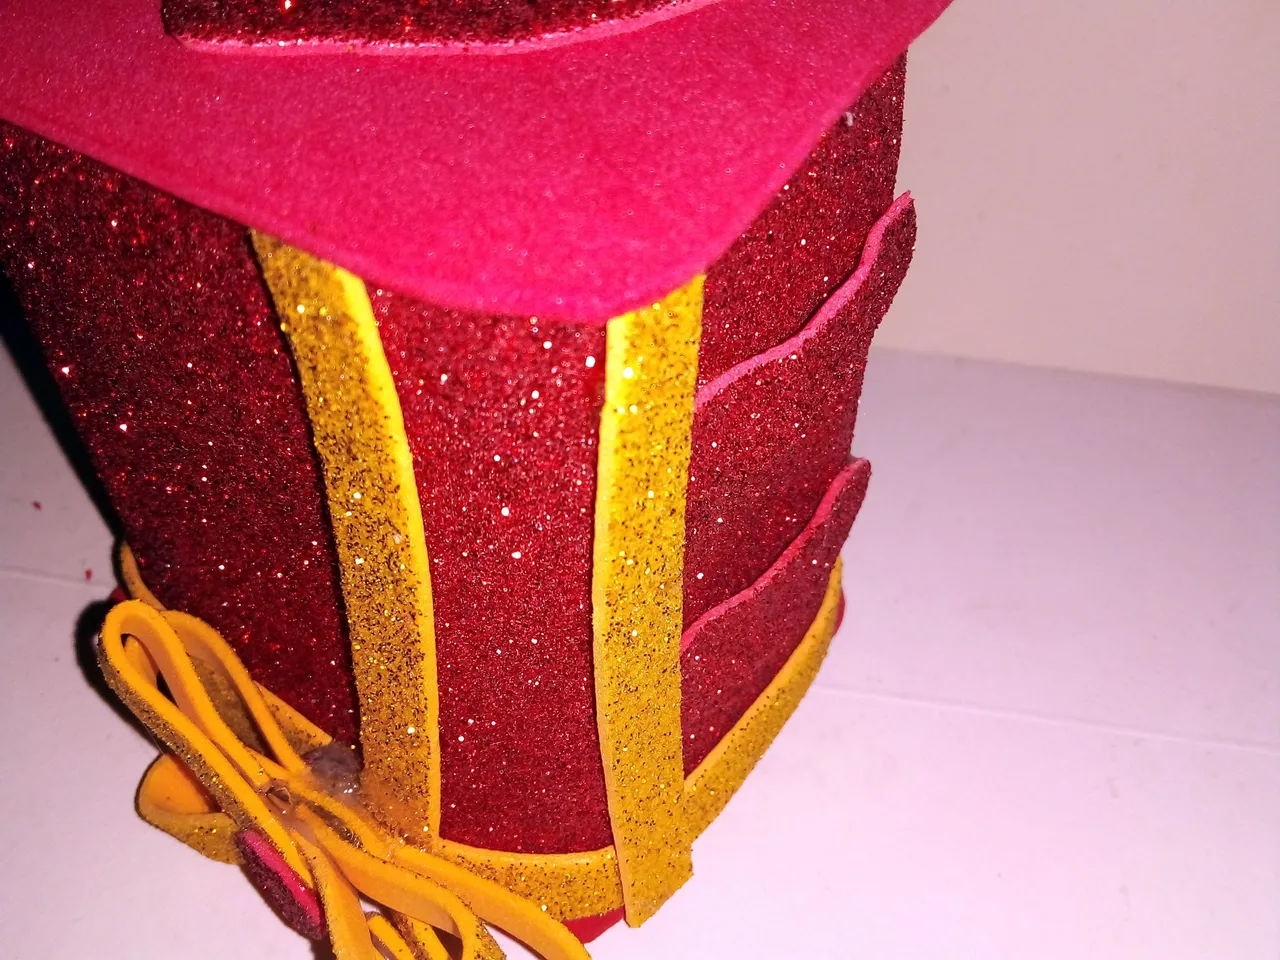
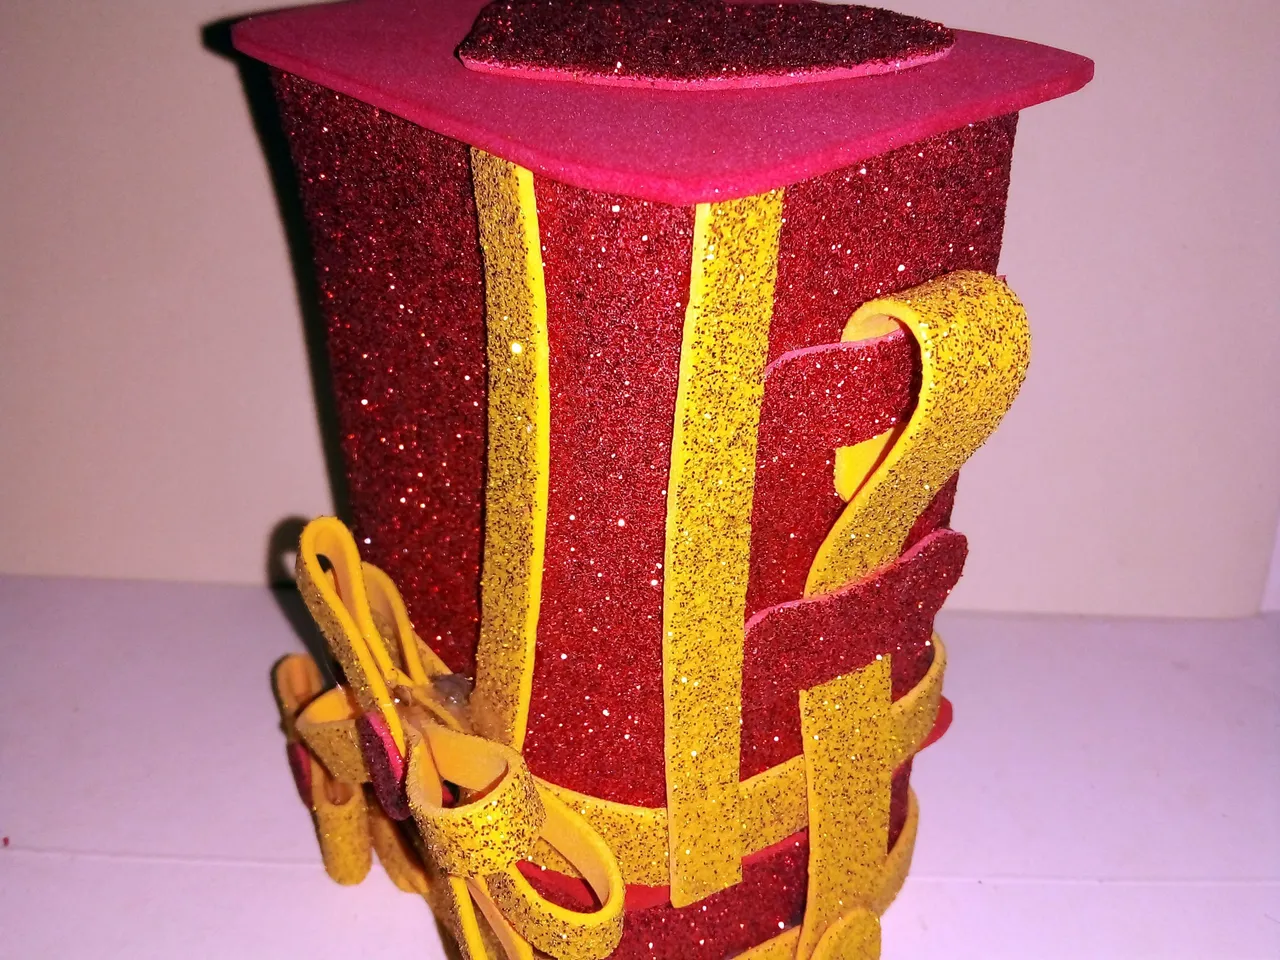
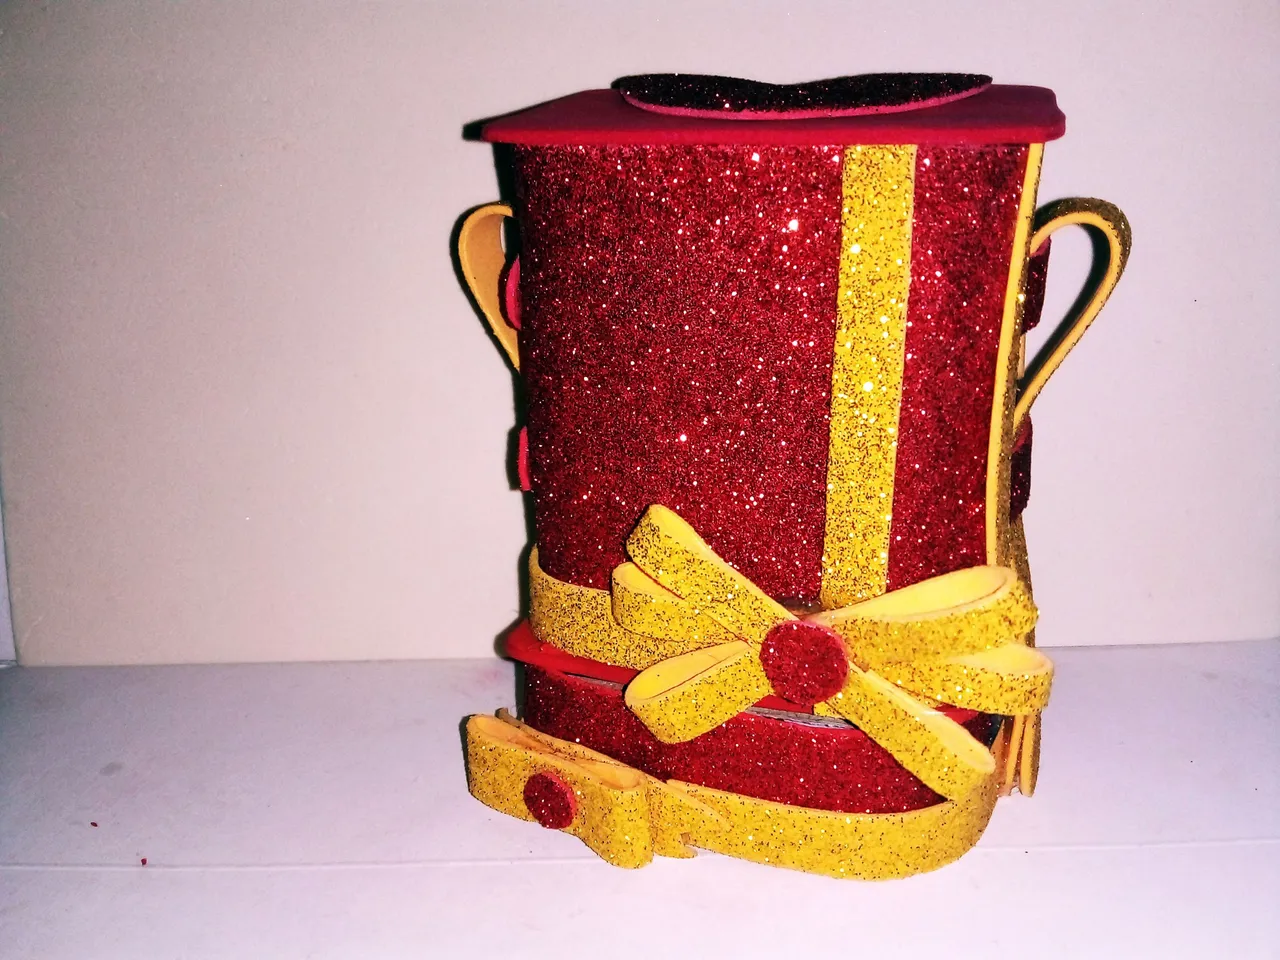
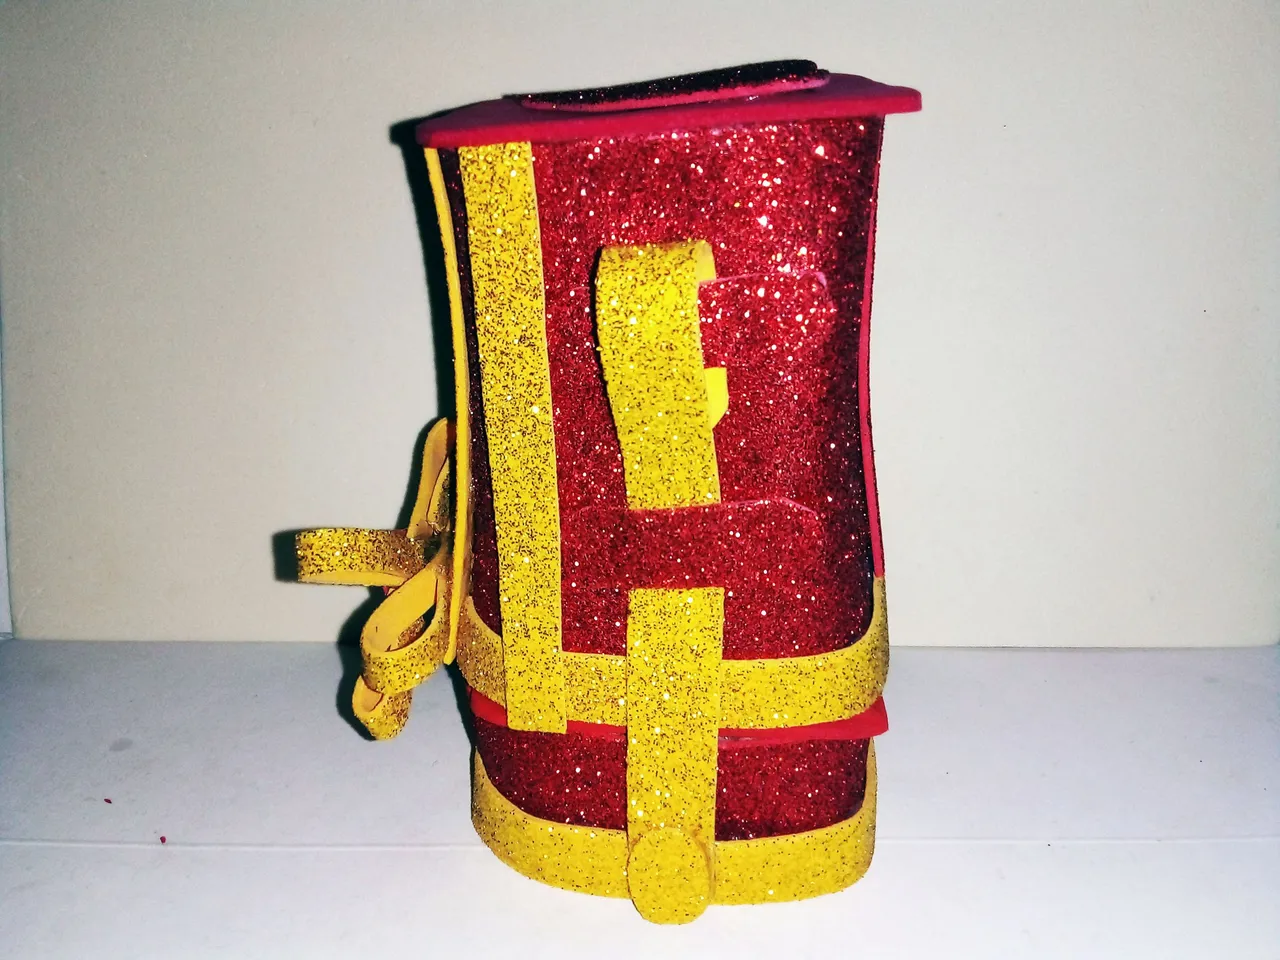
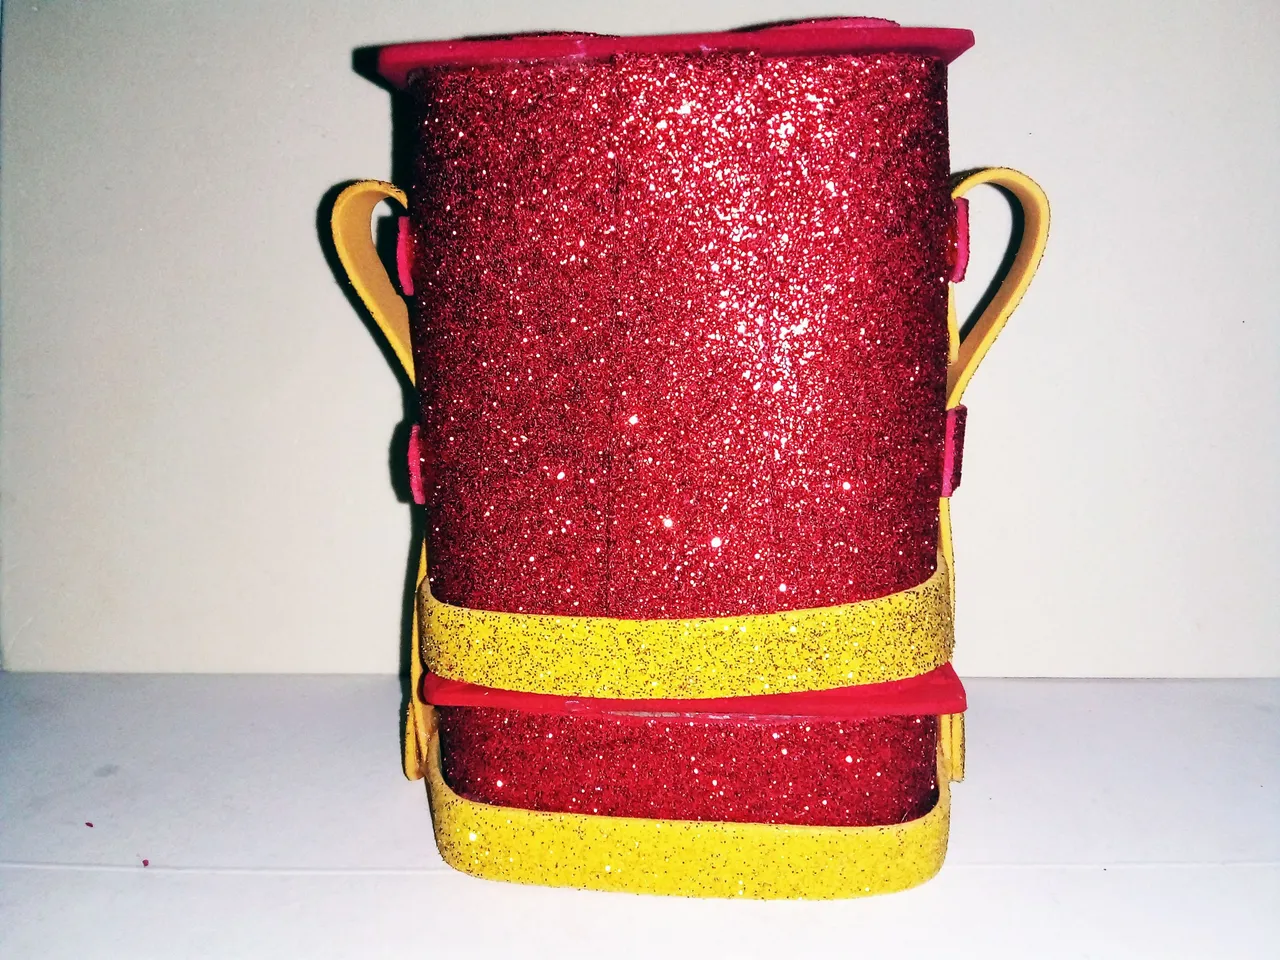
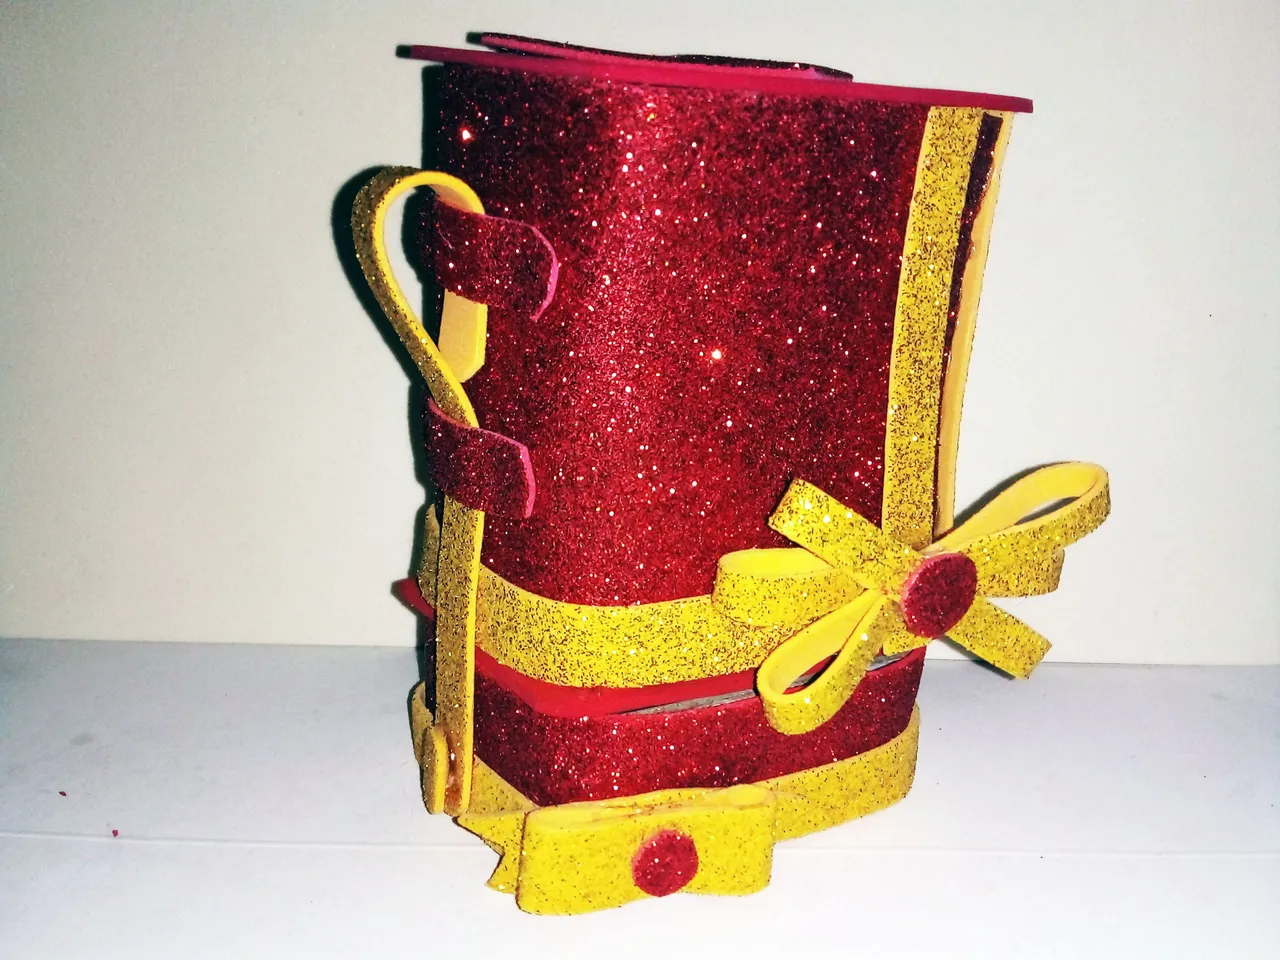
And this is how the box was finished. Below you can see a series of pictures of the final result.
Y de esta manera quedó terminada la cajita. A continuación pueden ver una serie de fotografías del resultado final.
Well friends, that's all for now. I hope you like this simple gift box that you can try to make or copy to give gifts to your loved ones.
If you like you can leave your opinions below in the comments, as always I will be happy to read them. With nothing more to add, I'll say goodbye then....
See you next time!!!
Bien amigos, esto ha sido todo por ahora. Espero que les guste esta sencilla cajita de regalo que pueden intentar hacer o copiar para darle regalos a sus seres queridos.
Si gustan pueden dejar sus opiniones abajo en los comentarios, como siempre estaré encantado de leerlos. Sin más que agregar, me despido entonces...
¡Hasta la próxima!

Traducido con DeepL
WE89 - Beard
RisingStar Update + Giveaway Nro 3: Win 2000 Starbits + 2 Common Cards
Gabo Empanadas: Chocolate & Peanut