
My new "Astro-PC"
The initial hardware
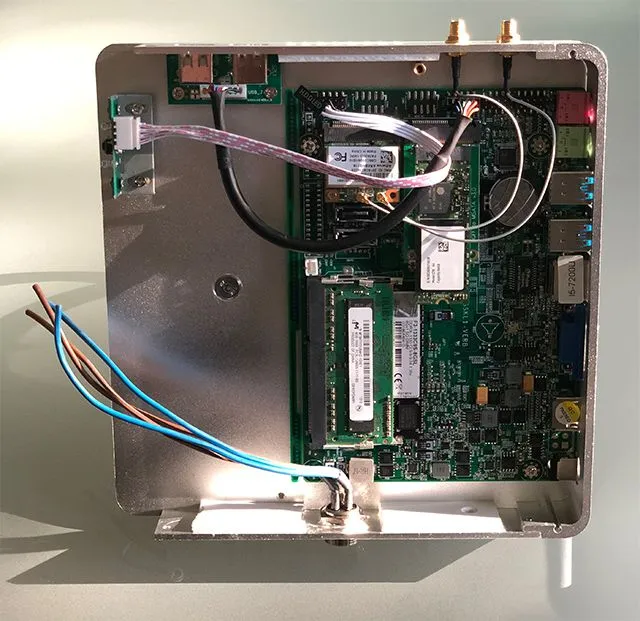
As mini PC I have bought one on Aliexpress without RAM and storage. The price where good but the quality isn't that good.
With the parts that I had at home the PC has the following specifications:
CPU: Intel Core i5 7200U
RAM: 12 GB DDR3 L
Storage: 64 GB SSD
The CPU should be fast enough to run all available astro software without any problems. Also it needs very low power.
I have bought the mini PC from EGLOBAL on Aliexpress. I do not recomend to buy from this seller, if someone will also build up a mini PC for astro or something else.
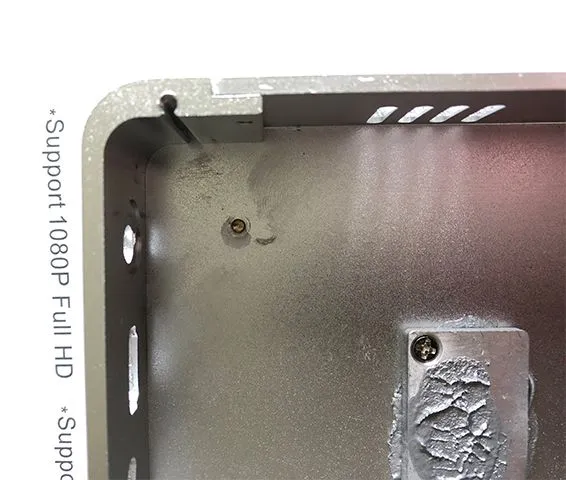
The PC that was delivered had a broken spacer for the Mainboard. They tried to glue it in place but where not able to do this right.
Also there is a ton thermal grease to bridge over the big gap between the CPU and the heat sink.
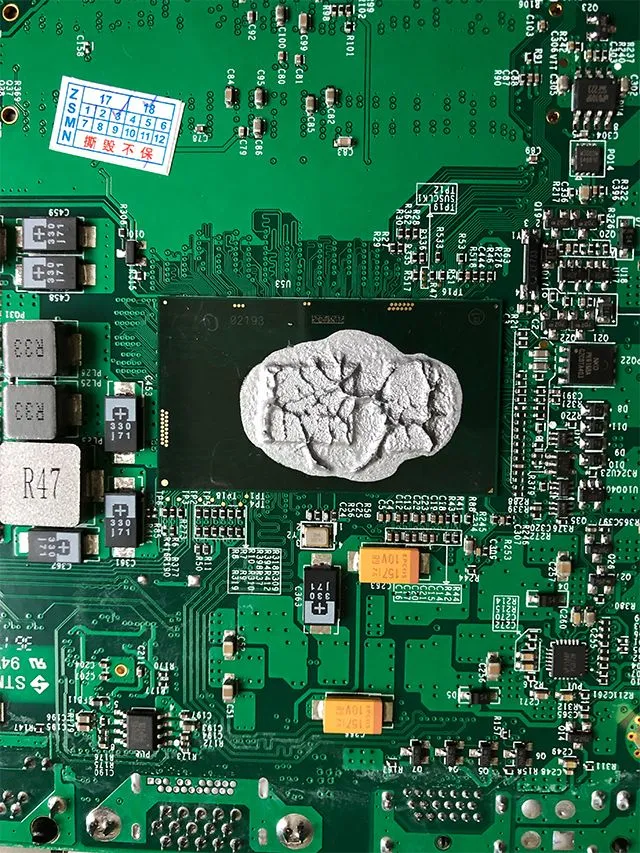
Besides the CPU on the Board is an engineering sample. So maybe not all functions in the CPU are activated.
The customer service is the worst I have ever seen.
But fortunately for other project there will be a lot of different sellers of such mini PCs.
A little bit of modifikation
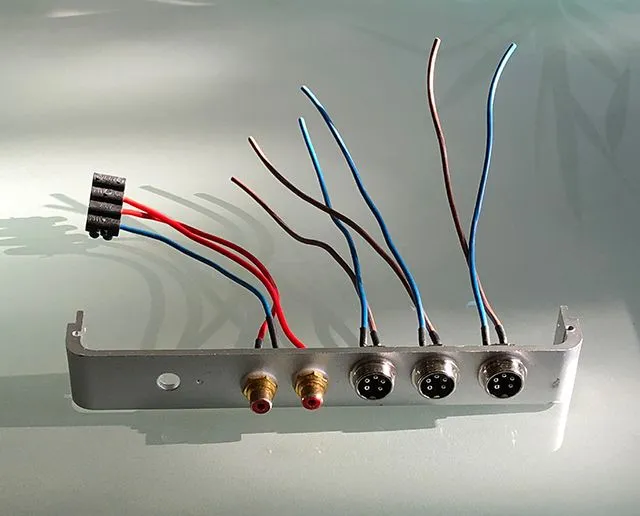
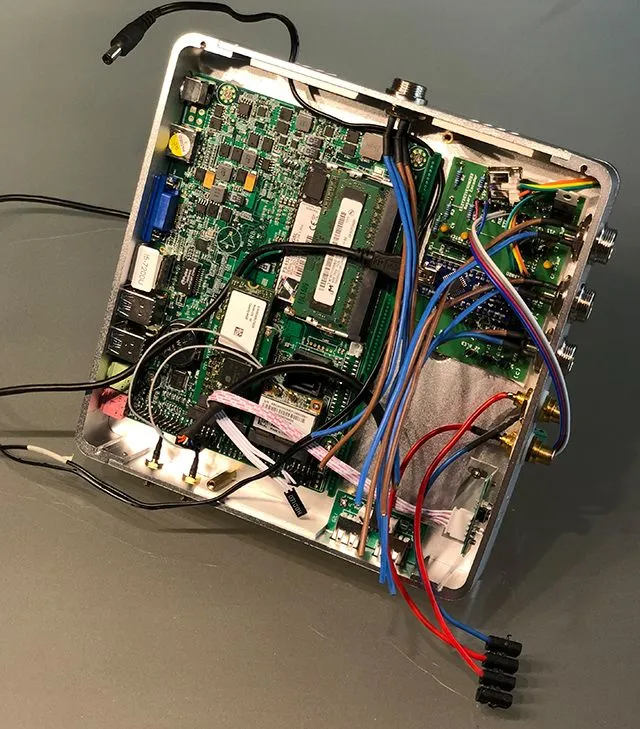
I have drilled some holes in one side an placed some electrical sockets for equipment. The Chinch sockets are for the dew heaters and the other sockets are for the camera and other external devices.
On the other side i placed a electrical socket for main power.
Many cables that need to be connected and wired.
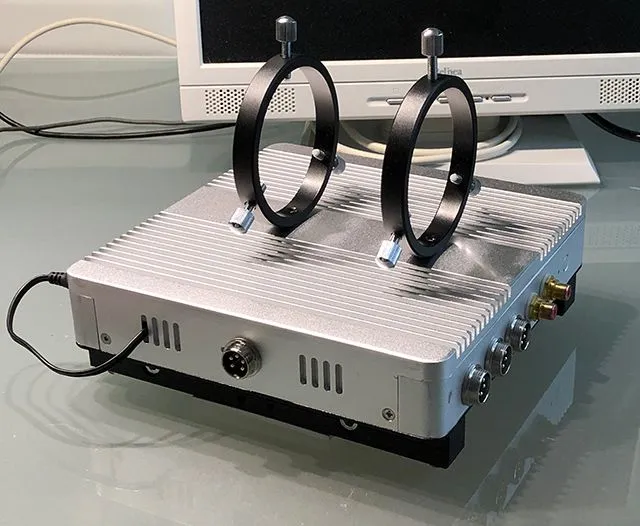
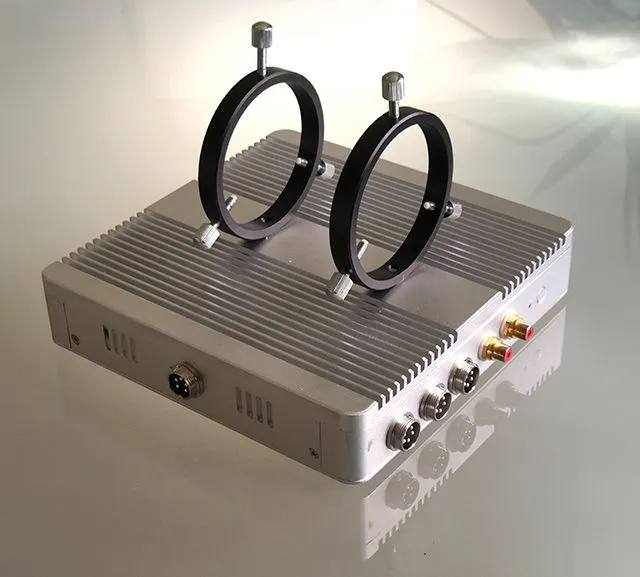
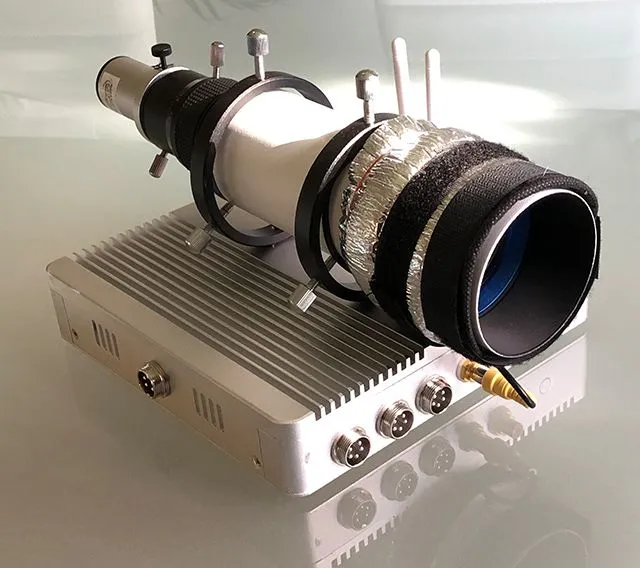
Modifikation to mount the guide tube on top of the PC
I have just drilled two holes through the top of the case so that I can mount the tube rings for the guide tube.
The rings are screwed from inside the case. The screws are fixed with a little bit of glue.
Modifikation to make the case more solid
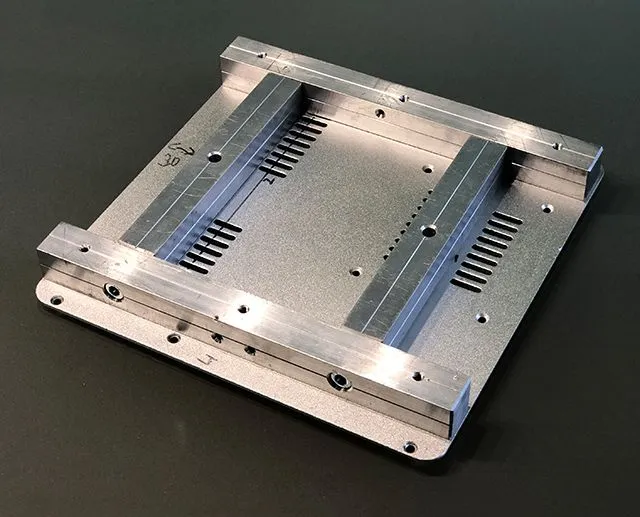
The bottom of the case needs some modifications to get more stable and that the whole PC can be mounted on the telescope.
First I made a frame out of a 20 mm aluminium rod and screwed it on the bottom plate of the case.
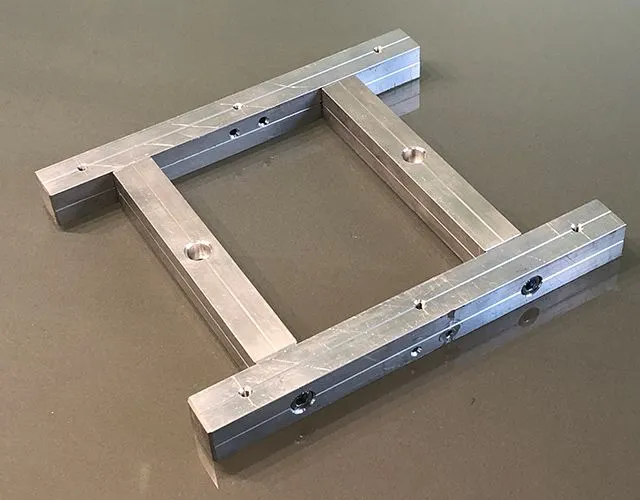
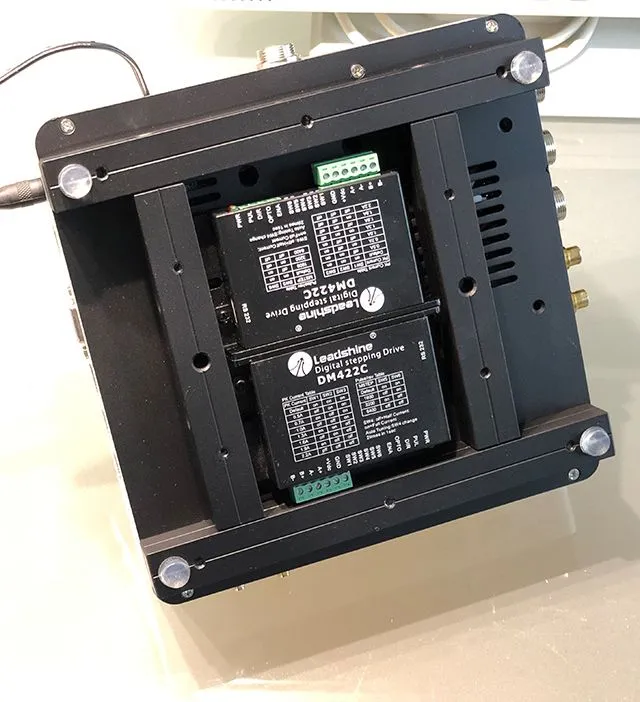
After a little bit of color all was screwed together. The space in the middle of the frame will hold two Leadshine stepper drivers for the focuser and the rotator.
Todo
The final step is to 3D print a cover plate with a terminal for the 2 stepper motors.
Now I'm hoping for some clear nights to setup and test everything.
Thank you for reading and I hope you enjoyed it.
If so, you can follow me here @astrophoto.kevin
All images and text published in this post are my original work.
©2018 All rights reserved.