
Greetings to all, fellow HIVE members. As some of you know, for some time now I have been working on a personal project called "The Terminal Assemble", a project that consists of a set of figurines representing the members of TheTerminal staff that I know.
In previous posts I have shared with you some of the figurines I have already made. You can see each figurine by following these links:
Iron-Kitty (@thekittygirl):
@gaboamc2393/iron-kitty-sculpture-escultura-de-iron-kitty-engesp
Hawk-wes (@wesphilbin):
@gaboamc2393/hawk-wes-sculpture-eng-esp
Captain Britt (@brittandjosie):
@gaboamc2393/captain-britt-sculpture-eng-esp
Winter Greeter (@stayten):
@gaboamc2393/winter-greeter-sculpture-eng-esp
Well, today is the turn of another member of the staff very appreciated by all, @justclickindiva. I sincerely hope you like this figurine, because it is one of the last ones next to @jamerussell's, which I will post very soon. I present to you then, Agent Chris.
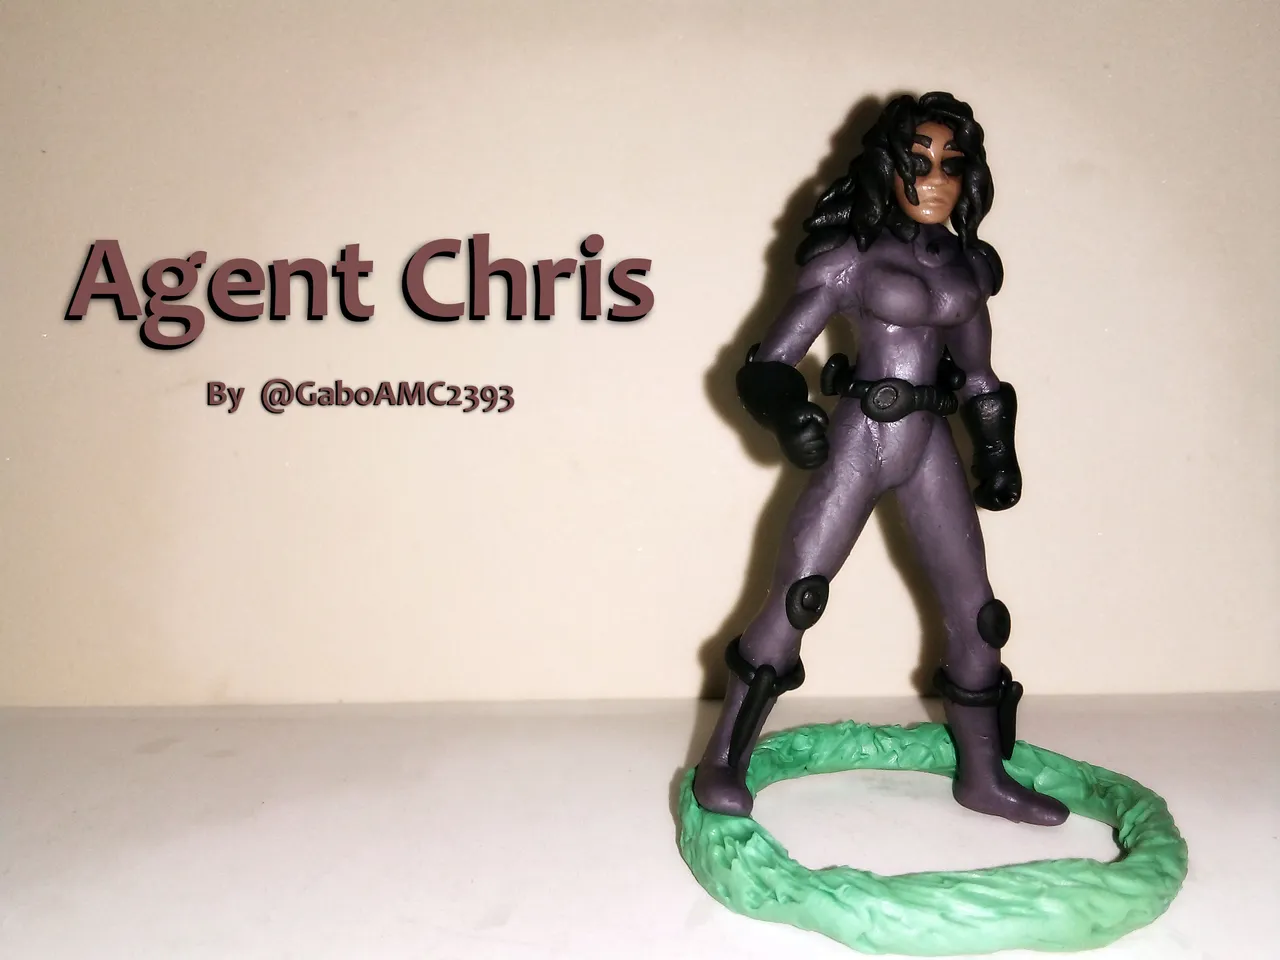
As some will understand, the design of all these figures are inspired by Marvel heroes, such as Hawkeye, Captain Marvel, Iron Man or Winter Soldier. For @justclickindiva I was thinking about it a lot and in the end I decided to be inspired by the SHIELD agents and spies of that superhero universe, specifically in a representation in the purest style of Black Widow.
With this in mind, I started to make the figure, using the usual materials:
*Wire
*Wire
*Plastiline
*Tools: needle, scissors, glue.
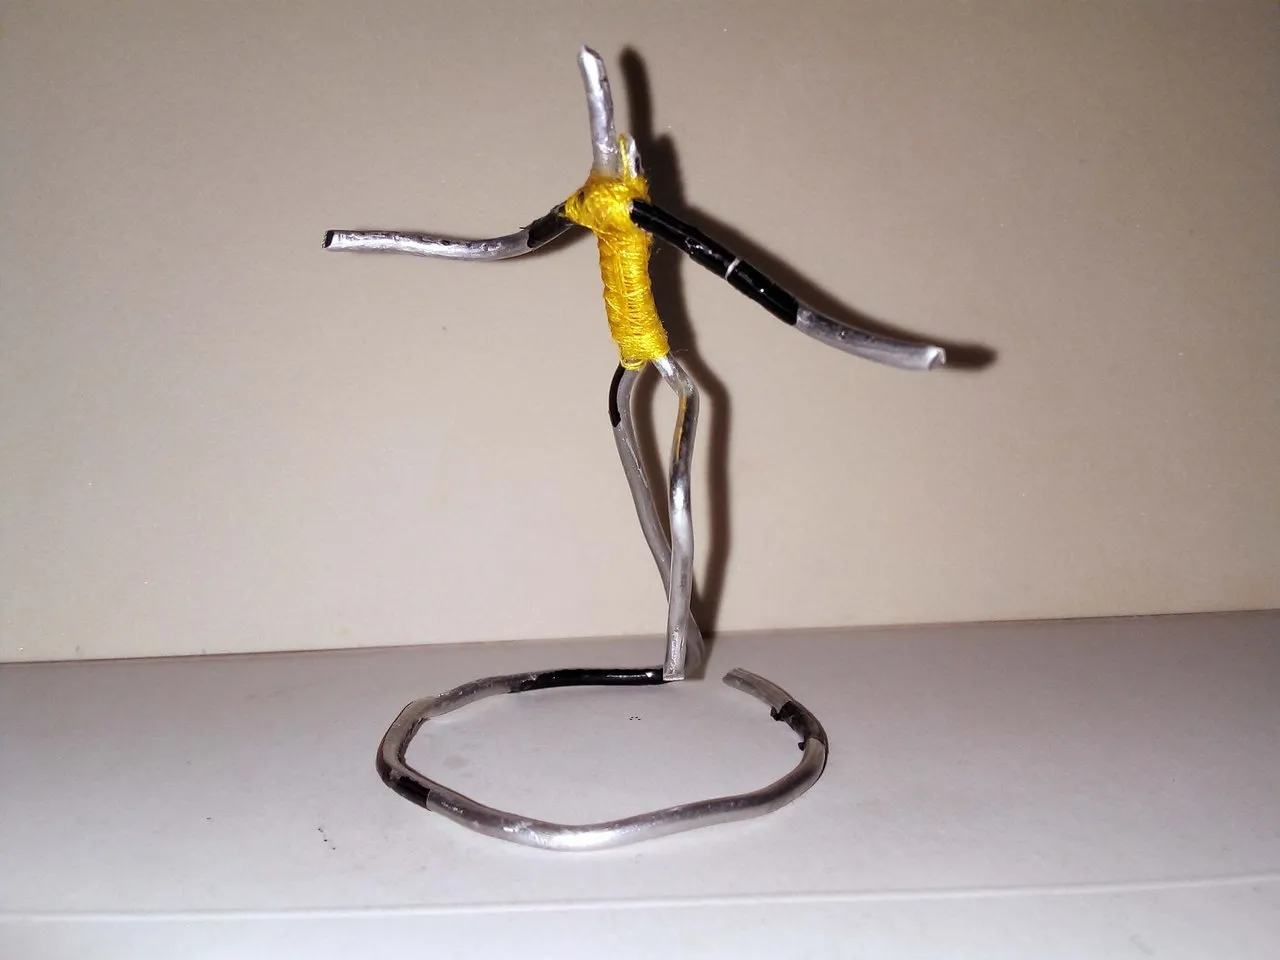
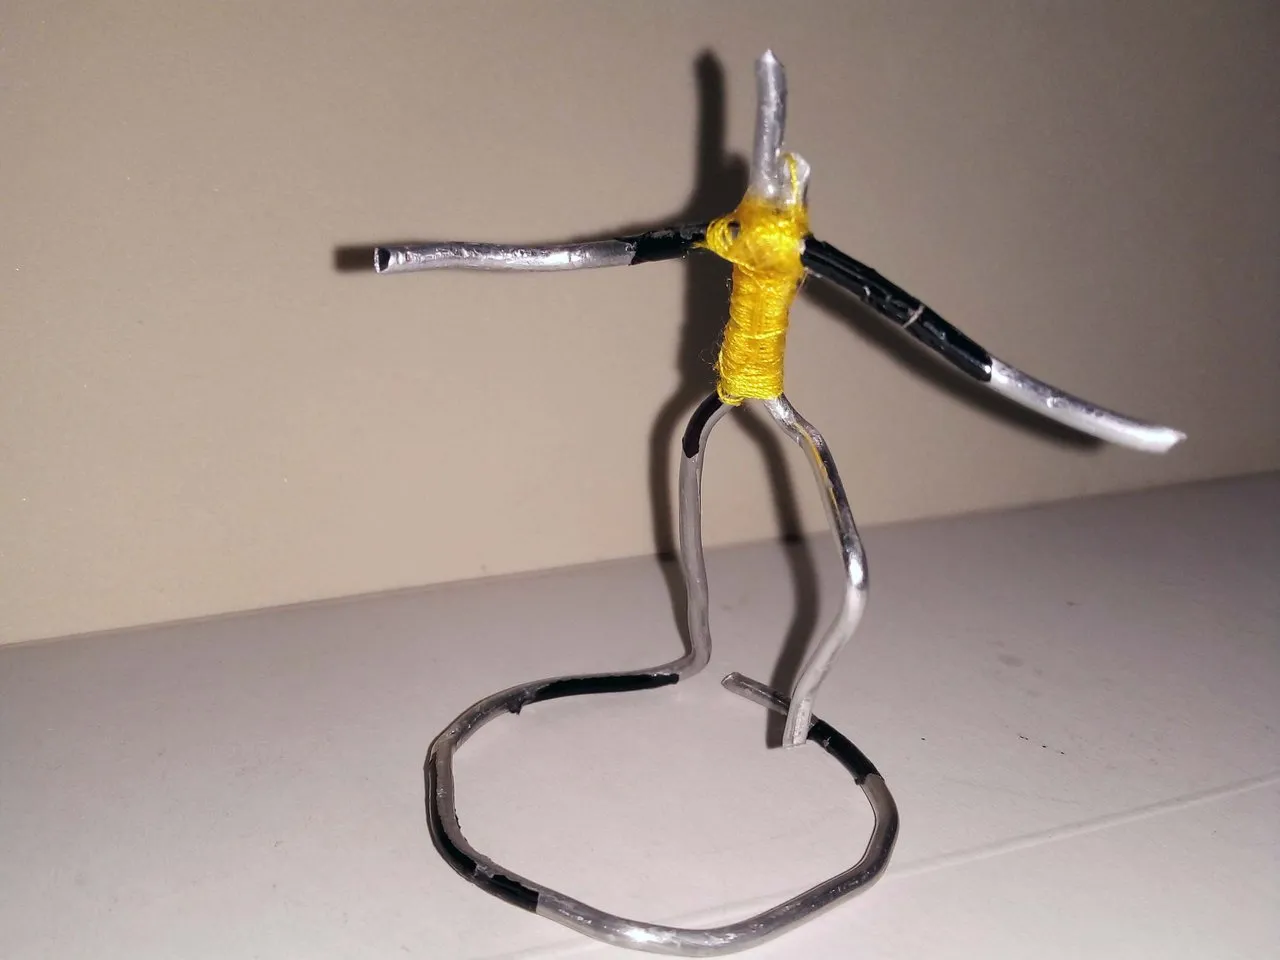
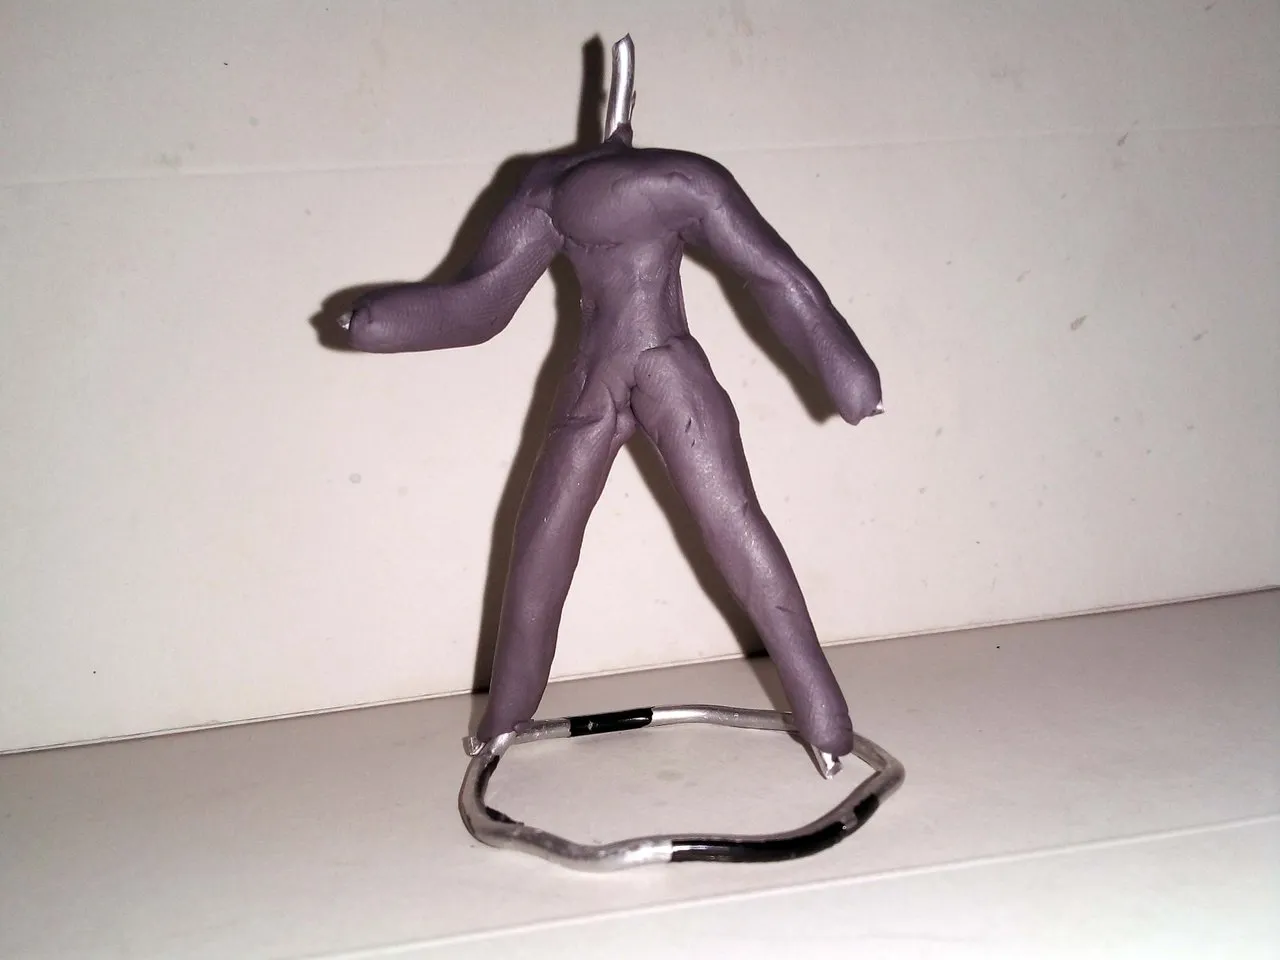
The first thing I did was the skeleton, a little static because I didn't want to give the figure a too dynamic posture:
 |  |
|---|
Once the skeleton was ready with a well-defined shape, I began to cover it with dark-colored plasticine, like the typical costume of these spies.
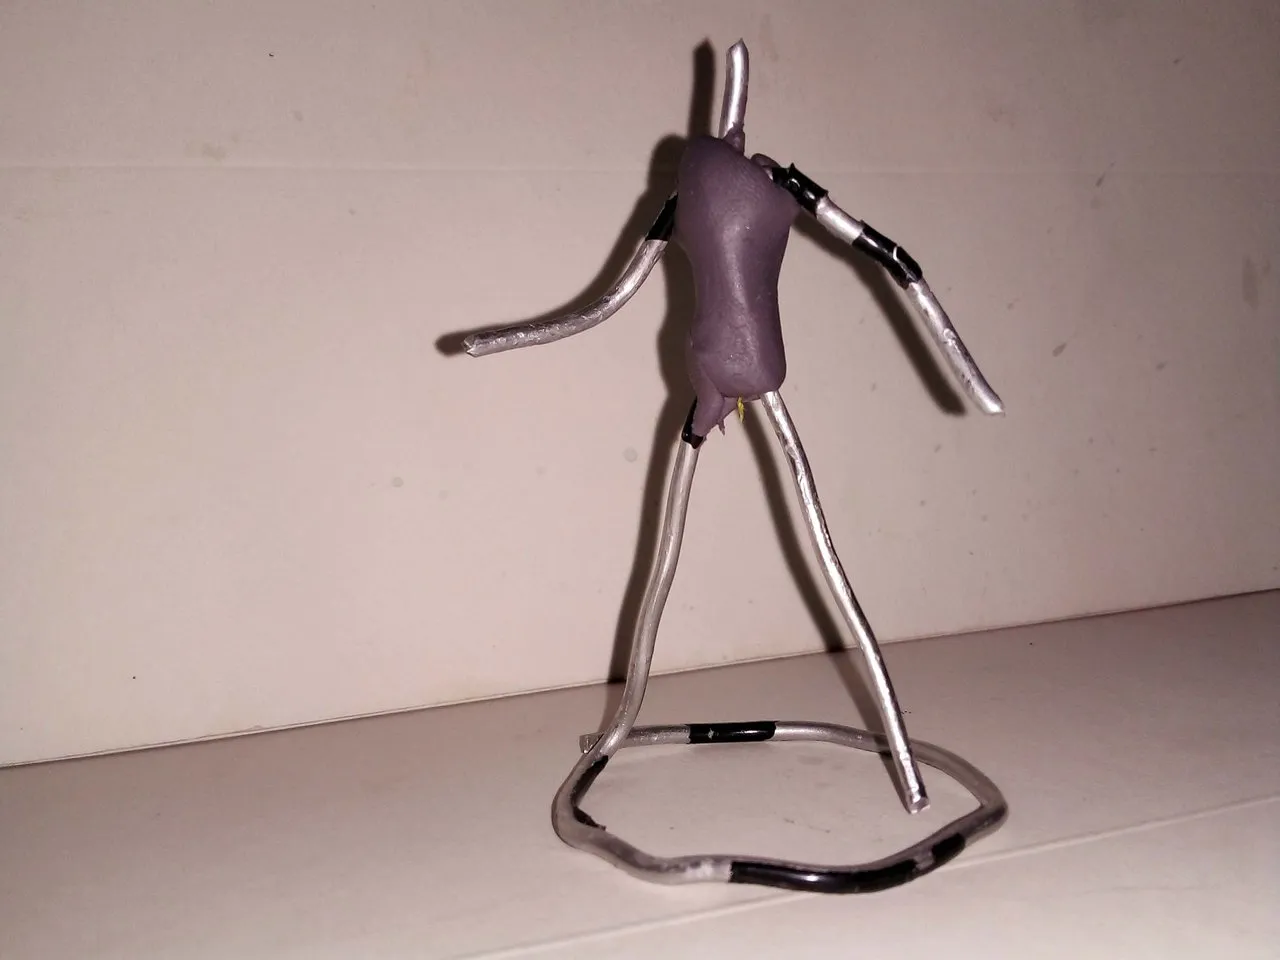
I didn't take much care in covering the frame with plasticine, as it would be a one-color plasticine piece, so I simply covered all the parts and then molded over it:
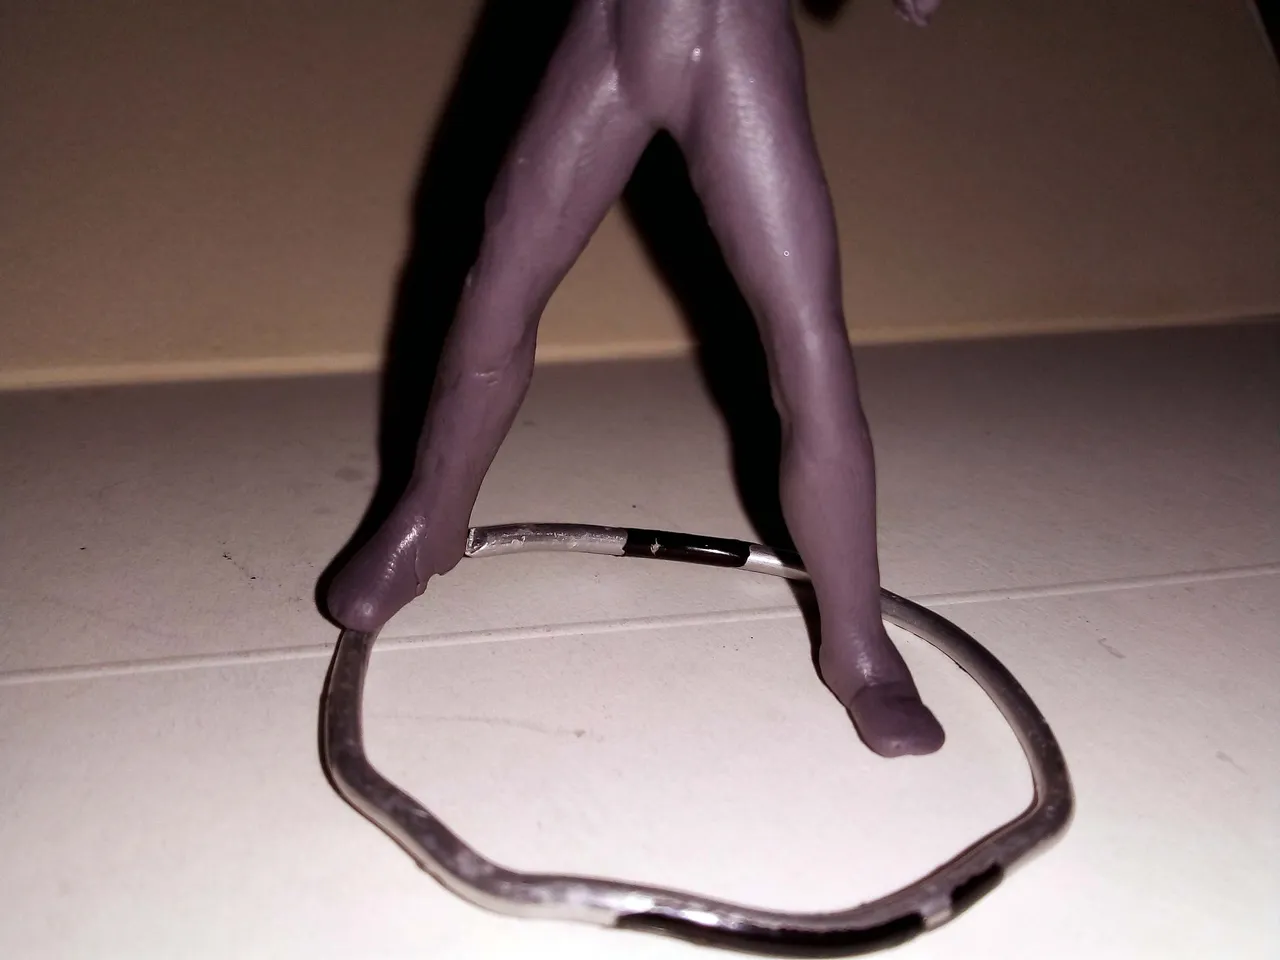
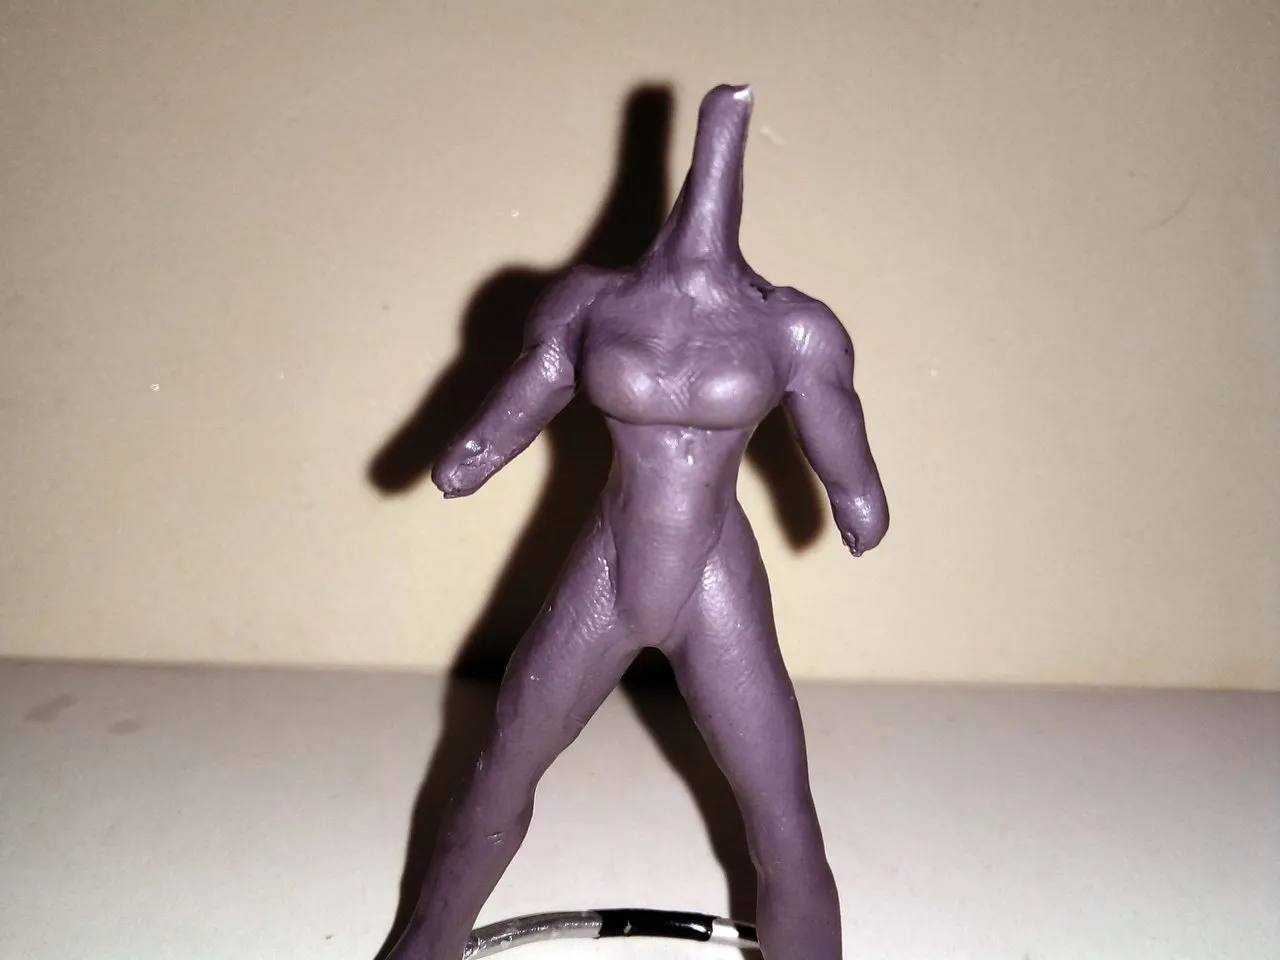
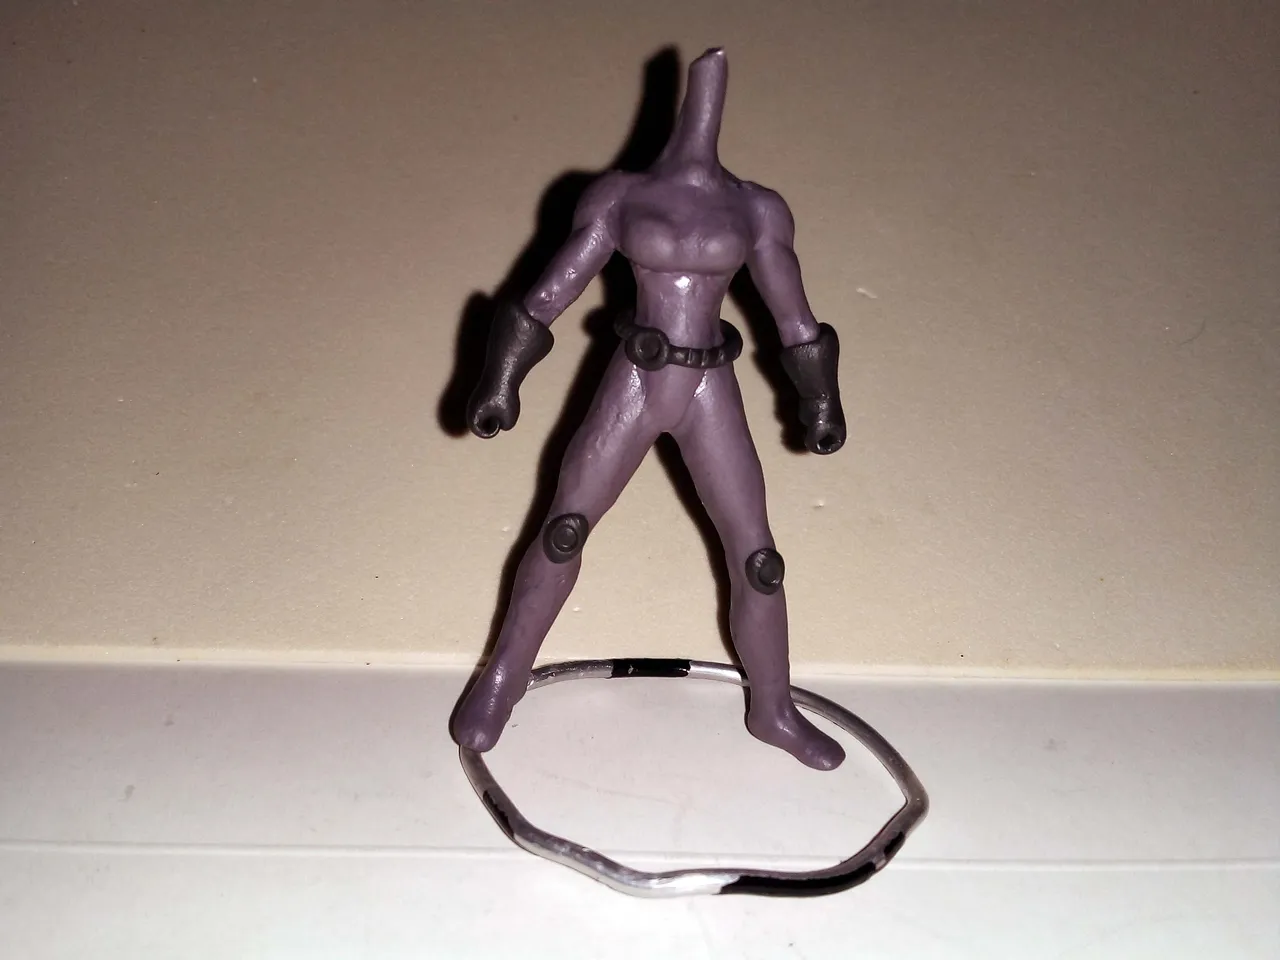
The shaping process was simple, I shaped the legs like the tight-fitting suit that it is. Then I shaped the torso with the characteristic feminine curves. In addition; I cut the forearms to place them later with another color.
 |  |
|---|
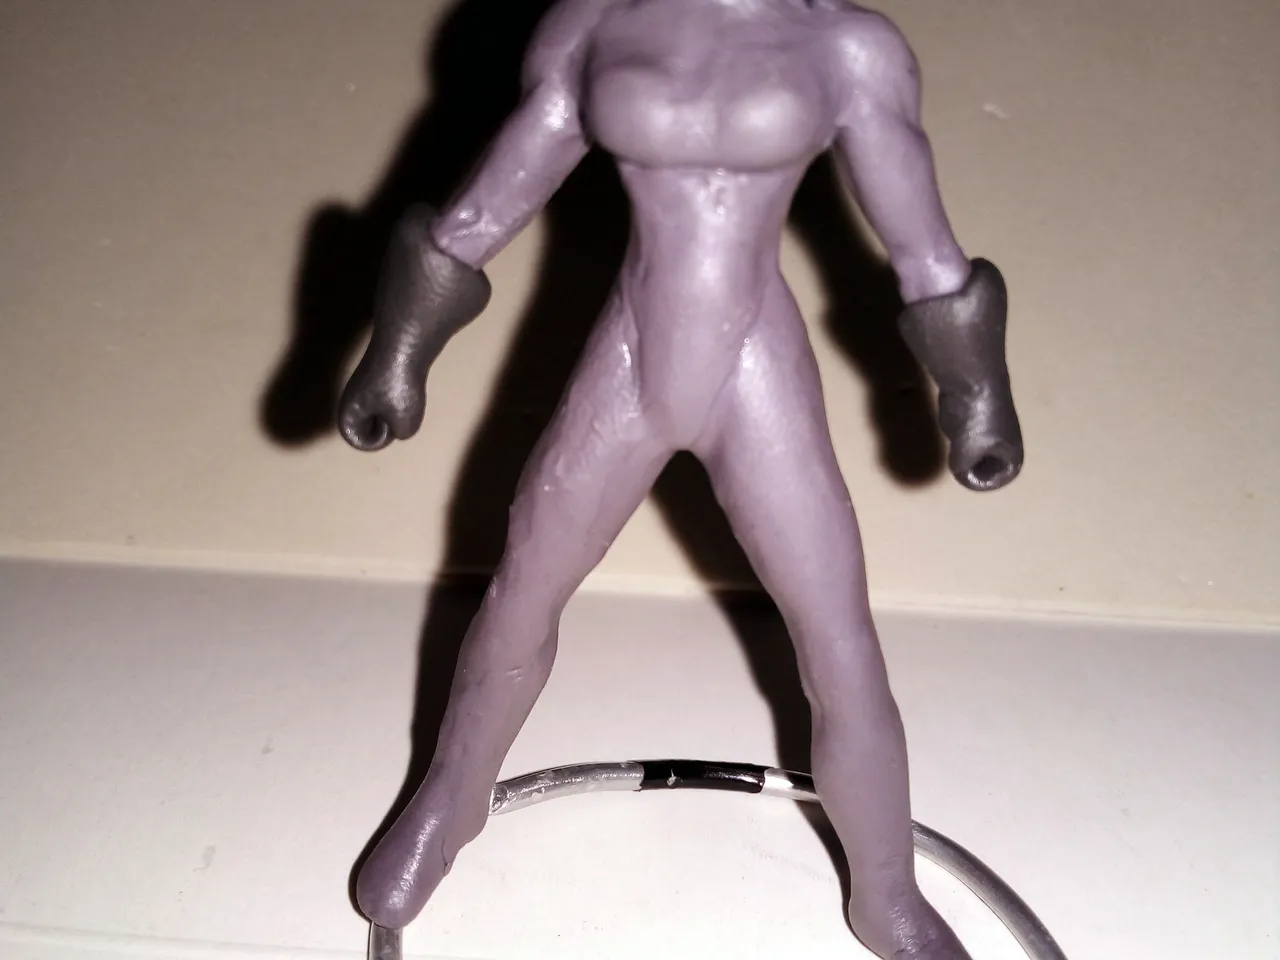
The intention was that the base color of the costume would be a dark color, but lighter than the color of the accessories that the costume would have. Below you can see the difference when I made the gloves a black color:
I then fitted him with a belt and knee pads:
Then the shoulder pads and other accessories on both the belt and boot area:
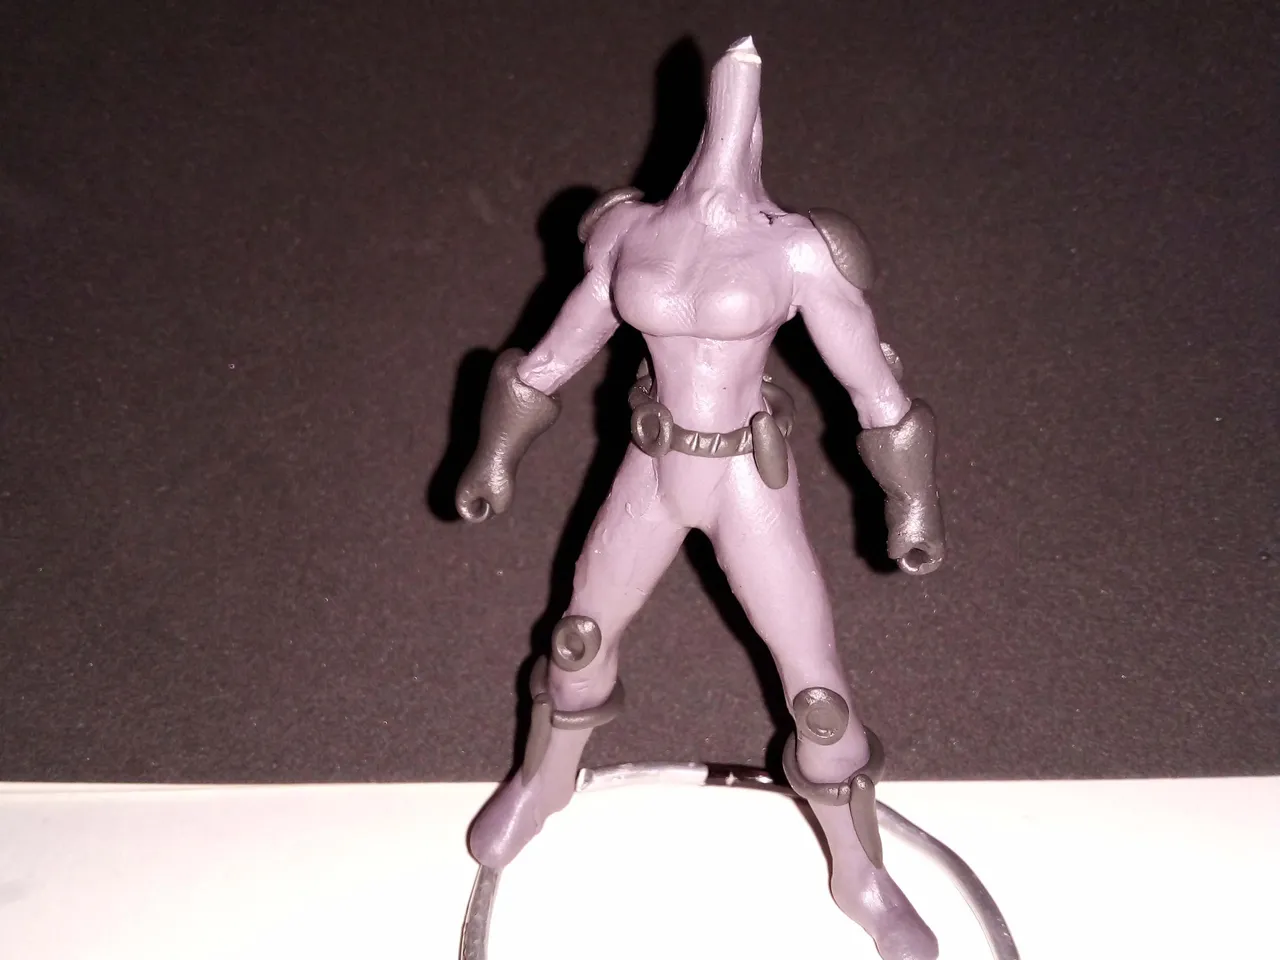 | 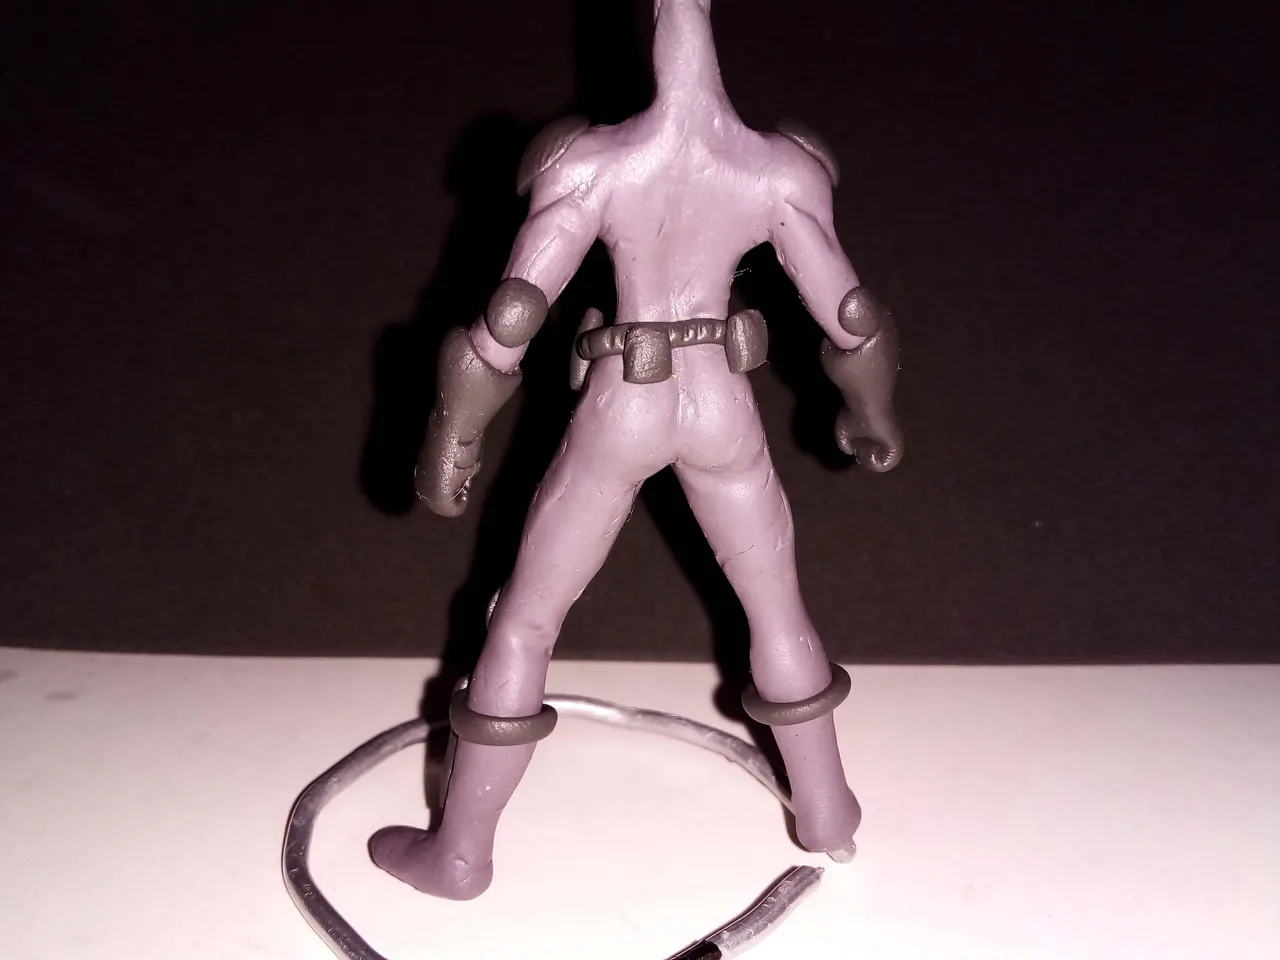 |
|---|
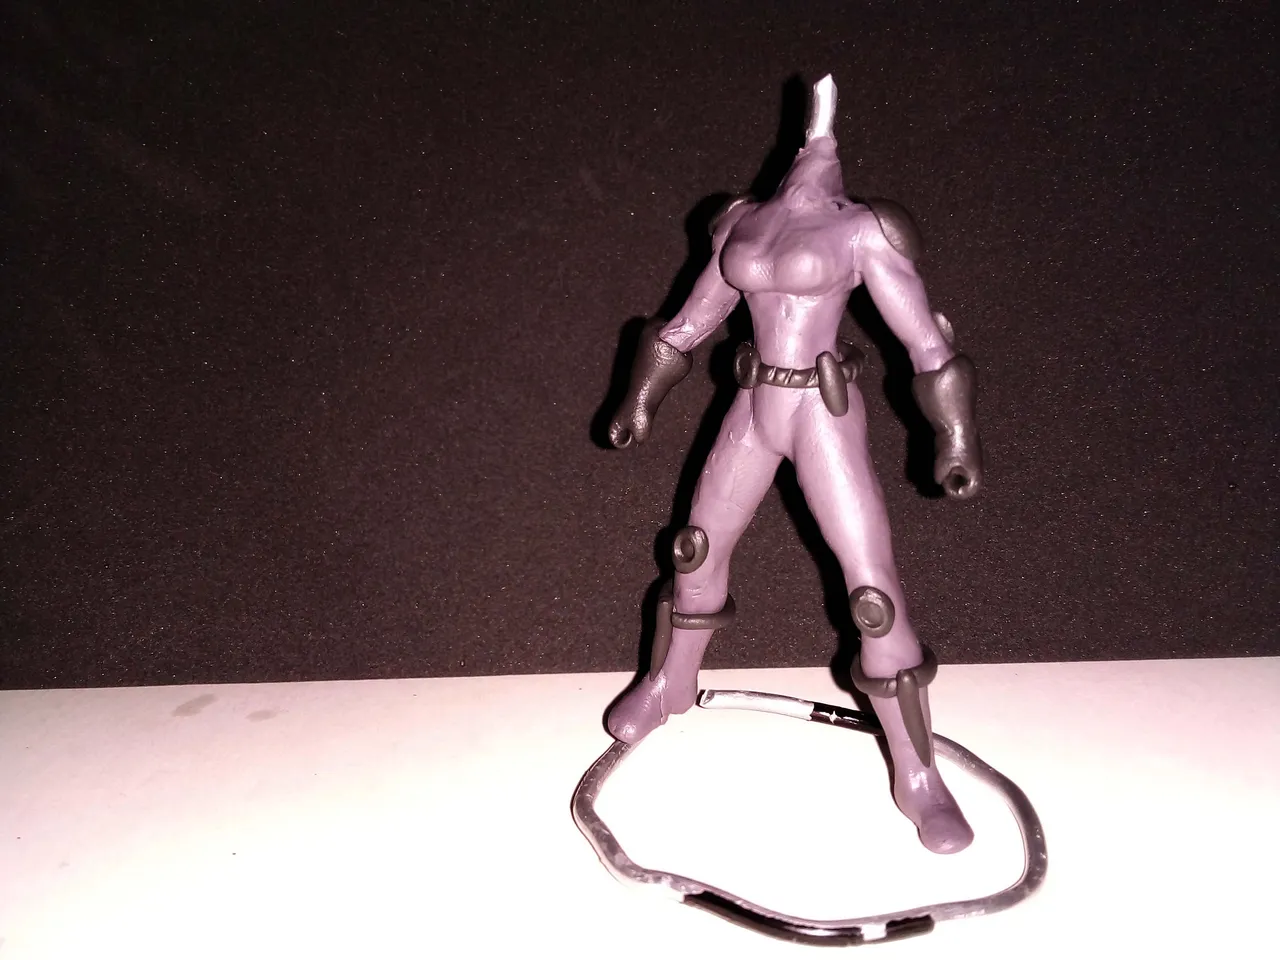
And thus the body of the figure was ready. A body in which the character is supposed to wear a tight and close-fitting suit. Below you can see the result so far:
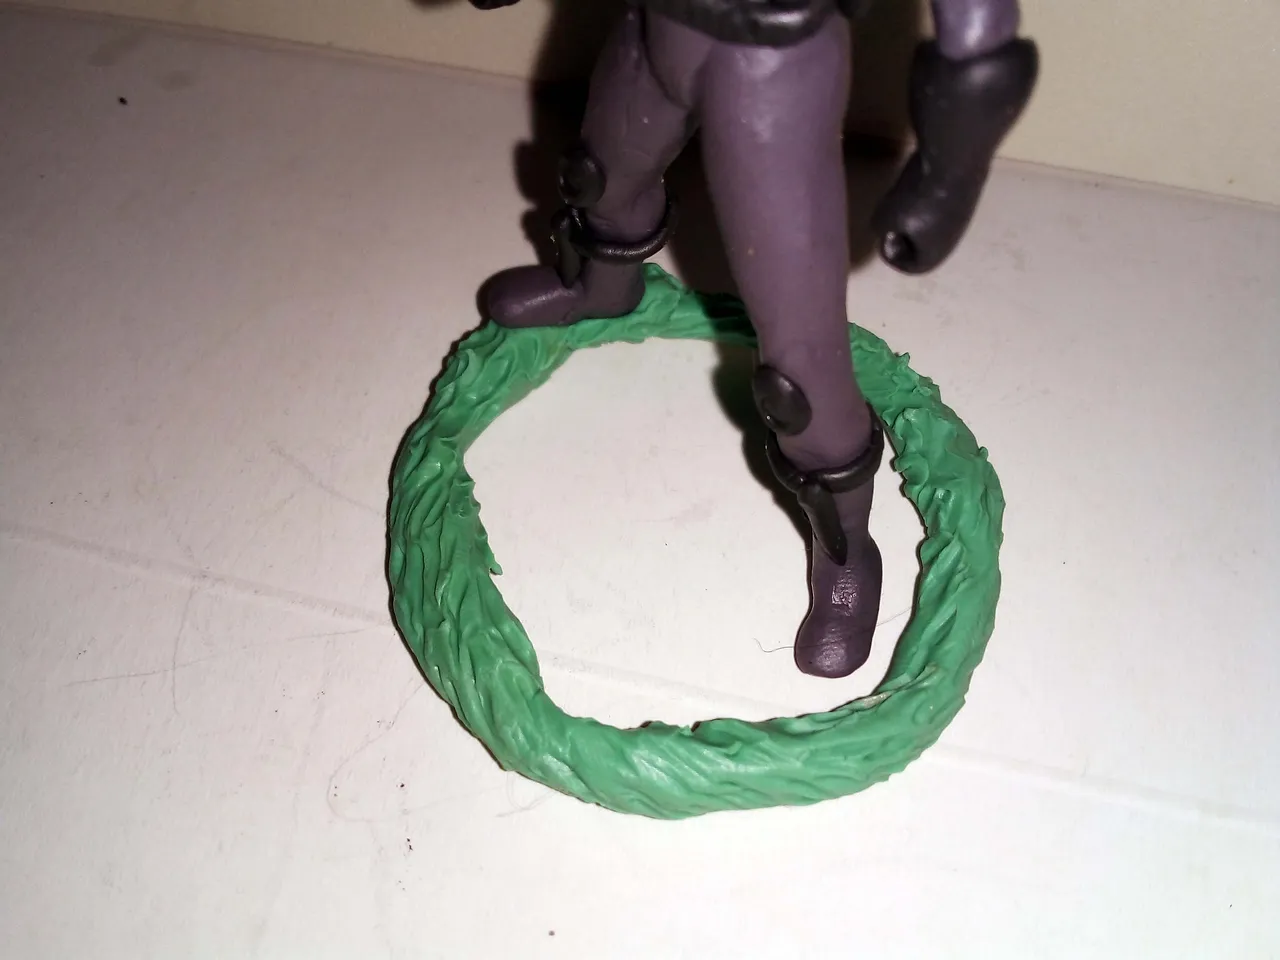
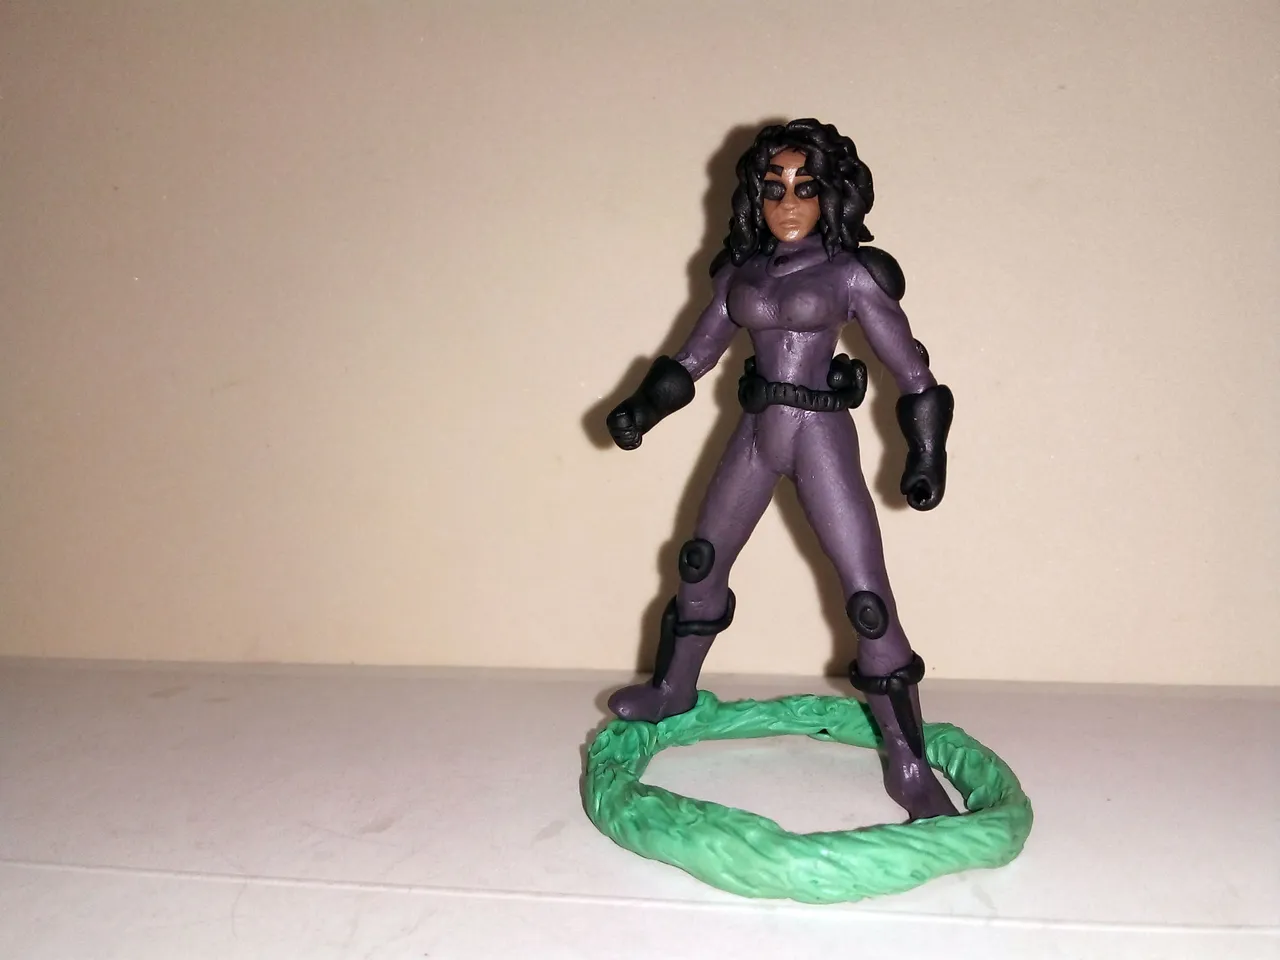
Before continuing with the face and hair, I placed the base to the figure or rather I covered with green plasticine the wire that serves as a base for the figure:
I started with the head and face molding. I put glasses on it, just like I did with the hawk-wes sculpture (@wesphilbin).
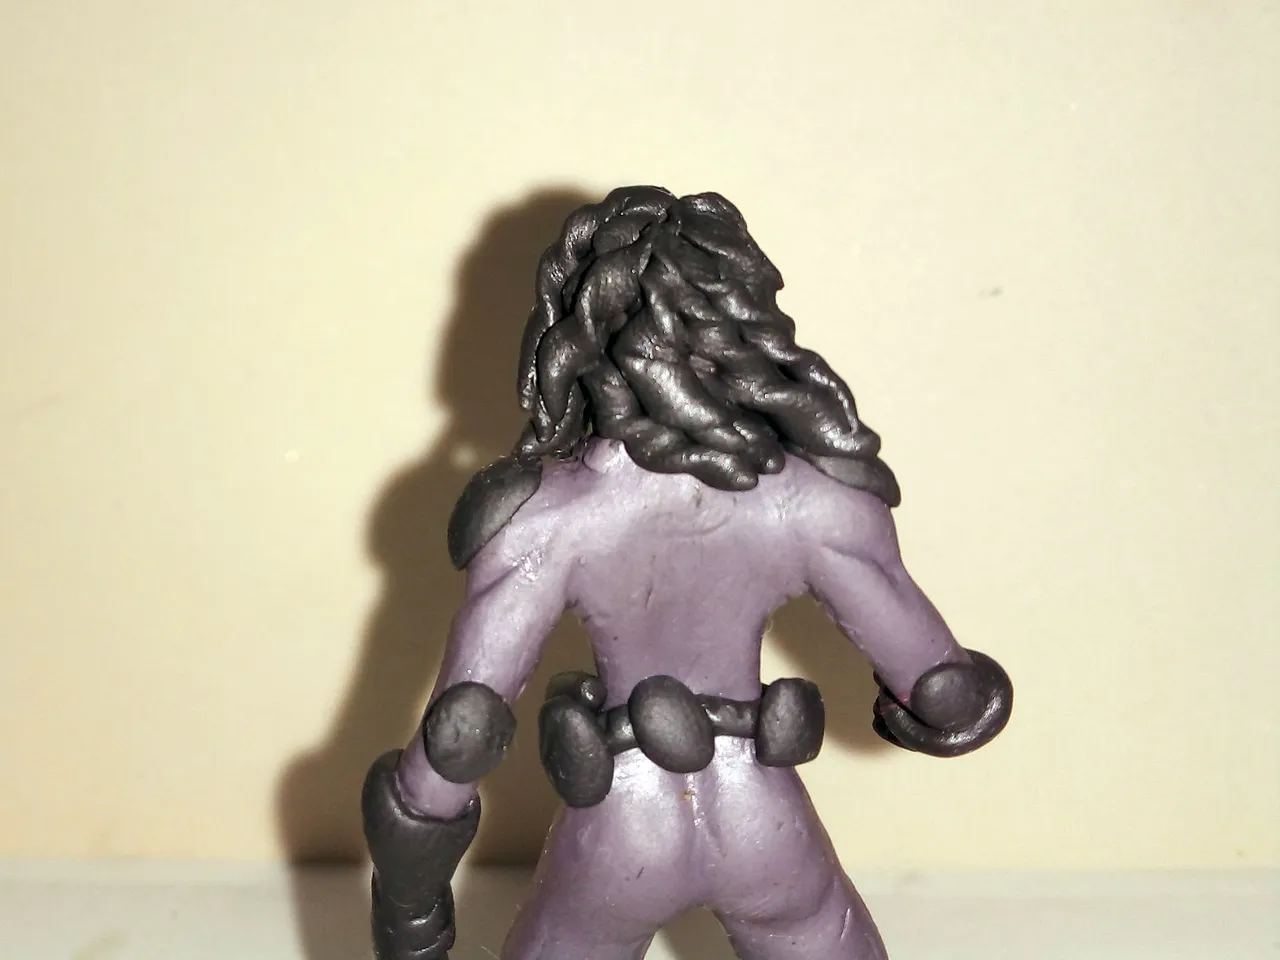
Then I placed the hair, abundant and curly, as I imagined it would be according to the bitmoji that "Chirs" uses.
For the hair I simply made long strips of plasticine, flattened and rolled them, then cut each strip to the desired length and placed it on the figure's head.
 |  |
|---|
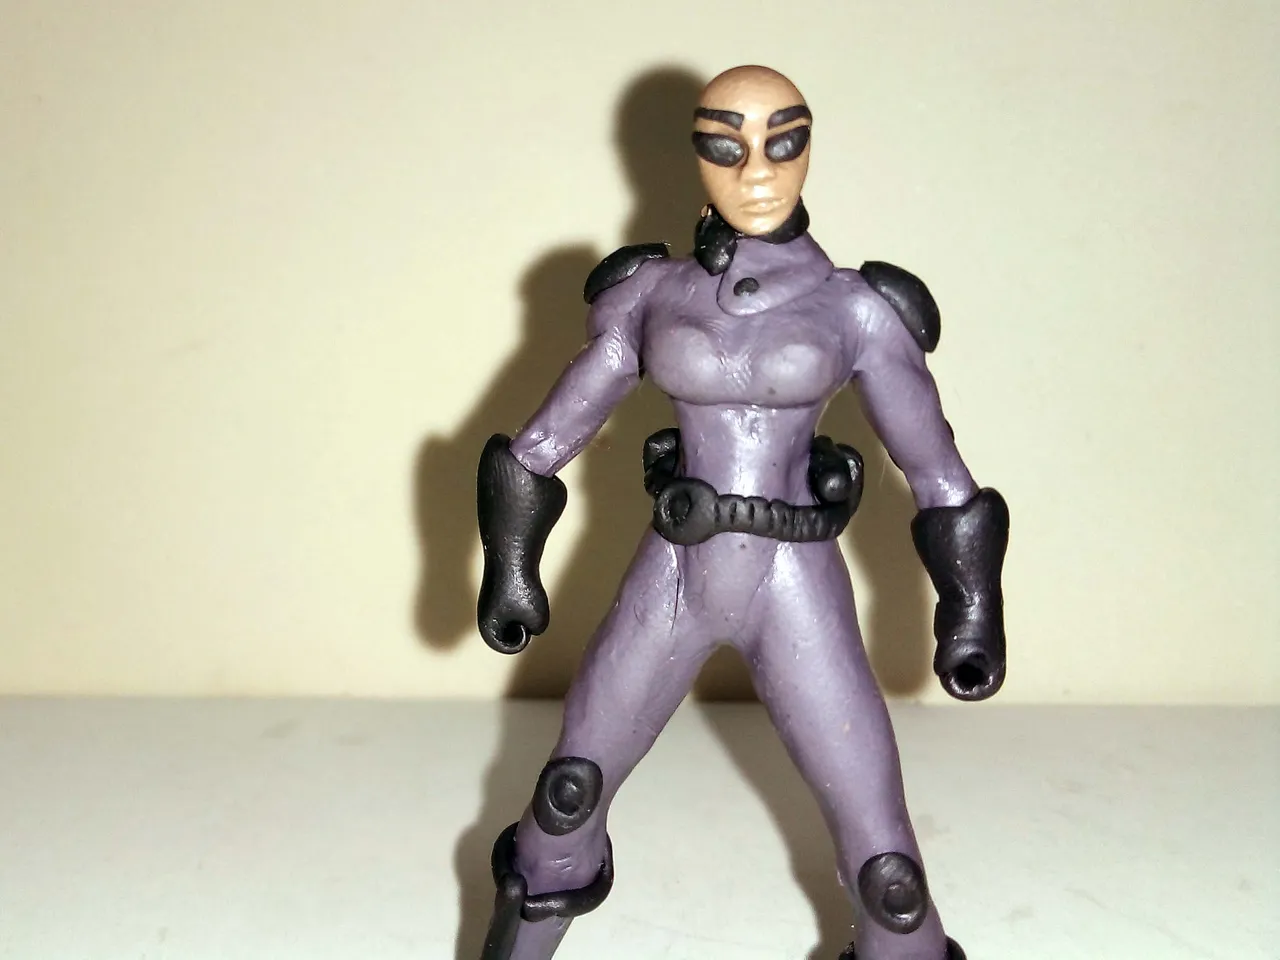
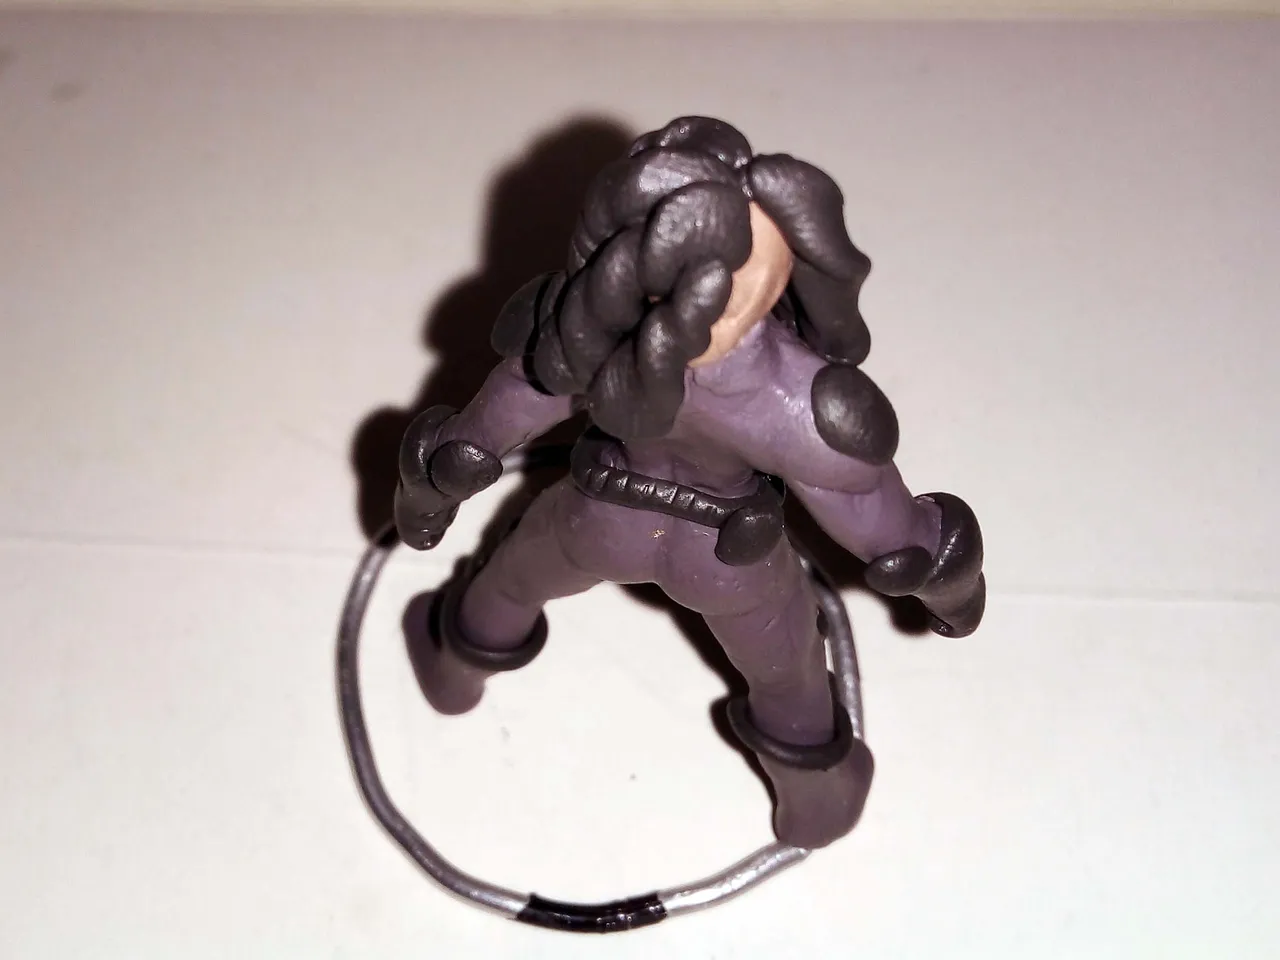
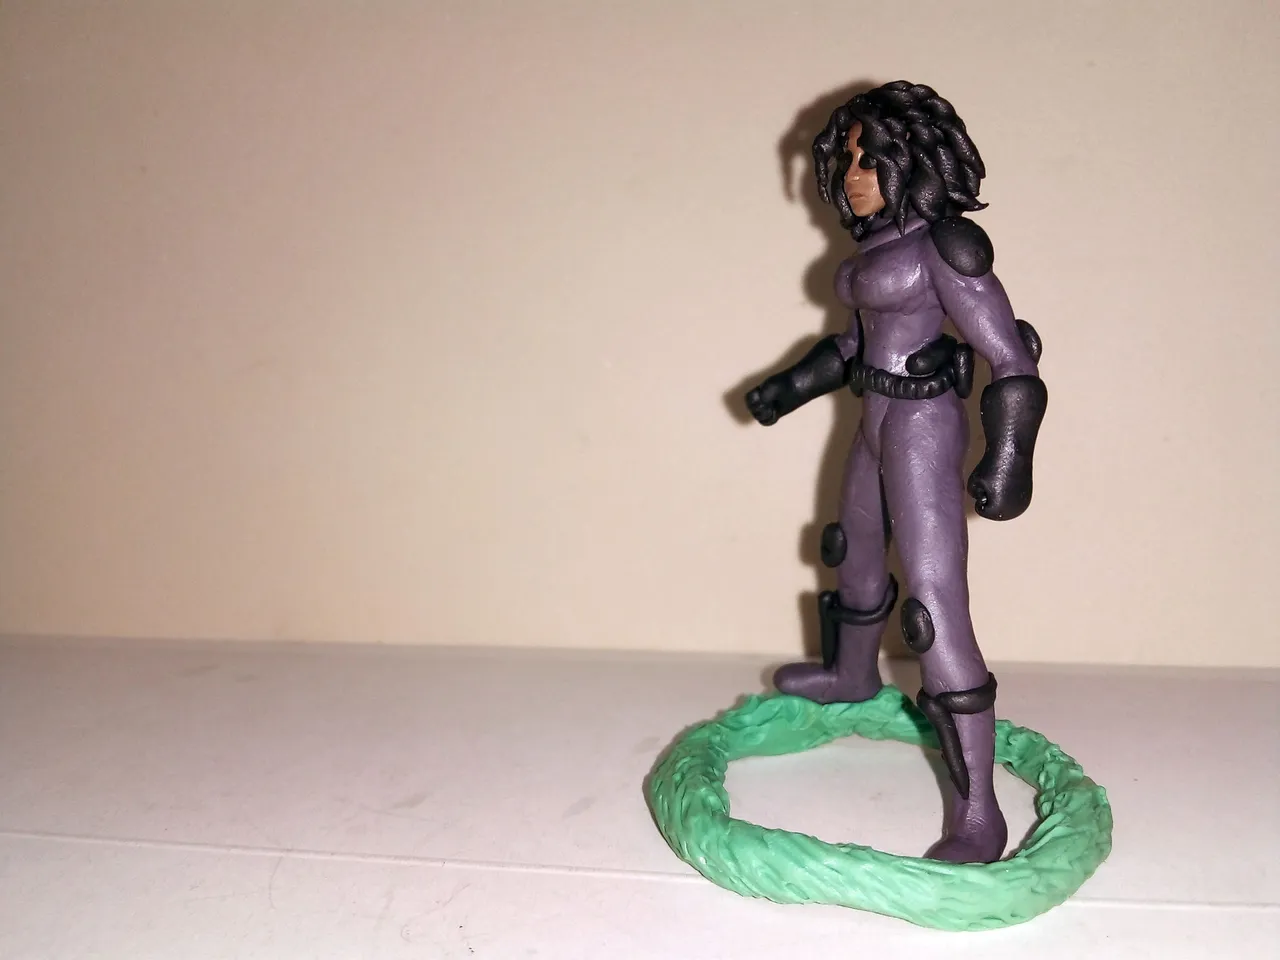
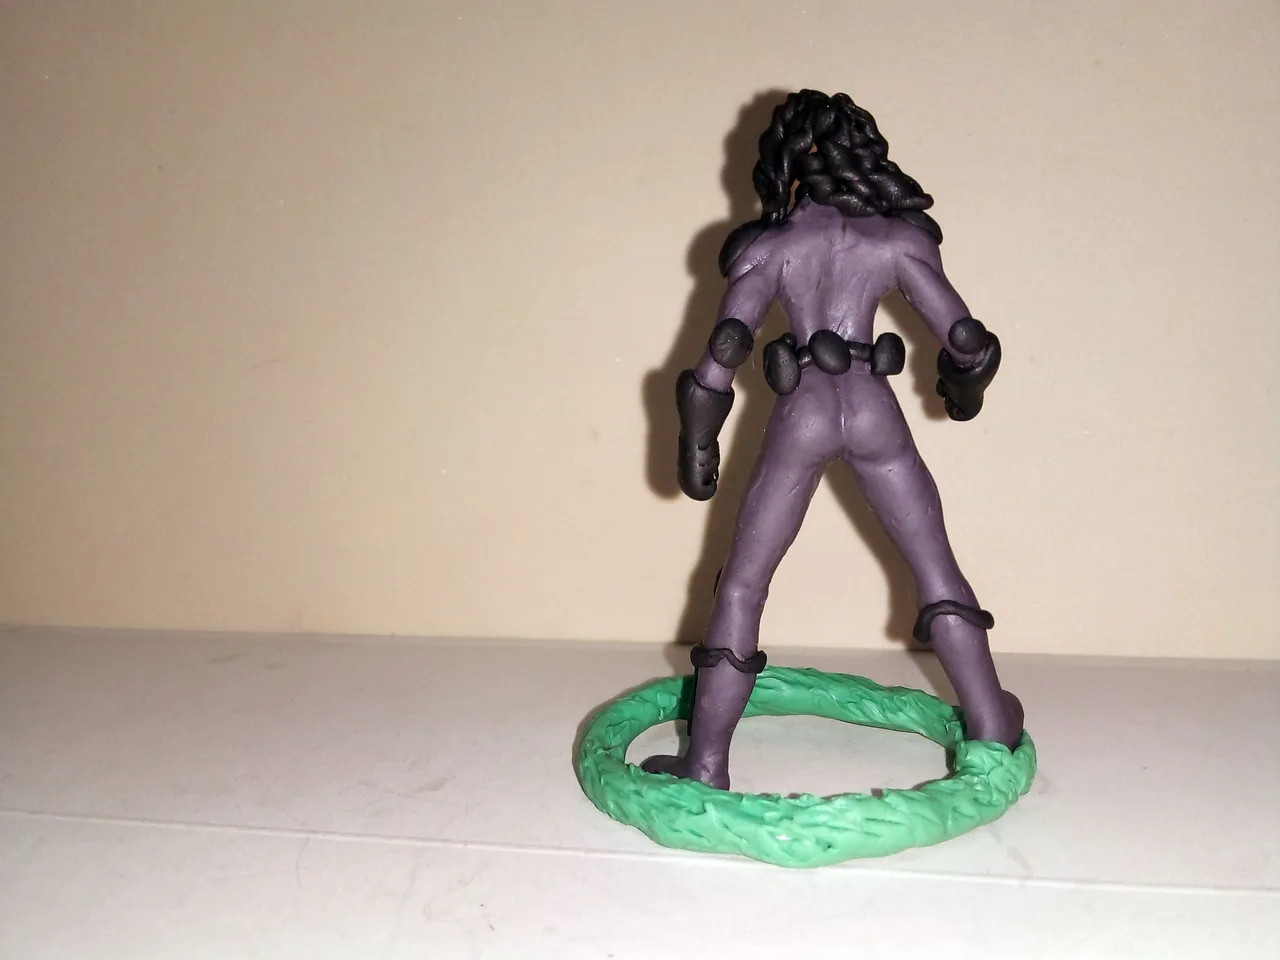
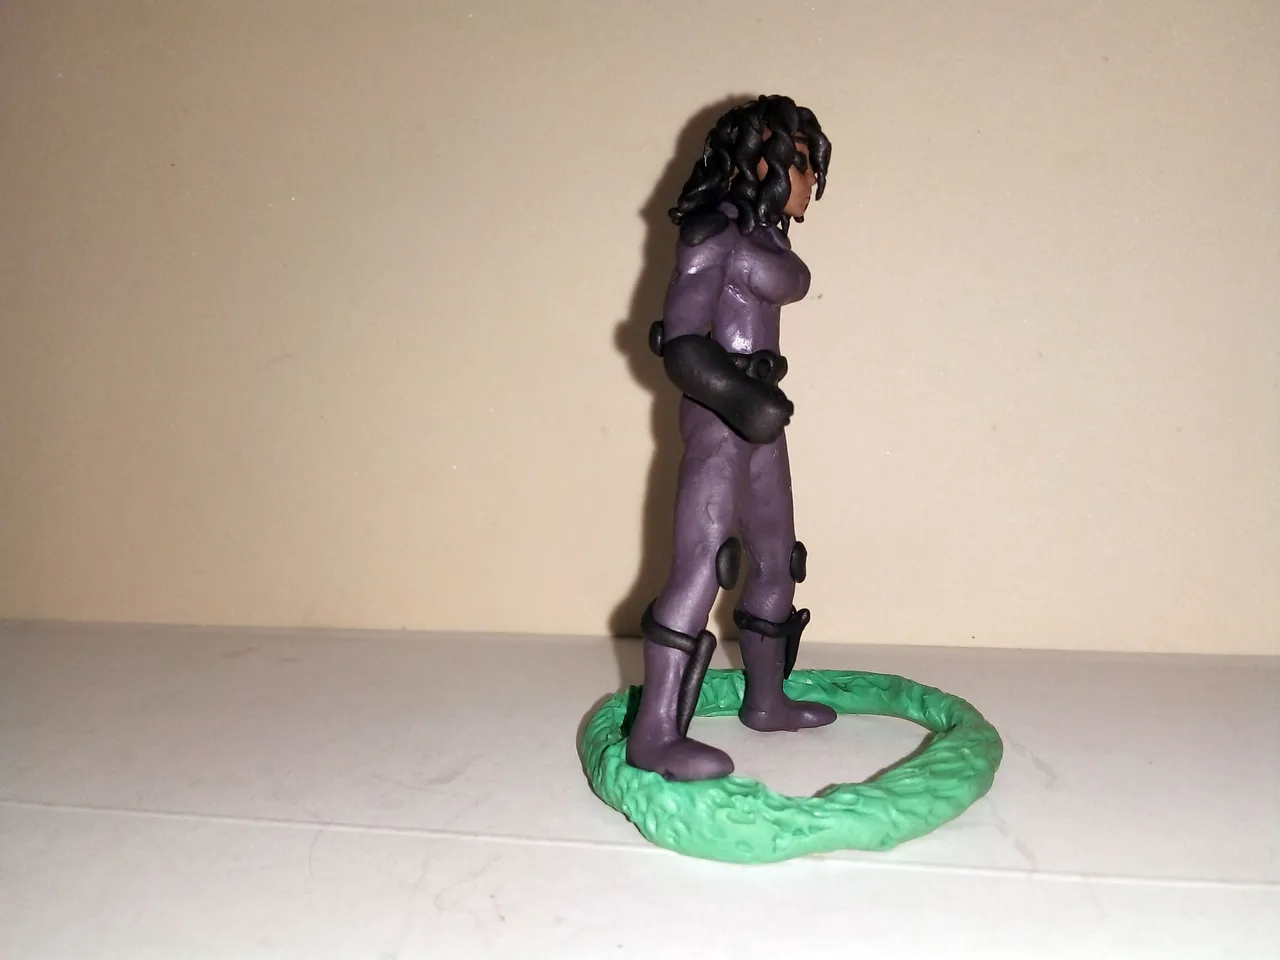
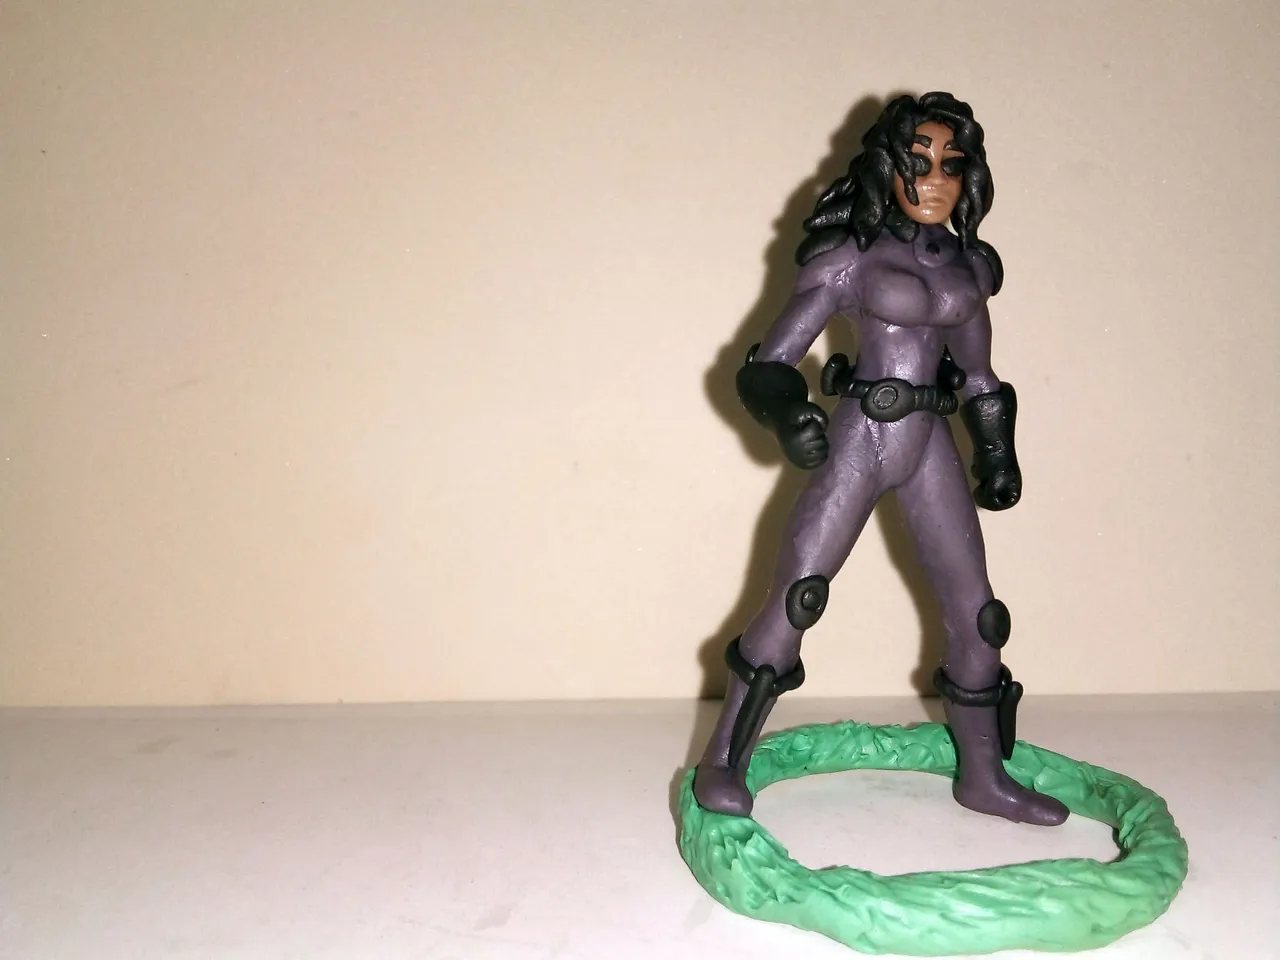
This is how the figure was finished.
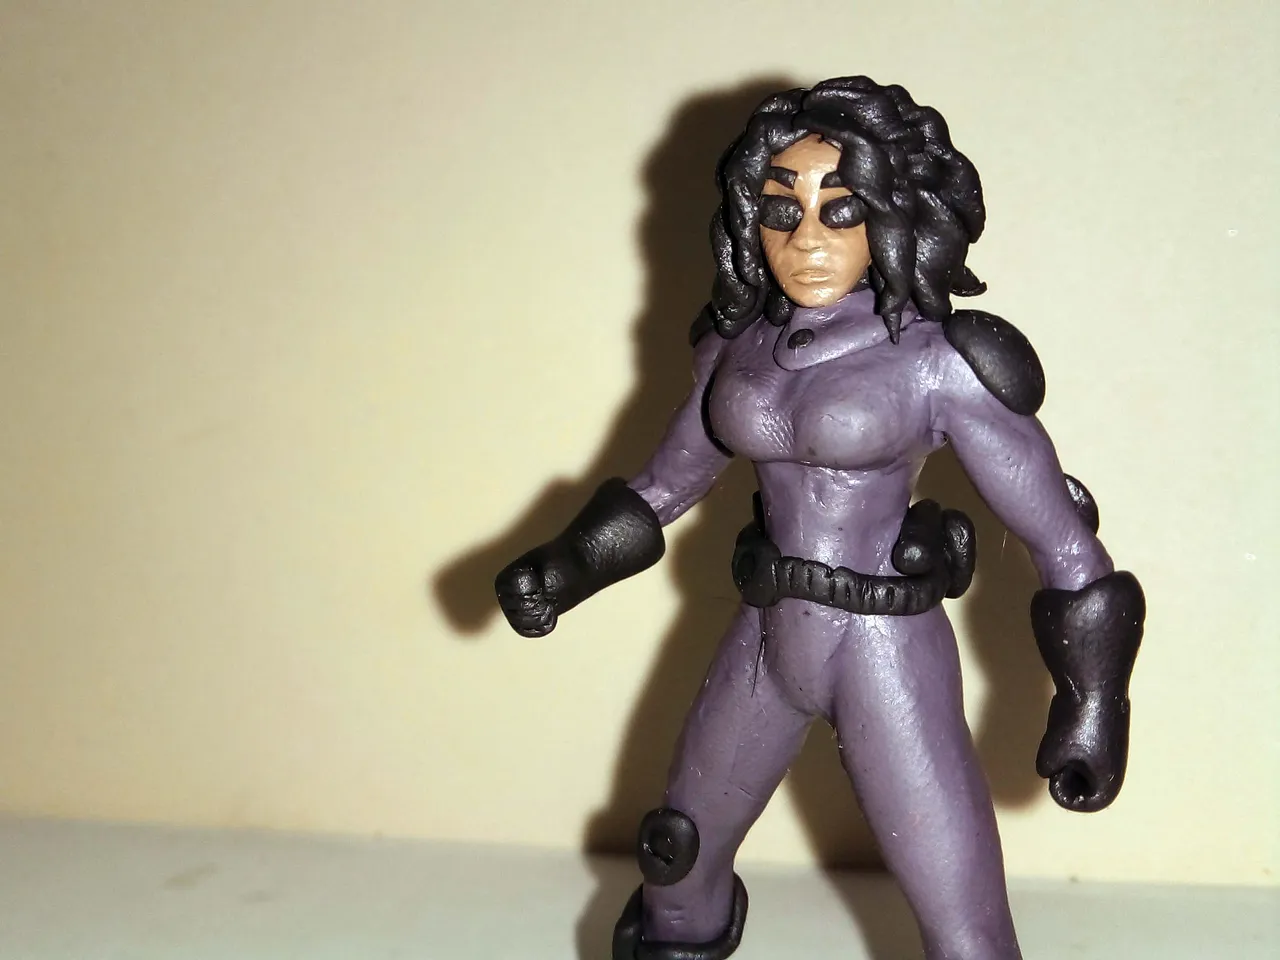
Below I show a series of photographs from different angles of the final result:
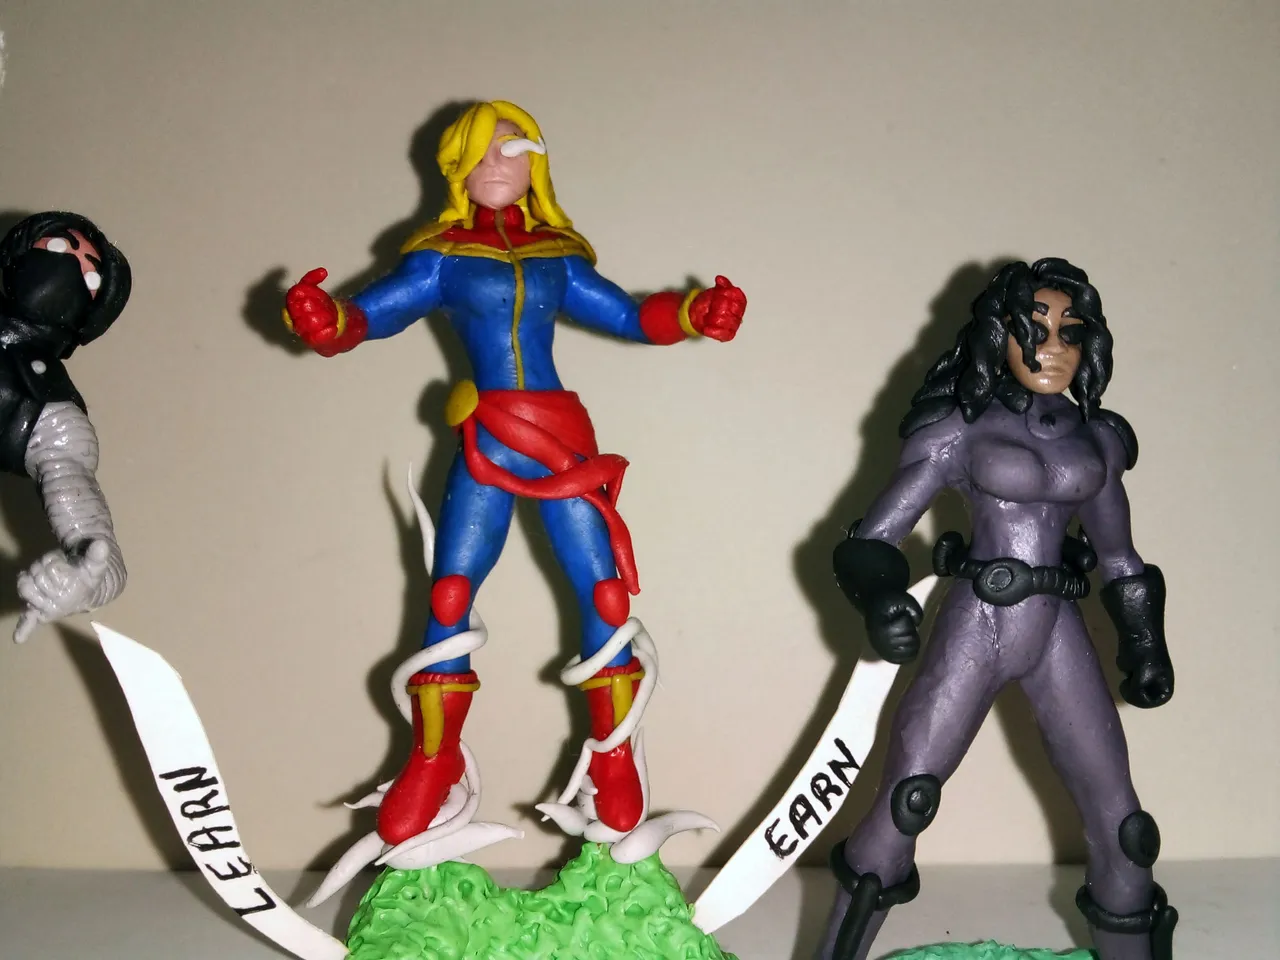
The good thing about being at this point with all these figurines, is that there are already five of them and I can show you, at least in a photo, how 3 of these figurines look together, I could not miss the opportunity:
Well friends, what did you think? Personally I liked it. Both this figure and the one of Captain Britt were very difficult to make because of the features of the face, as they are small figurines, but I am pleased with the result.
As I said above, I hope you like this one and the next one I will do, because this is the last two I will do of this project, before I show you the complete diorama where I will finally be able to place the six figures together.
I invite you to leave your opinions below in the comments, as always, I will be happy to read them. With nothing more to add, I'll say goodbye then....
See you next time!
Español
Saludos a todos, compañeros de HIVE. Como algunos saben, desde hace un tiempo he estado trabajando en un proyecto personal llamado "The Terminal Assemble", un proyecto que consiste en un conjunto de figuritas representativas de los miembros del staff de TheTerminal que yo conozco.
En publicaciones anteriores he compartido con ustedes algunas de las figuritas que ya he hecho. Pueden ver cada figura siguiendo estos enlaces:
Iron-Kitty (@thekittygirl):
@gaboamc2393/iron-kitty-sculpture-escultura-de-iron-kitty-engesp
Hawk-wes (@wesphilbin):
@gaboamc2393/hawk-wes-sculpture-eng-esp
Captain Britt (@brittandjosie):
@gaboamc2393/captain-britt-sculpture-eng-esp
Winter Greeter (@stayten):
@gaboamc2393/winter-greeter-sculpture-eng-esp
Pues bien, hoy es turno de otra miembro del staff muy apreciada por todos, @justclickindiva. De corazón espero que esta figurita les guste, porque es una de las últimas junto a la de @jamerussell, la cual postearé muy pronto. Les presento pues, a la Agente Chris.
Como algunos entenderán, el diseño de todas estas figuras estan inspiradas en los héroes de marvel, tales como el Hawkeye, Capitana Marvel, Iron Man o Winter Soldier. Para @justclickindiva estuve pensándolo bastante y al final decidí inspirarme en los agentes y espías de SHIELD de ese universo de super héroes, específicamente en una representación al más puro estilo de Black Widow.
Con esto en mente, comencé a hacer la figura, para ello ocupé los materiales de siempre:
*Alambre
*Hilo
*Plastilina
*Herramientas: aguja, tijera, pegamento.
Lo primero que hice fue el esqueleto, uno un poco estático pues no deseaba darle una postura demasiada dinámica a la figura:
| |
|---|
Una vez que el esqueleto estuvo listo con una forma bien definida, comencé a cubrirlo con plastilina de un color oscuro, como el típico traje de estos espias.
No tuve mucho cuidado a la hora de cubrir el armazón con plastilina, pues sería una pieza de un único color de plastilina así que simplemente cubrí toda las partes para luego moldear encima de esta:
El proceso de moldeado fue sencillo, le di forma a las piernas como el traje ajustado que es. Luego di forma al torso con las características curvas femeninas. Además; corté los antebrazos para colocarlos más adelante con otro color.
| |
|---|
La intención era que el color base del traje fuera de un color oscuro, pero más claro que el color de los accesorios que llevaría el traje. A continuación pueden ver la diferencia cuando hice los guantes de un color negro:
Después le coloqué un cinturón y rodilleras:
Luego las hombreras y otros accesorios tanto en el cinturón como en el área de las botas:
| |
|---|
Y de esta manera quedó listo el cuerpo de la figura. Un cuerpo en el que se supone que el personaje viste un traje ajustado y ceñido al cuerpo. A continuación pueden ver el resultado hasta ahora:
Antes de continuar con el rostro y el cabello, le coloqué la base a la figura o más bien cubrí con plastilina verde el alambre que sirve como base para la figura:
Comencé con el moldeado de la cabeza y el rostro. Le coloqué lentes, tal como hice con la figurita de hawk-wes (@wesphilbin).
Luego le coloqué el cabello, abundante y enrulado, como imaginé que sería según el bitmoji que usa "Chirs".
Para el cabello simplemente hice largas tiras de plastilina, las aplasté y las enrollé, luego corté cada tira del largo deseado y la coloqué en la cabeza de la figura.
| |
|---|
De esta manera quedó terminada la figura.
A continuación les muestro una serie de fotografías desde distintos ángulos del resultado final:
Lo bueno de estar en este punto con todas estas figuras, es que ya van cinco y puedo mostrarle, al menos en una foto, cómo se ven 3 de estas figuritas juntas, no podía desaprovechar la oportunidad:
Bien amigos, ¿Qué les ha parecido? En lo personal a mi me gustó. Tanto esta figura como la de Captain Britt fueron muy difíciles de hacer por los rasgos del rostro, pues son figuritas pequeñas, pero estoy complacido con el resultado.
Como dije más arriba, espero que tanto esta como la próxima que haré les gusten, pues ya esto se acaba porque son las últimas dos que haré de este proyecto, antes de mostrarles el diorama completo en donde por fin podré colocar a las seis figuras juntas.
Los invito a dejar sus opiniones abajo en los comentarios, como siempre, estaré encantado de leerlos. Sin más que agregar, me despido entonces...
¡Hasta la próxima!

Traducido con DeepL
Gabo Drawing #2
Gabo Empanadas #2: Beans, sausage & cheese!
Challenge to Gabo #4: Alien (Xenomorfo)

The Terminal

HiveDIY