
Well gang, it’s a fish - I’m moving to the beach!
…so this felt like as good a time as any to gather up all the project documentation from the time I’ve spent as the steward of this property, take the listing photos, and put it all together in one commemorative post in case I ever get sentimental and want to look back.
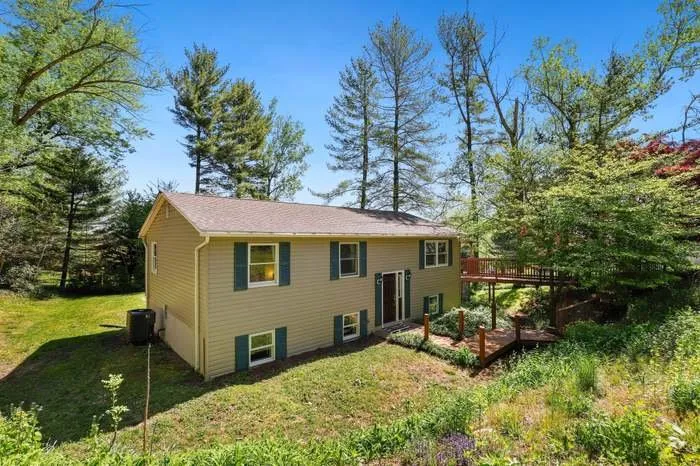
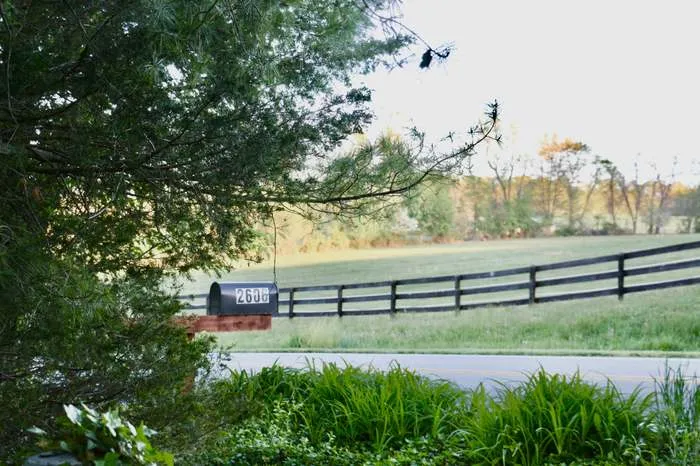
Here (below) is the front view of my house.
…and here is a map I made for keeping track of where I planted various things.
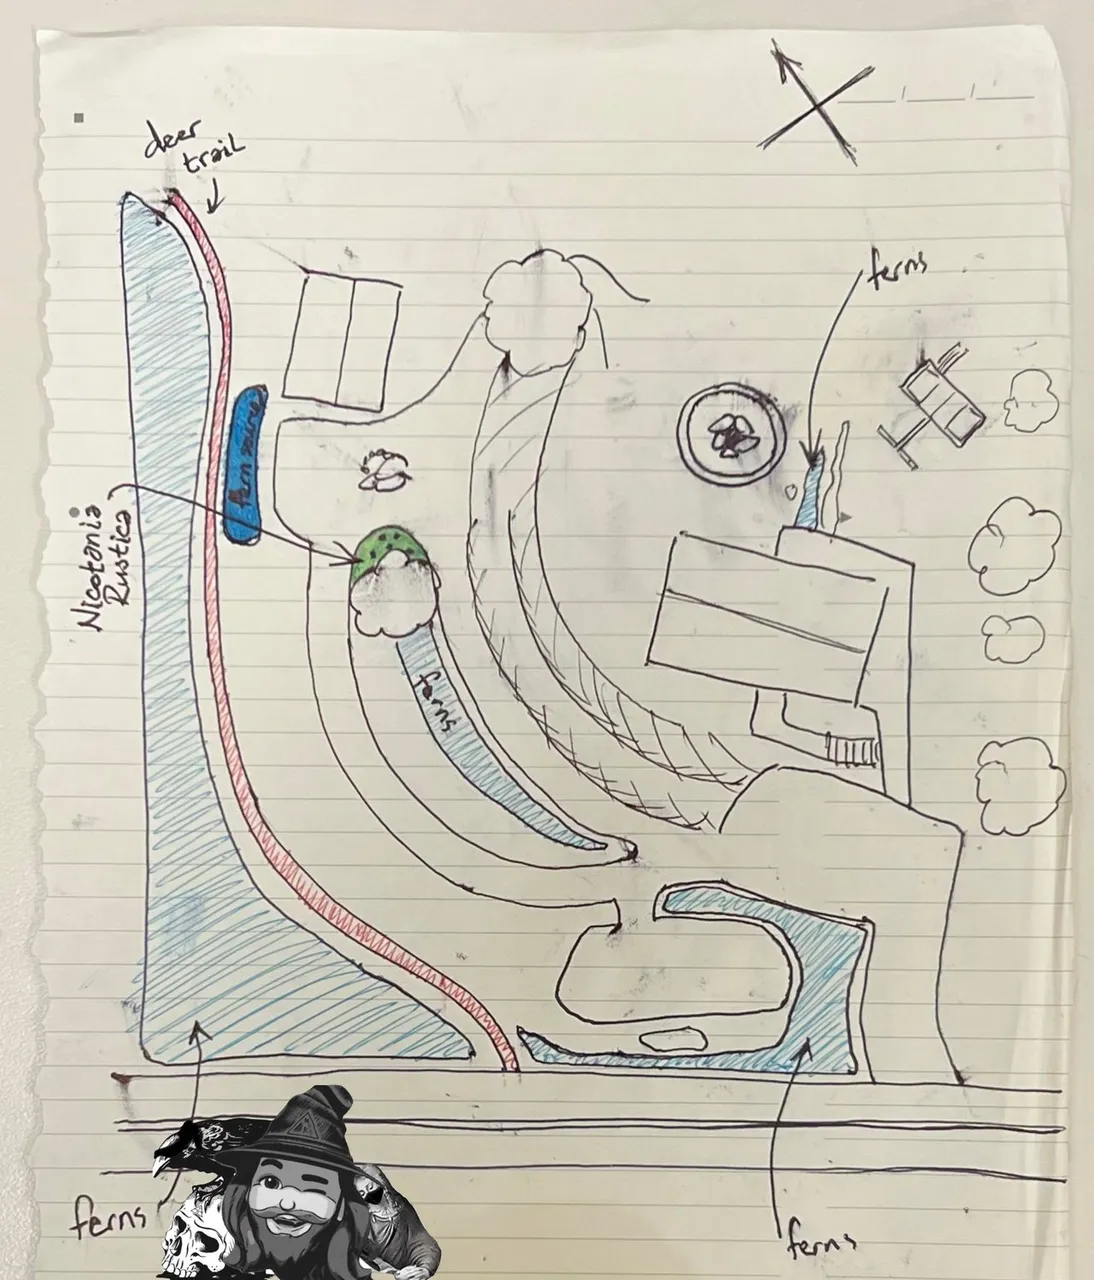
I did end up with many more things planted, including White Sage, St John’s Wort, Wormwood and Deadly Nightshade, but it seems I never got around to coming back and updating the map. Truth is, I always just remembered where I planted things cuz it’s not that hard 😝
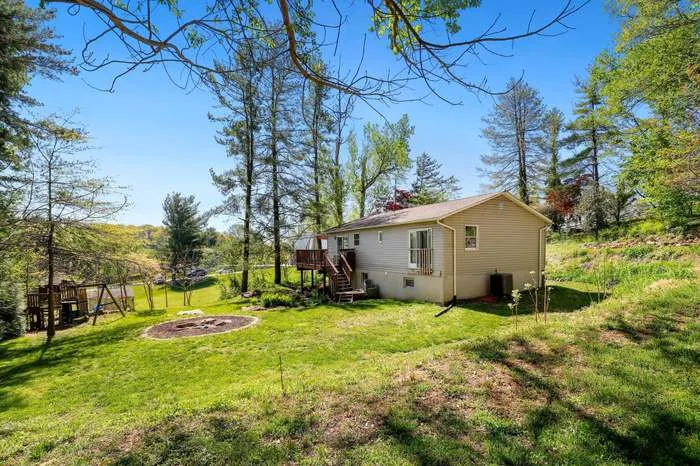
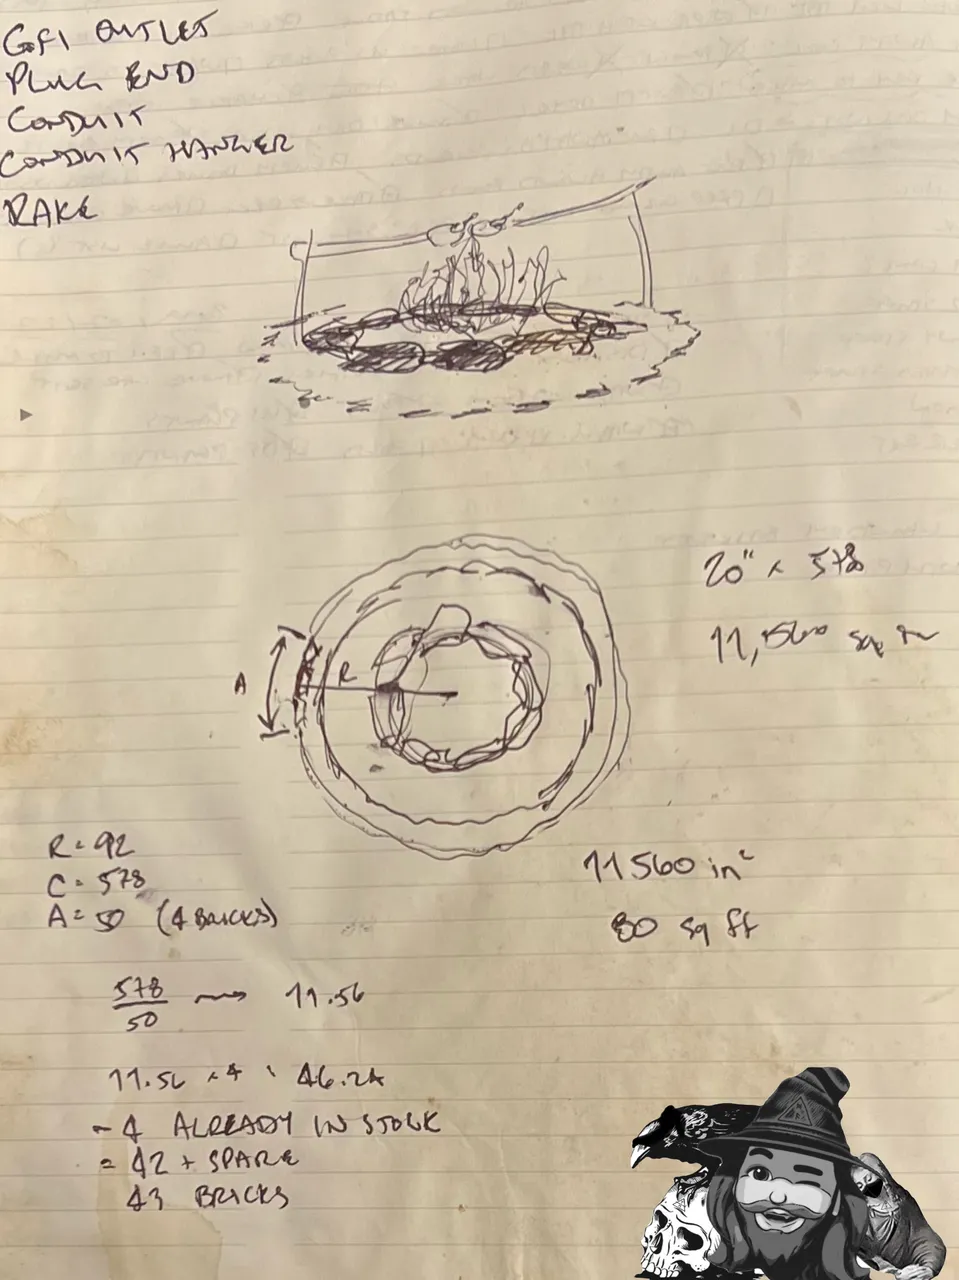
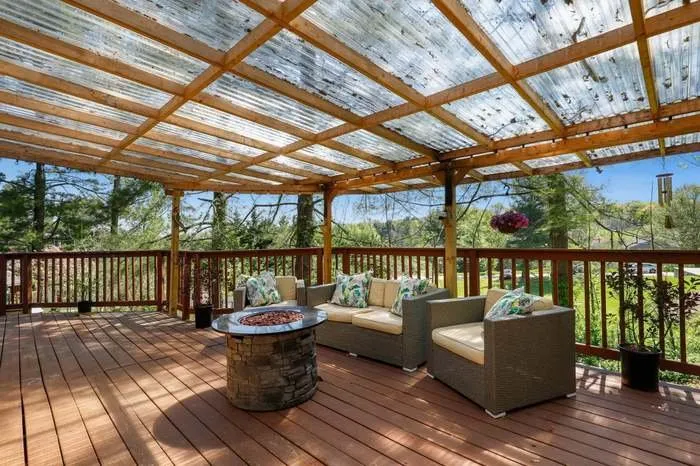
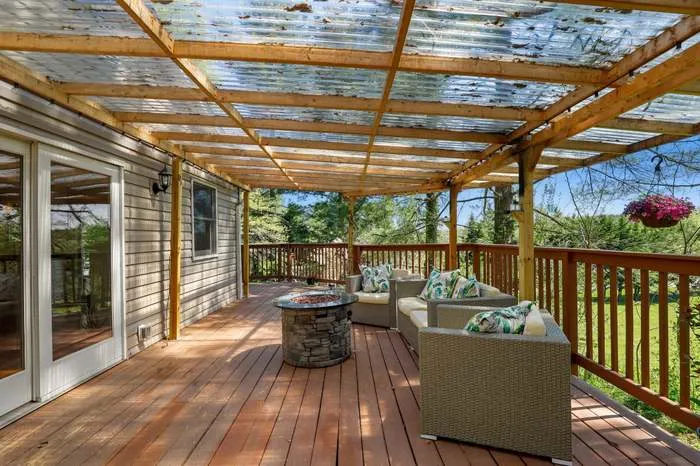
Recognize that fire pit back there (technically above AND below)? It was the focal point of this post (Burning Brush) and this post (My Last Fire in the Pit), both of which were centered ultimately around burning wet wood using dryer lint as a fire starter.
Here is the planning I did for the inlaid landscaping stones:
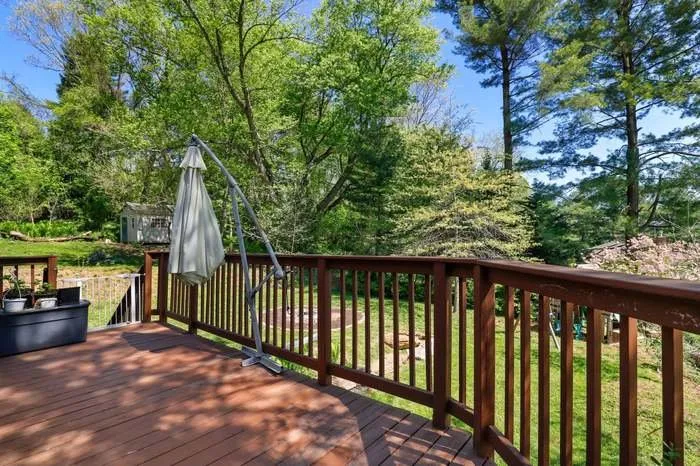
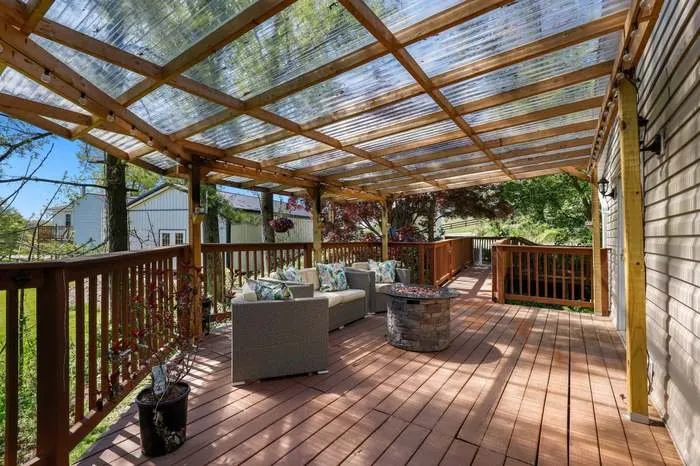
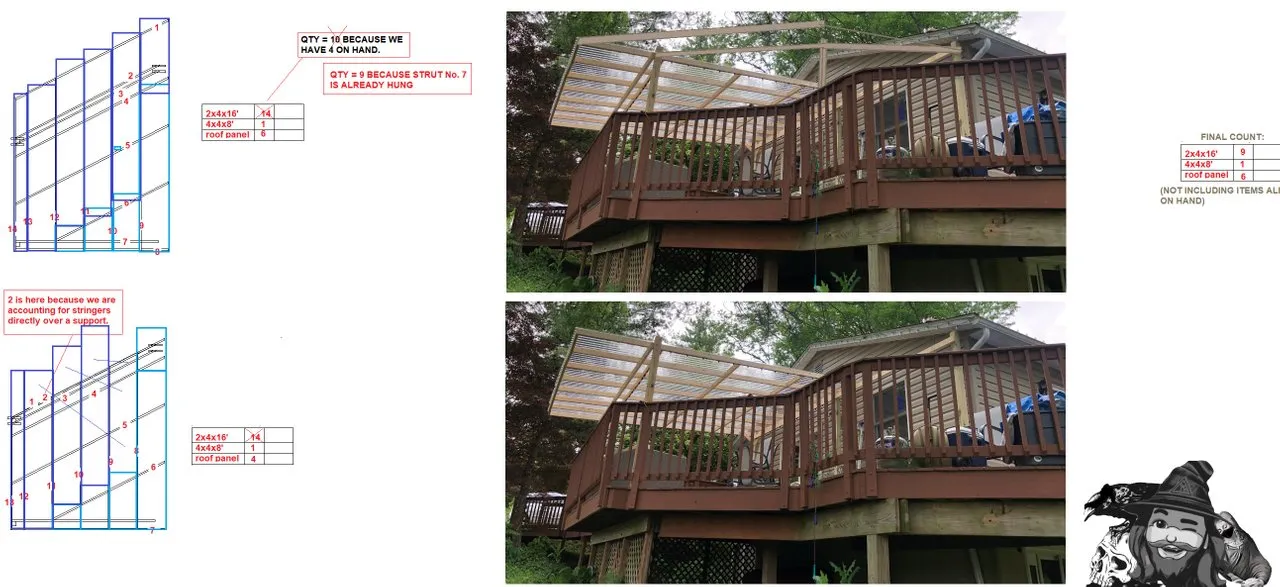
This (below) is the roof structure I built. I did the whole thing without assistance, which at certain times required extra planning. In most cases, it came down to using multiple clamps and temporary screws. Every year since I made it, I’ve há to climb up on top to pressure wash the pine needles off of it and, while I’m proud that it holds my weight, I won’t miss having to do that.
First I laid out this basic image:
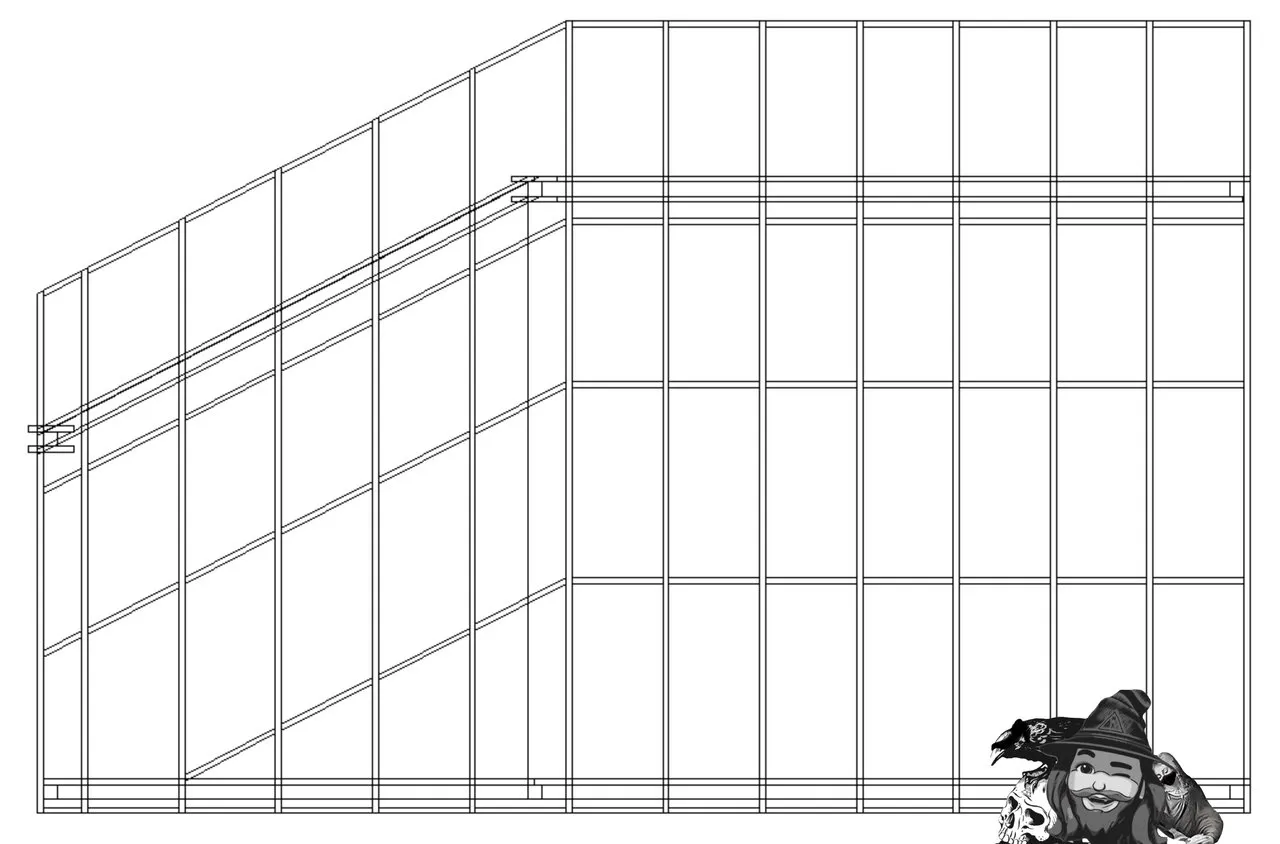
I spaced the stringer boards according to the width of the roofing panels, but forgot to account for the need to overlap, so I did end up having to make a trip back to get more wood.
I approximated my cost using my basic drawing and looking up parts online:
| Column1 | Column2 |
|---|---|
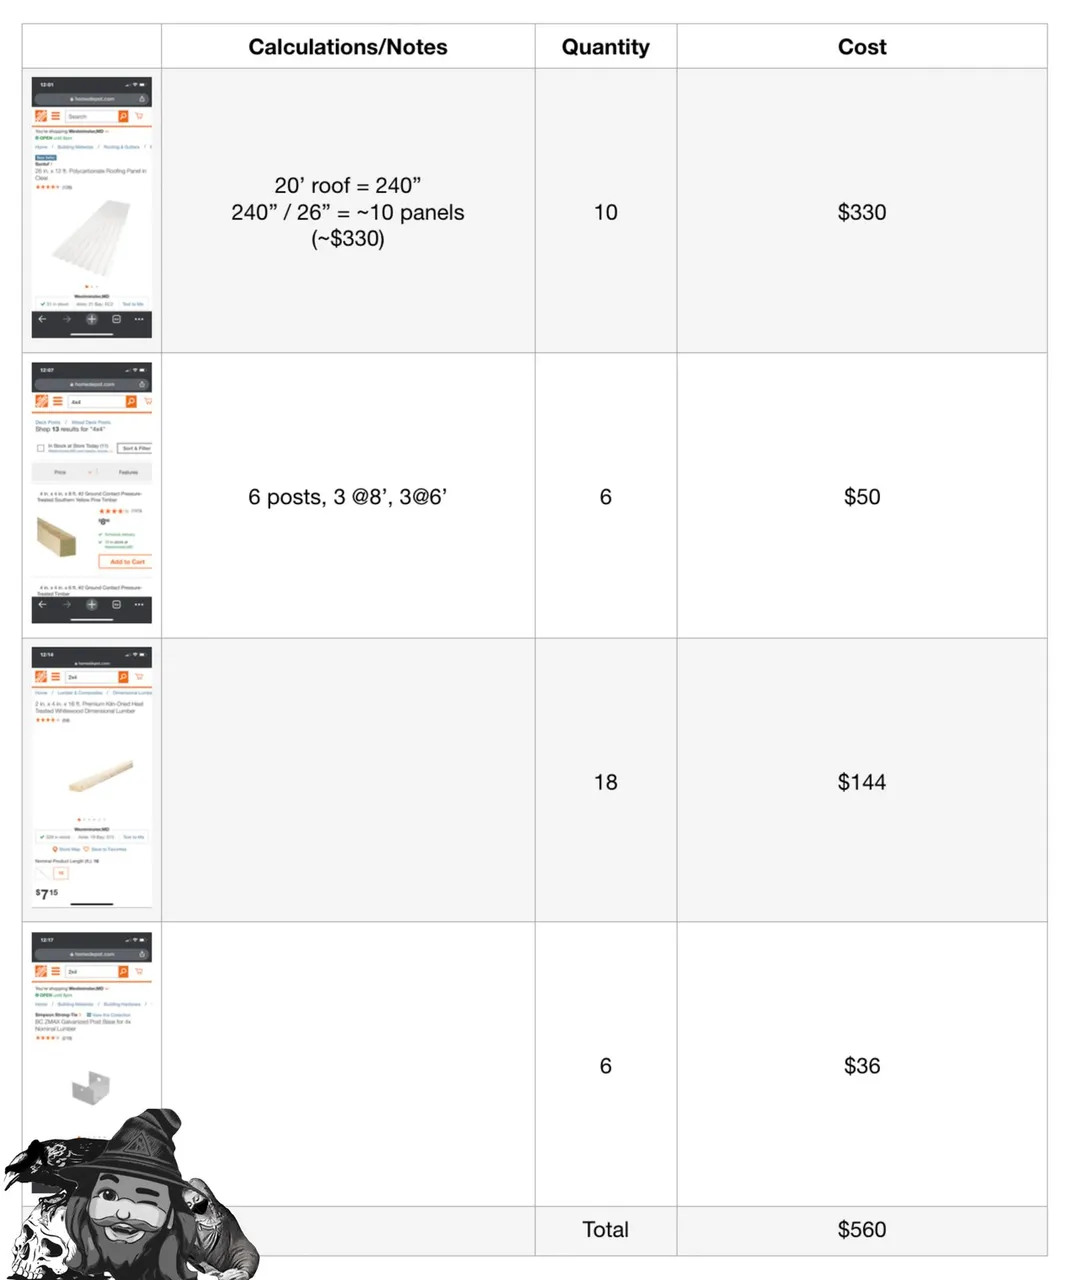 | 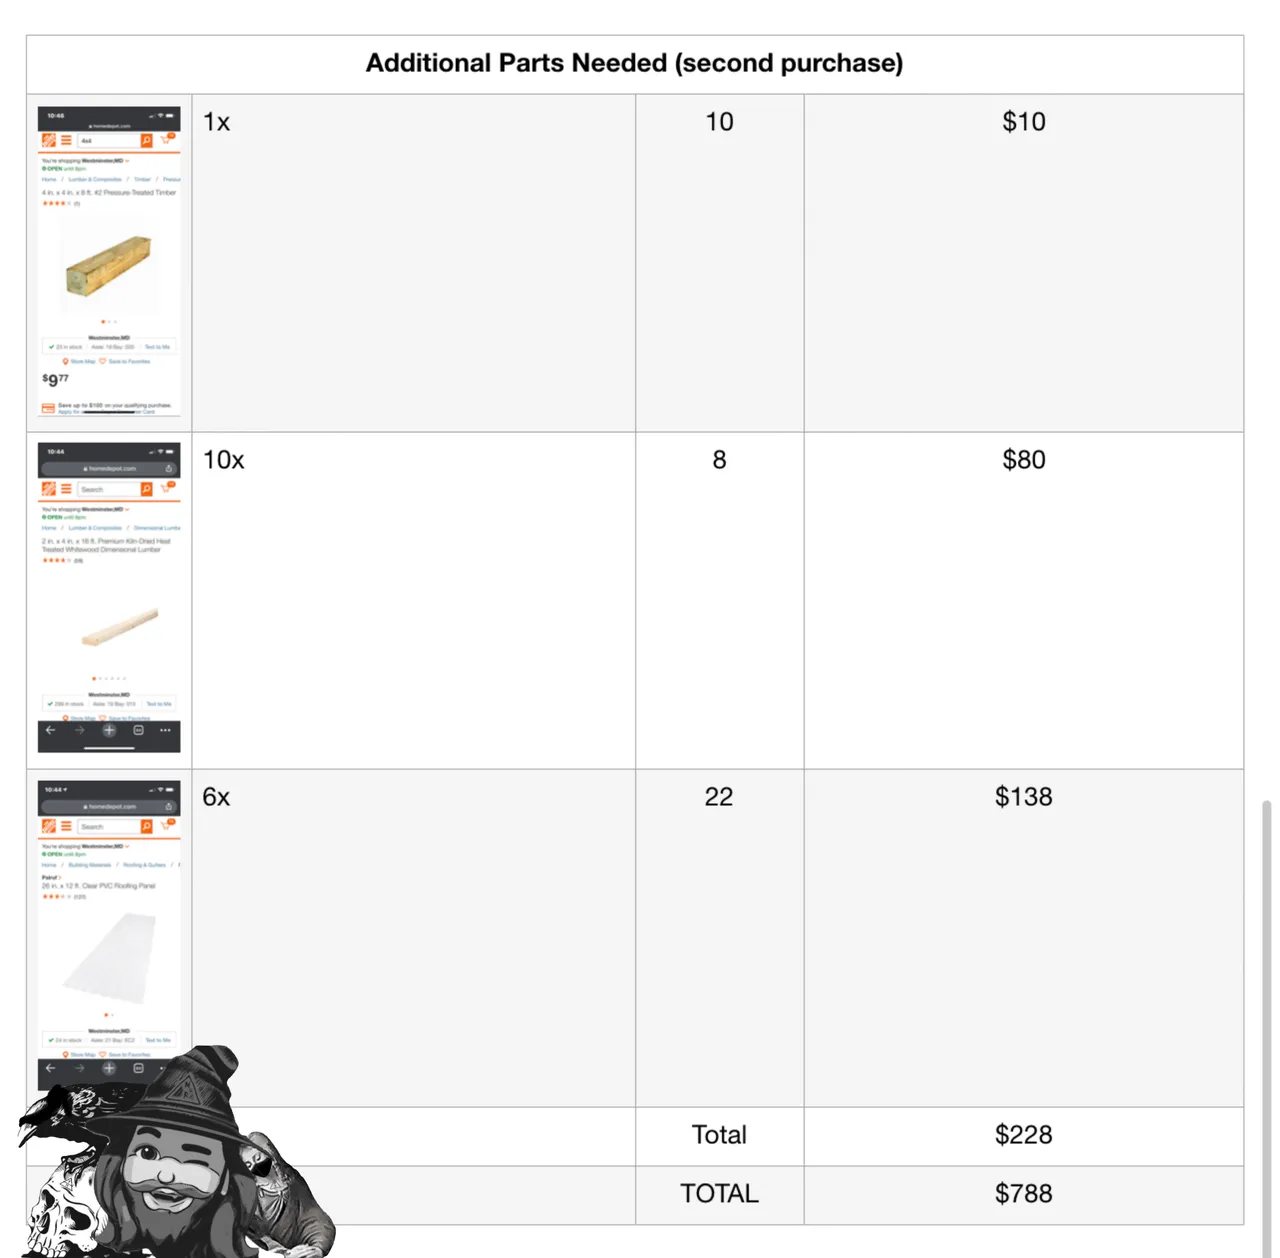 |
…but it ended up costing more. Who’d have guessed!? LOL
The way the angles had to change along the short side in order to keep the overall structure at the same angle and height was an impressive challenge. I tried several ideas to get it right, but in the end I just hung a board with clamps and adjusted it to get the right lay-angle for the roof.
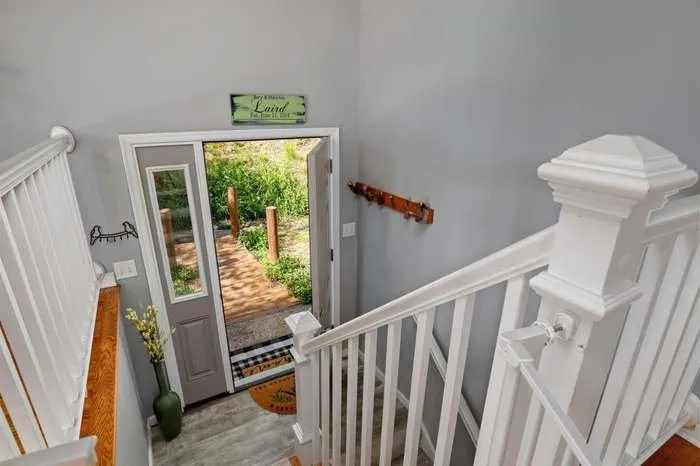
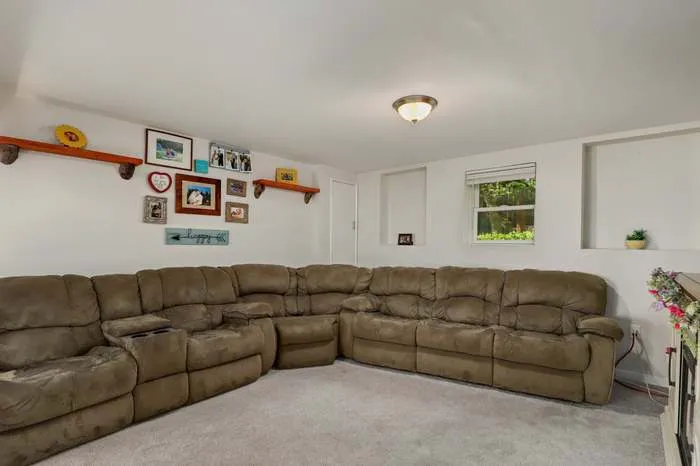
See that coat rack on the wall (below)? This was another of my creations. I just hacked up some fallen tree branches, screwed ‘em to a board, and stained it. That thing’s been holding our coats for probably 7-8 years now.
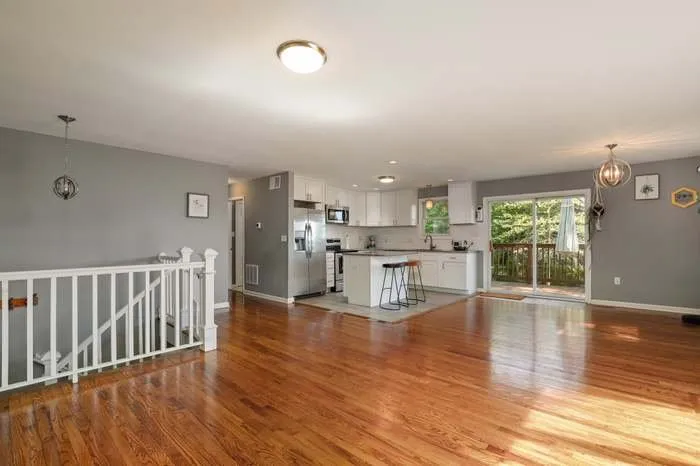
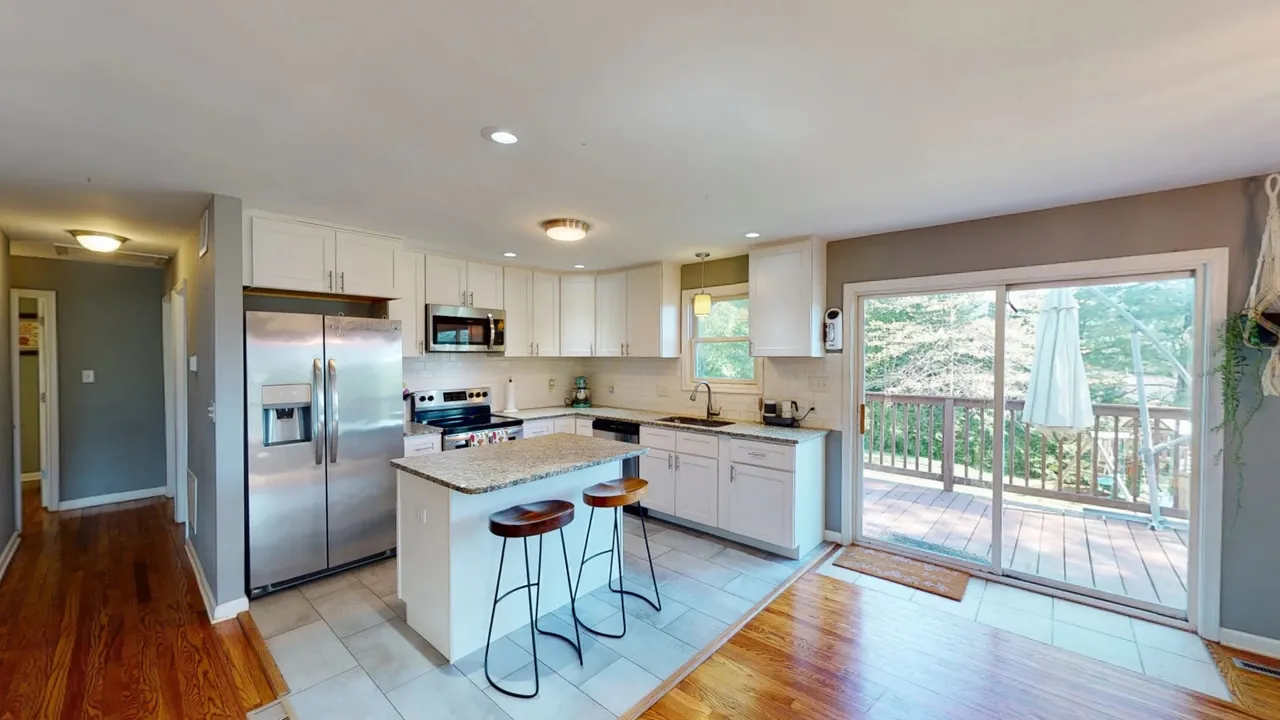
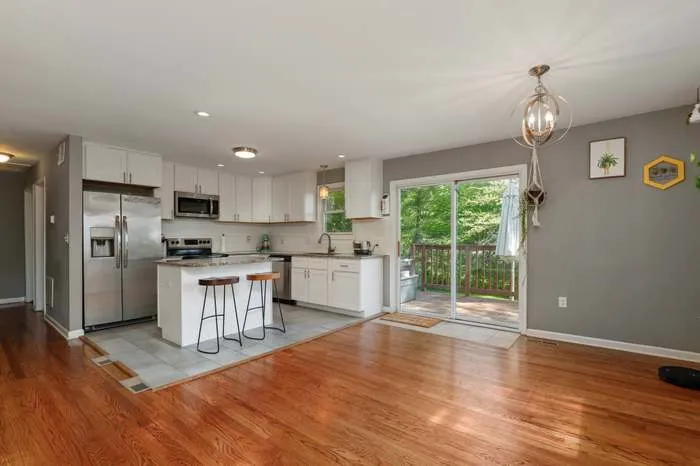
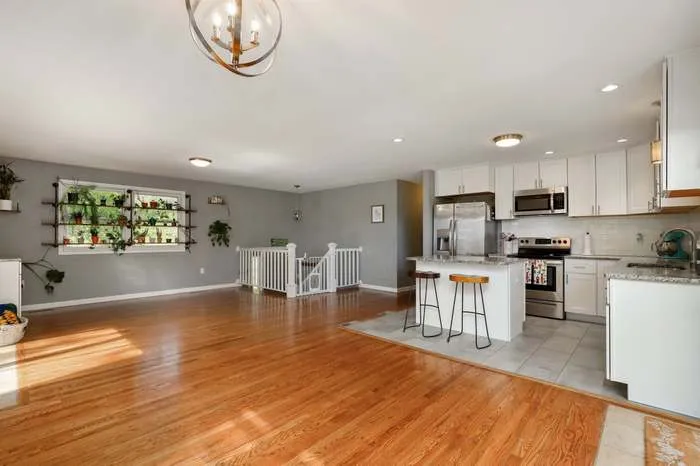
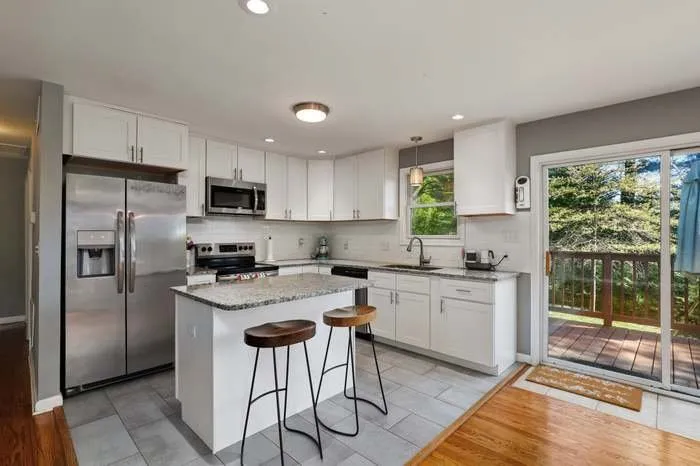
In this image (below), you can see the wine counter I built. My wife and aí were fortunate enough to find a slab of stone counter top that was an exact match to the rest of the kitchen - that was the most expensive part. The two cabinets and the fridge all together cost less than that chunk of stone - but it felt nice to build something clean and functional like this; it was my first project in this house, and I ran electricity into the two cabinets so we could hide chargers in there behind the glasses and stuff, as well as power the fridge.
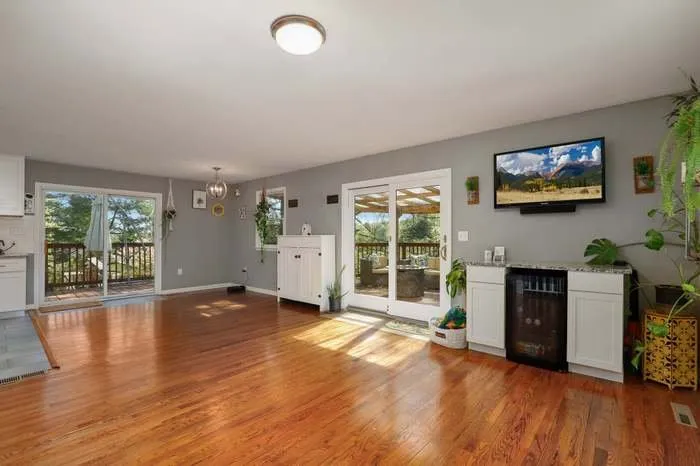
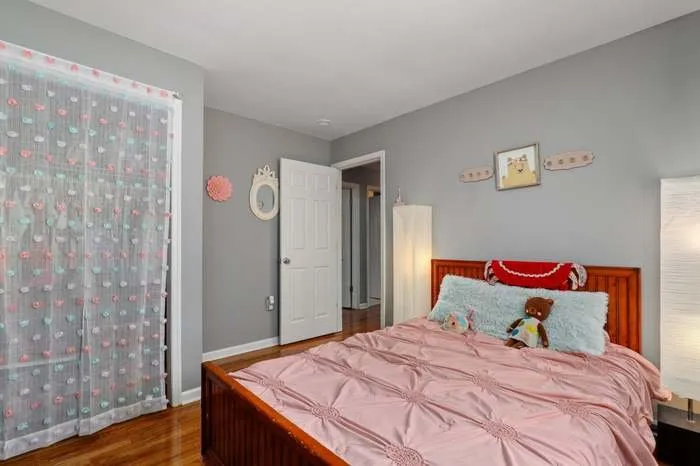
Remember those plant shelves over the window below? I got into a little more detail on them in this post (Indoor Garden), but these were another of my home projects. I measured the window width and frame and wall depth, then took a scientific-wild-ass-guess on pipe lengths, aimed over on the board lengths, bought the stuff and improvised to completion. It came out ok though, and I’ve really enjoyed having a living room full of sunlight and plants…apetu wastelo.

These shelves below were another of my builds. These were made from a branch that came down during a heavy storm on our first week in our previous house, before we had kids. I remember we had opted not to get flood insurance, and in the first week we got a storm so bad w had to use sandbags to keep the water out. I chopped up that felled branch and made these two shelves to commemorate the occasion.
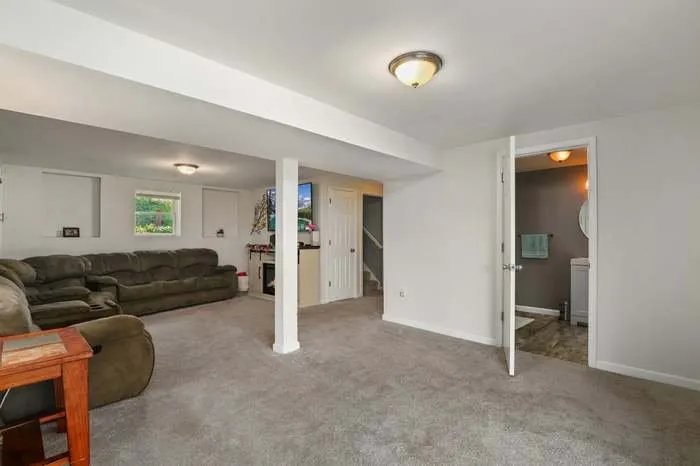
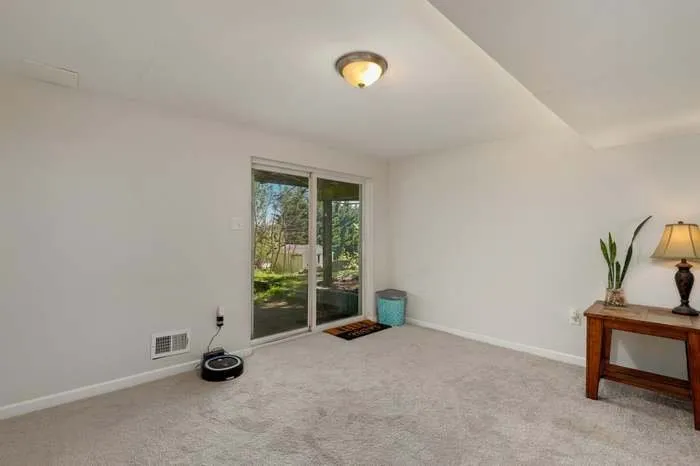
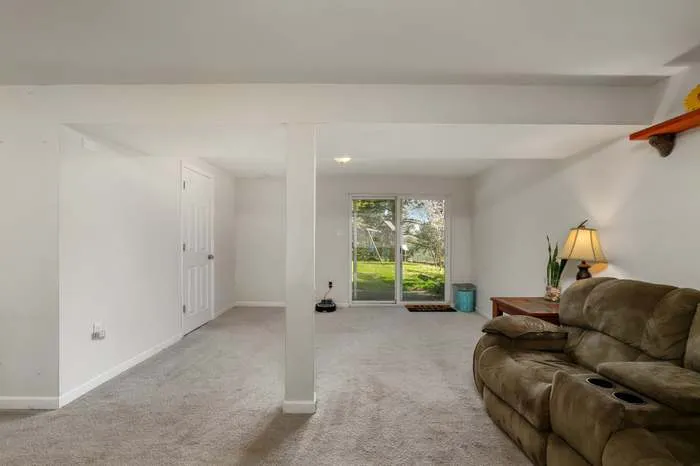
In this picture below, you can only see the door. But behind that door is a float with an angled ceiling under a stair case. The space was practically unusable due to the low clearance. This was one of the most design-intensive projects I took on in this home, because the cleated shelves I built follow the wall and the angled ceiling.
Here are the plans I put together to see this through:
| Photo | Description |
|---|---|
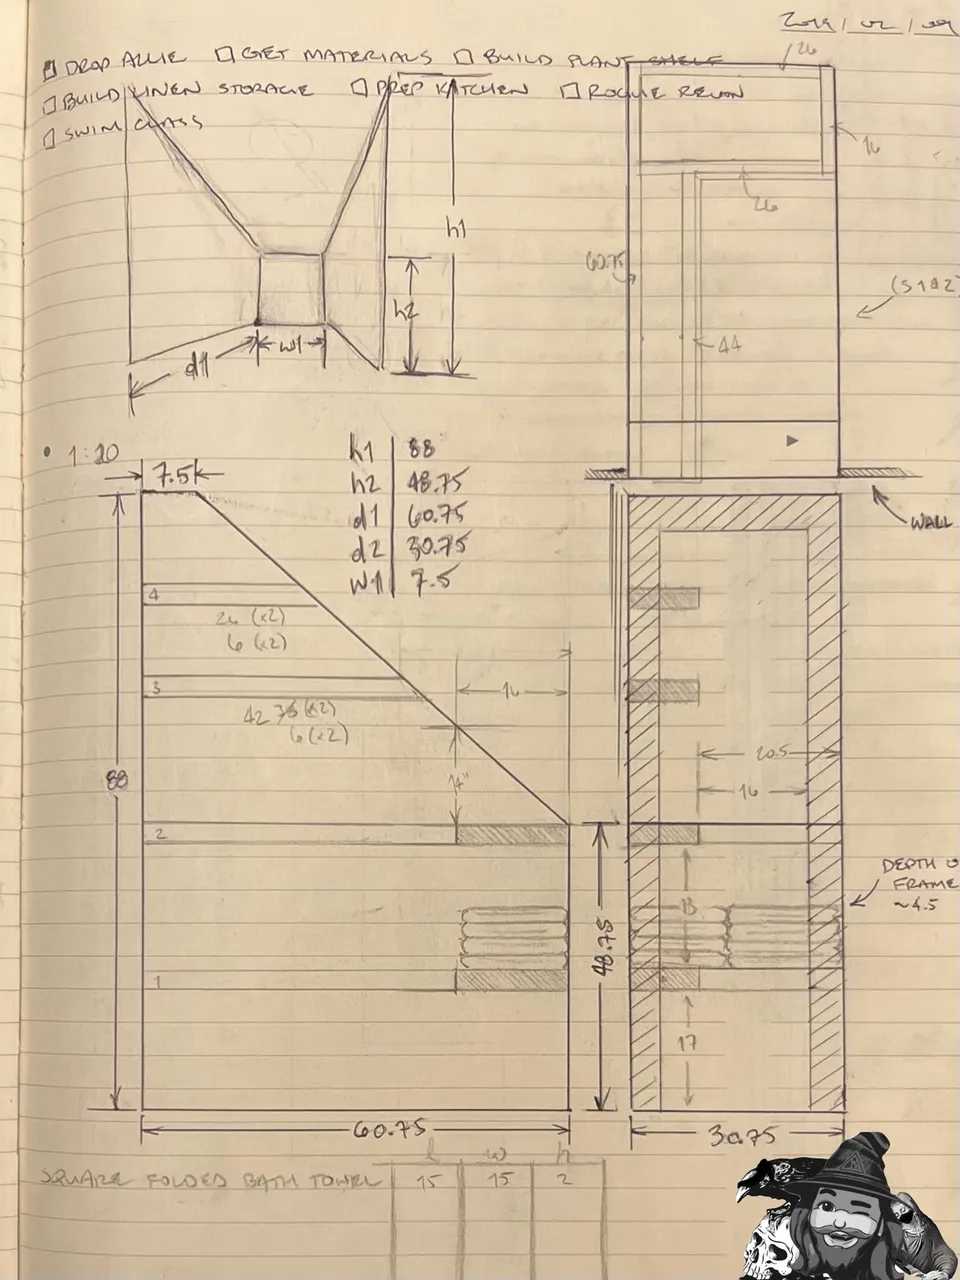 | General layout (to scale) and perspective drawing |
 | Cut sheet. I do this to ensure I’m using the wood as efficiently as possible. Helps avoid having to buy more than I need. |
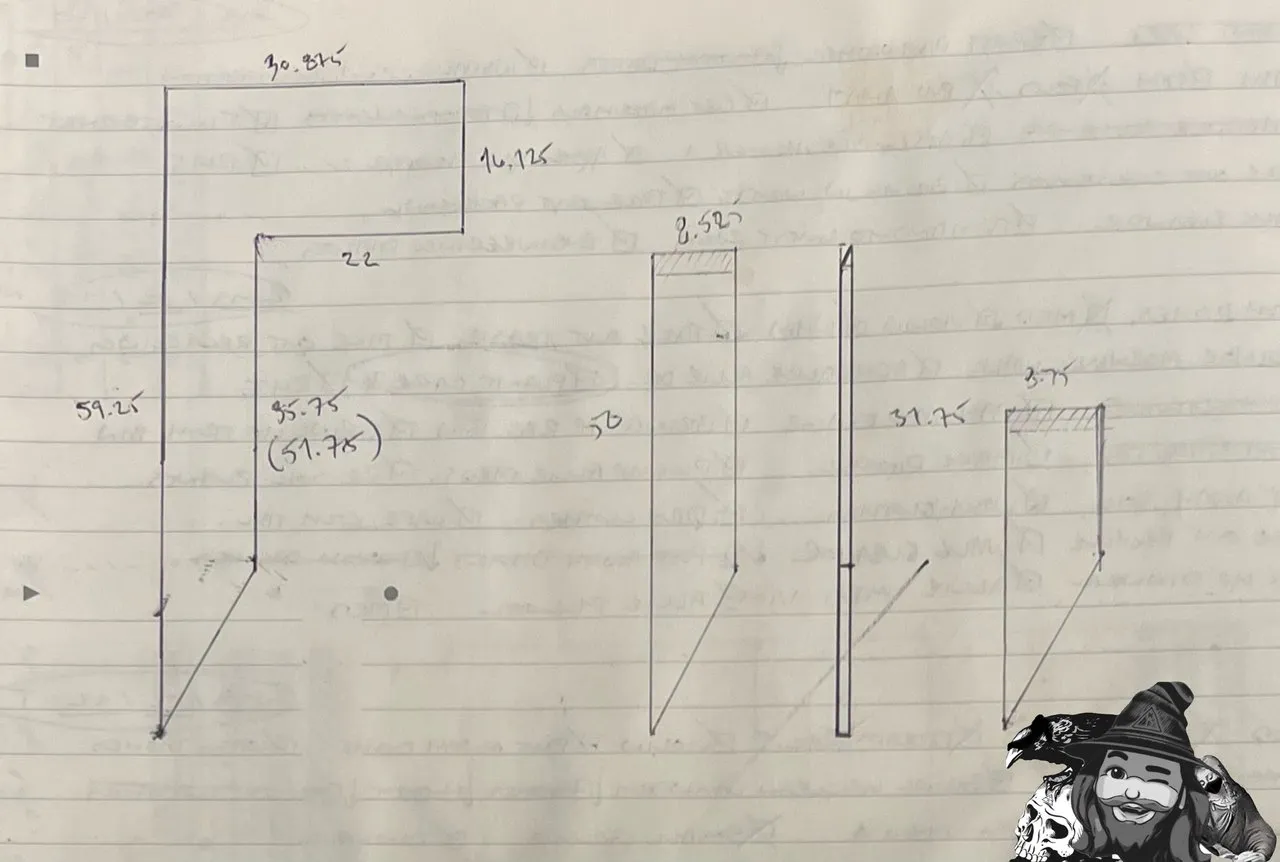 | Planning for bottom panels. Because of the angled ceiling, bottom and top panels weren’t all necessarily the same dimensions. Luckily I caught that before I started cutting actual pieces. |
…and here’s what it actually looks like today:
| Column1 | Column2 |
|---|---|
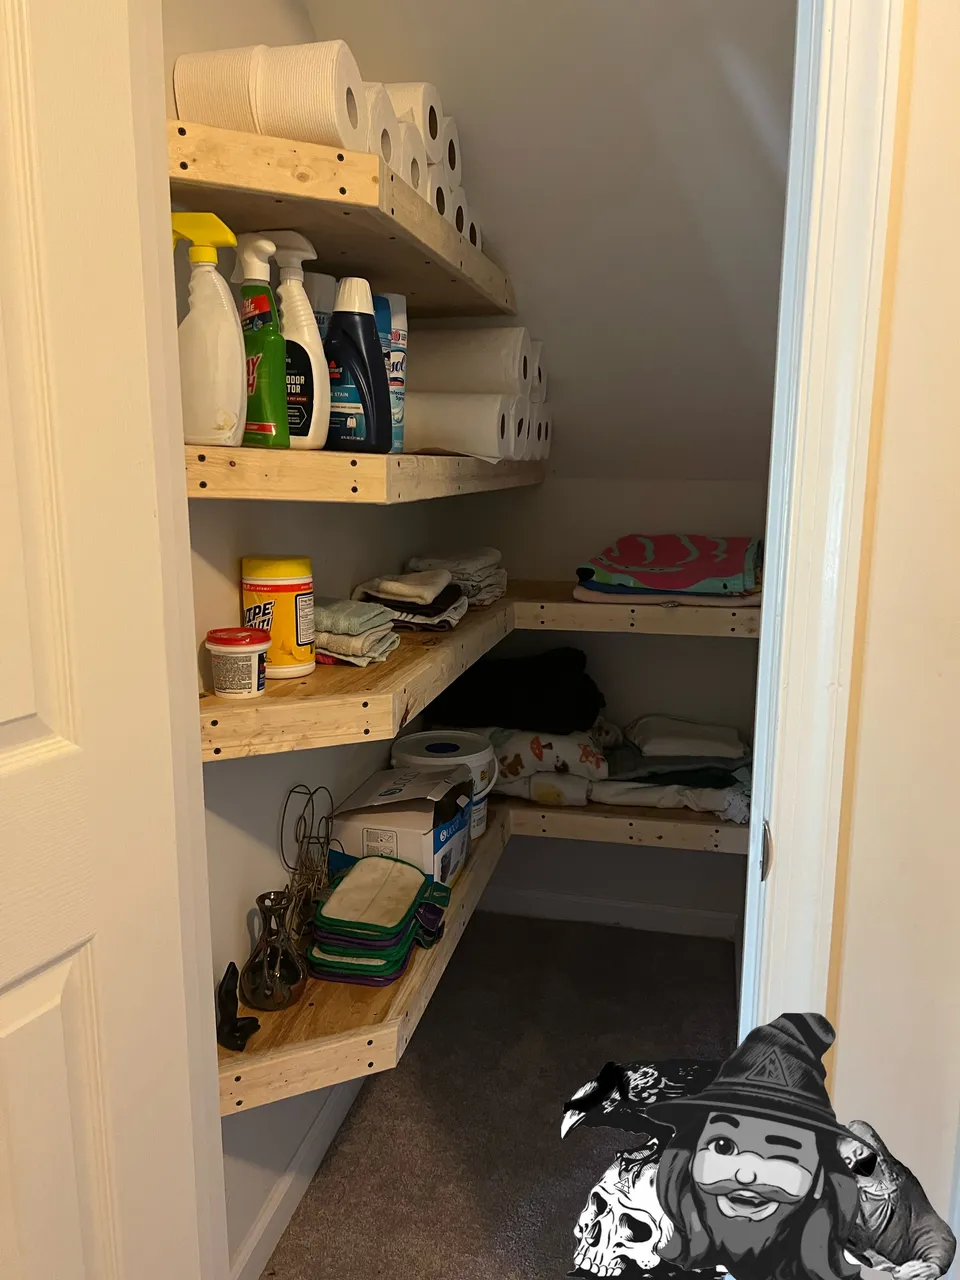 | 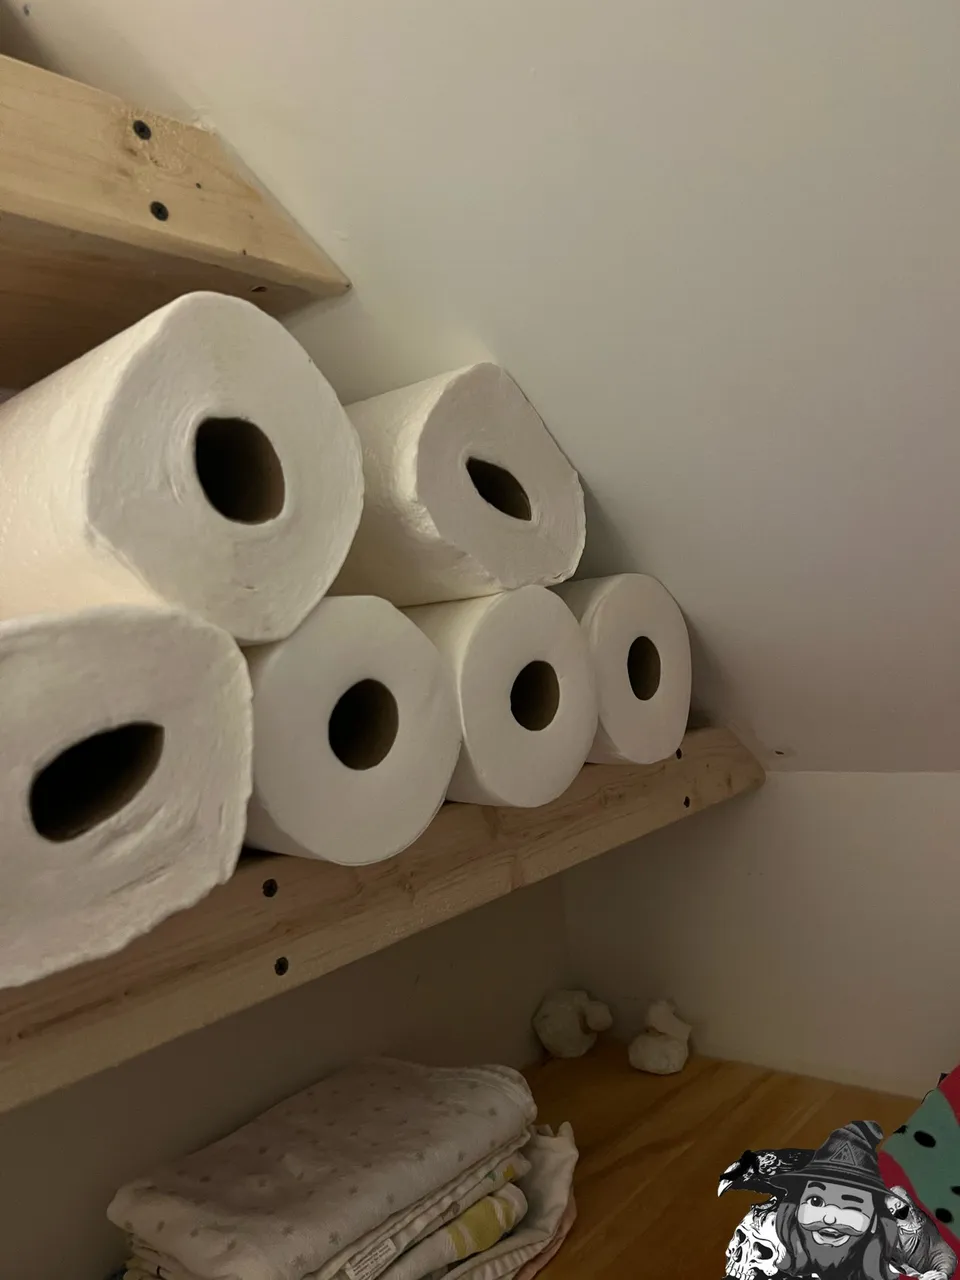 |
8

9
…anyway, that’s my house…albeit, not for too much longer. But I figured while it’s listed, might as well use the opportunity to document the house and my projects within; someday I may want to reminisce :)
Thanks for checking out some more of my work! As always, I hope you enjoyed witnessing as much as I enjoyed creating!
© Photos and words by @albuslucimus, except where otherwise indicated.
(In this case, I’ve put that AZL watermark on my own images, and photos without the watermark were all taken by the Redfin photographer.)

If you enjoy my content, check out the Albus Index!
Here you’ll find links to various post-groupings, so you can find all posts related to a specific topic quickly. Topics include lists of brewing recipes, different flutes, rucking posts and an index of all acoustic covers. The lists are updated as new content is added, so they can always be used to quickly navigate my content.

- - : GO TO THE ALBUS INDEX : - -
| thumbnail | link |
|---|---|
 Me Me |  My Flutes My Flutes |

Use my Coinbase referral link to get started with Coinbase! I’ll get $10 in Bitcoin but, more importantly, you will get $10 in Bitcoin too!
Here is a post I did recently about using Coinbase with HiveWallet to get Hive in the US. If you’re wanting to buy Hive and are having difficulties, this may be helpful for you!

If you’re interested in picking up an Ellipal Titan cold wallet, you can get $5 off by using this purchase link.

…and if you want to earn free crypto every time you spend fiat, check out the Doge card!
If you use this link or click the image below to sign up, we’ll both get $1.00 worth of Doge right off the jump.

- - : GO TO THE ALBUS INDEX : - -